Short curly hair wants definition and bounce without heat damage. Many people struggle with flat, undefined curls on smaller hair lengths. A finger coil on short natural hair creates springy, long-lasting spirals for a fresh look. You twist damp hair around a finger for a few seconds to form a tight, shiny curl. The method defines each small section of hair with precision. Curly hair textures gain amazing shape from the simple technique.
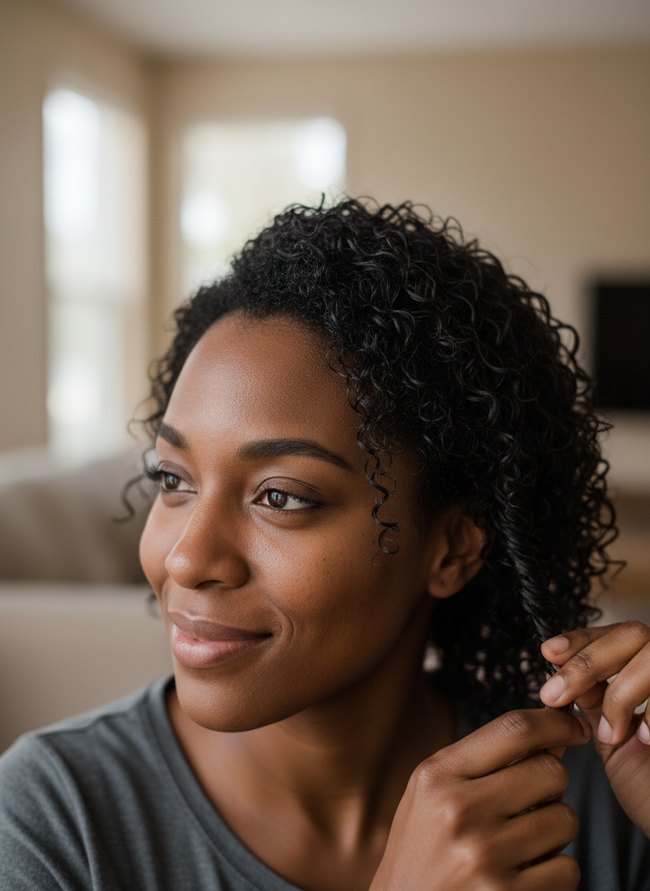
1. Defined Curl Method
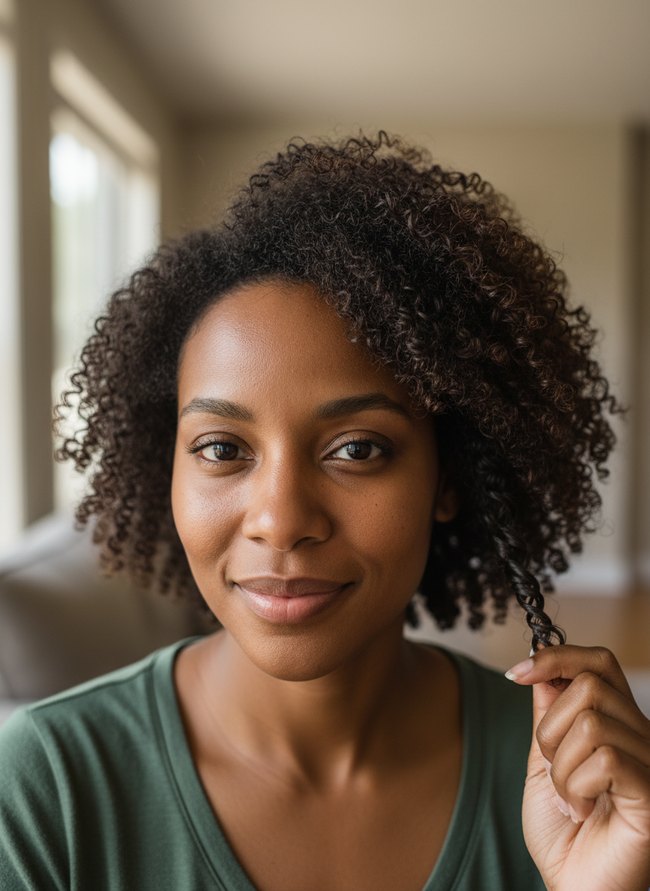
A dark-haired woman in a deep olive shirt smiles at the camera, holding a single finger coil of hair with her right hand. Her short natural hair shows off many defined, springy curls across her head, demonstrating how to finger coil natural hair for excellent curl definition. You can achieve this same look by carefully twirling small sections of damp hair around your finger.
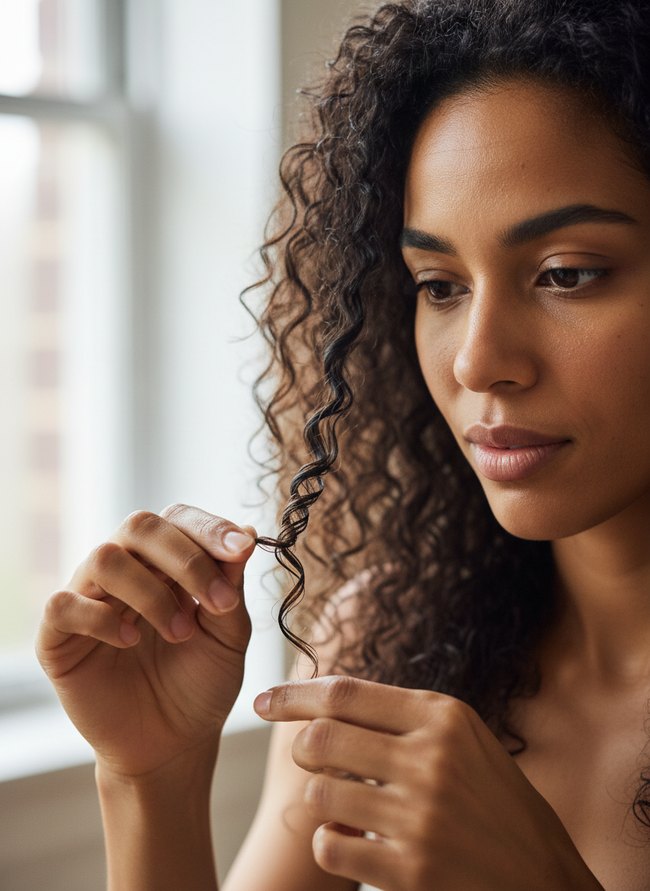
2. Product Application Technique
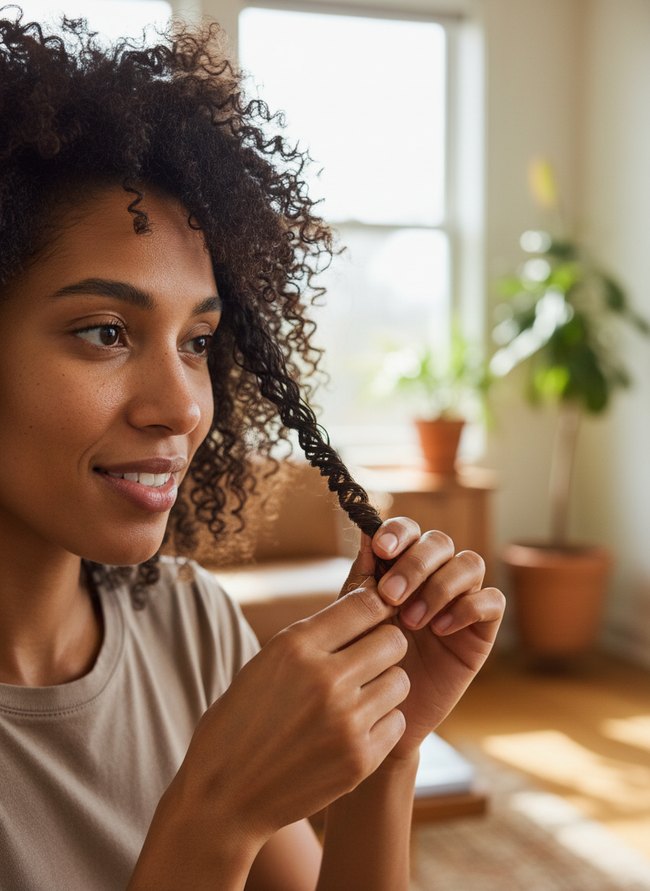
A woman gently finger coils a dark brown strand of hair, showing you how to finger coil natural hair with precision. Her fingers twist the hair into a tight spiral, creating a defined curl. Your hair should be damp and have product in it before you start twisting to get the best results.
3. Sectioned Hair Prep
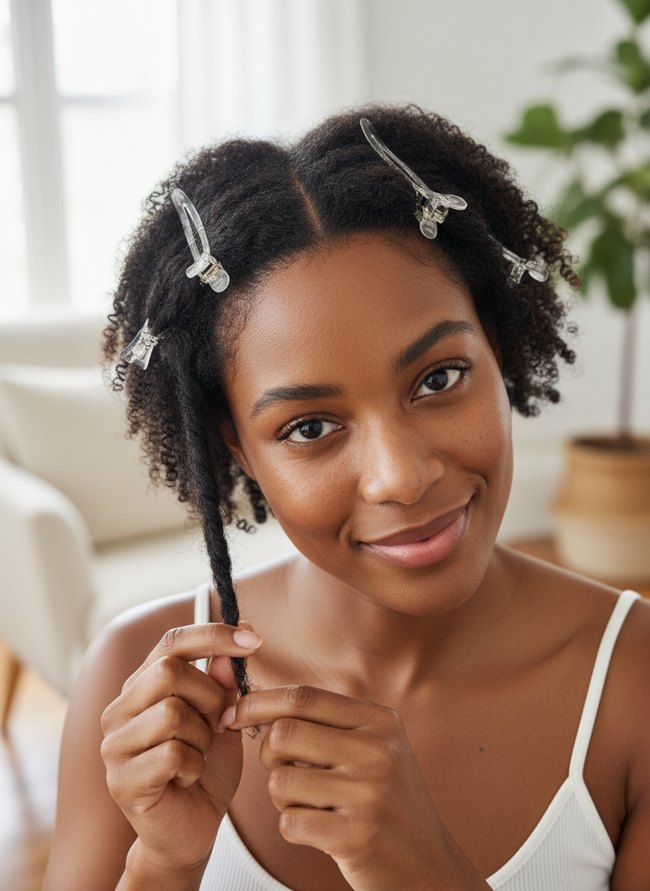
Clear plastic clips hold sections of dark, curly hair away from the face, showing how to finger coil natural hair. The woman’s hands gently twist a long, dark coil of hair, demonstrating the technique. Dividing hair into smaller sections helps manage the process and gives even, defined coils.
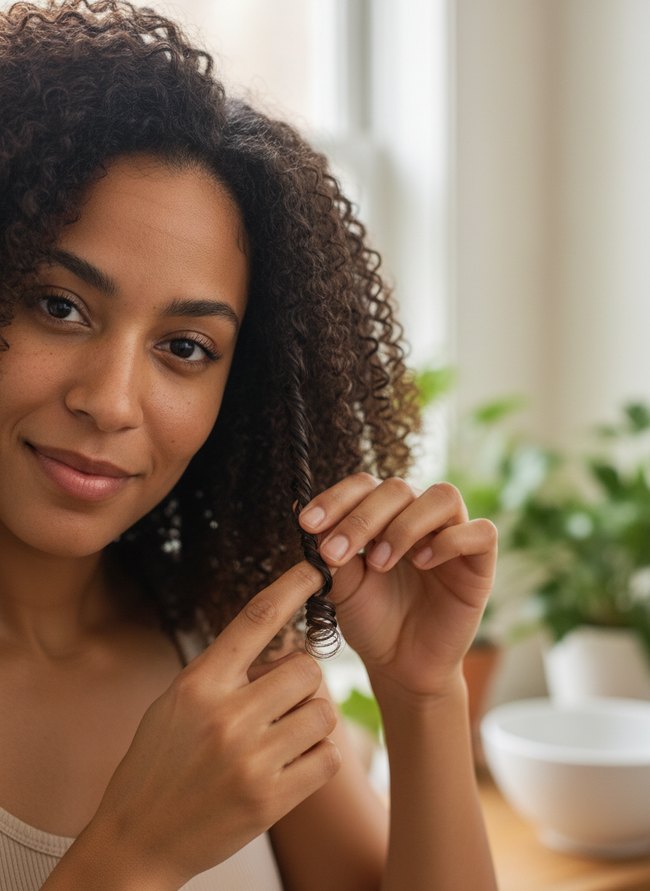
4. Finger Twirl Formation
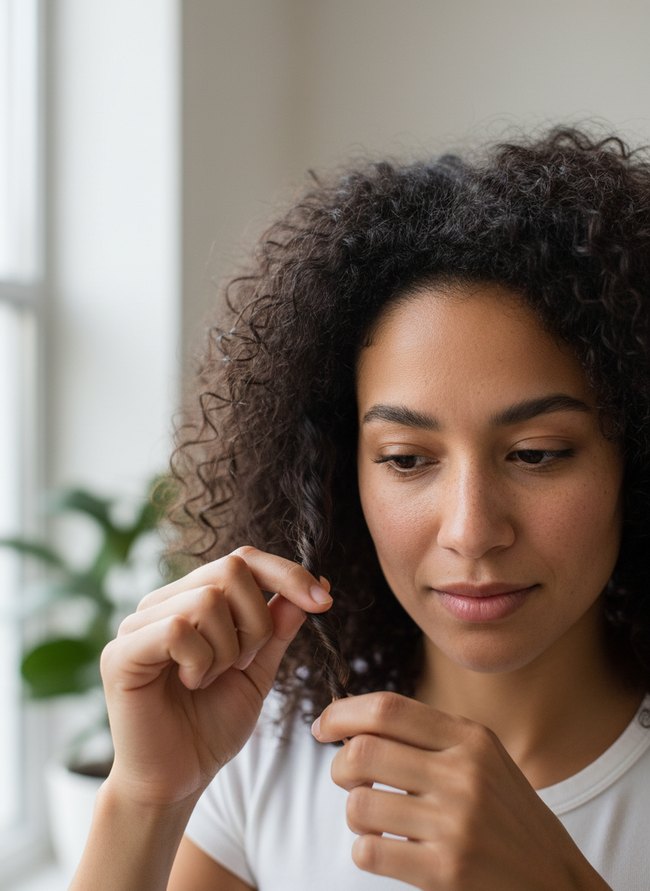
A woman with dark, curly hair carefully twists a strand of hair between her fingers. Her light-toned hands gently shape a coil, demonstrating how to finger coil natural hair. The background shows a soft white wall and a green plant, keeping focus on the styling process.
5. Root To Tip

A woman with dark, curly hair demonstrates the start of a finger coil, her right index finger pointing to her scalp. Her left hand holds a small, damp hair strand, ready to twist and form a defined curl. Viewers can clearly see how to finger coil natural hair by starting at the root and twisting down to the tip for a smooth, consistent coil.
6. Hydrated Strand Finish
A person with dark brown skin and a gray shirt holds a section of their dark, curly hair. The finger coil method gives each strand a defined, glossy finish. A good finger coil technique makes the curls look hydrated and bouncy. Always make sure your hair is properly moisturized before you start coiling.
7. Coil Elongation Process
A dark brown hand gently holds a section of shiny, dark natural hair. Fingers carefully coil the wet strand downward, creating a defined spiral shape. Hair stylists achieve this sleek, elongated look by finger coiling natural hair.
8. Smoothing Hair Pattern
A woman with dark curly hair holds a single finger-coiled strand between her thumb and forefinger. The coiled section shows a clear, defined spiral pattern, distinct from the surrounding fluffy hair. Hair stylists achieve this defined curl by learning how to finger coil natural hair.
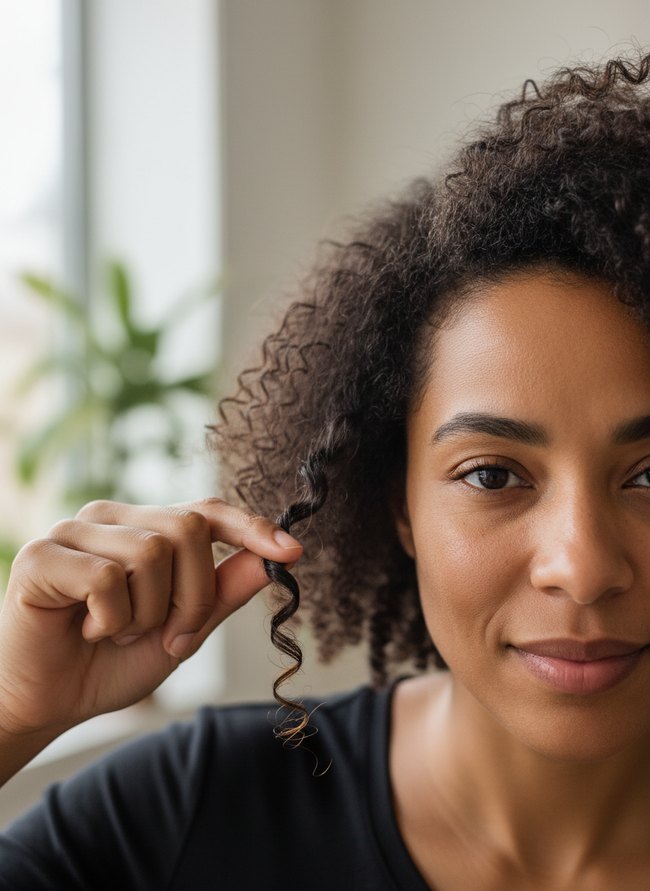
9. Post Styling Definition

A woman with dark, curly hair holds up a single finger coil, showing its neat spiral shape. Her light cream shirt contrasts with the deep brown of her hair, highlighting the definition from a finger coil. Each strand forms a tight, bouncy curl.
10. Damp Hair Coiling

A woman with dark, curly hair demonstrates a coiling technique. Her right index finger twirls a single damp strand into a tight, defined coil. You can achieve bouncy curls when you learn how to finger coil natural hair on damp sections.
11. Individual Curl Separation
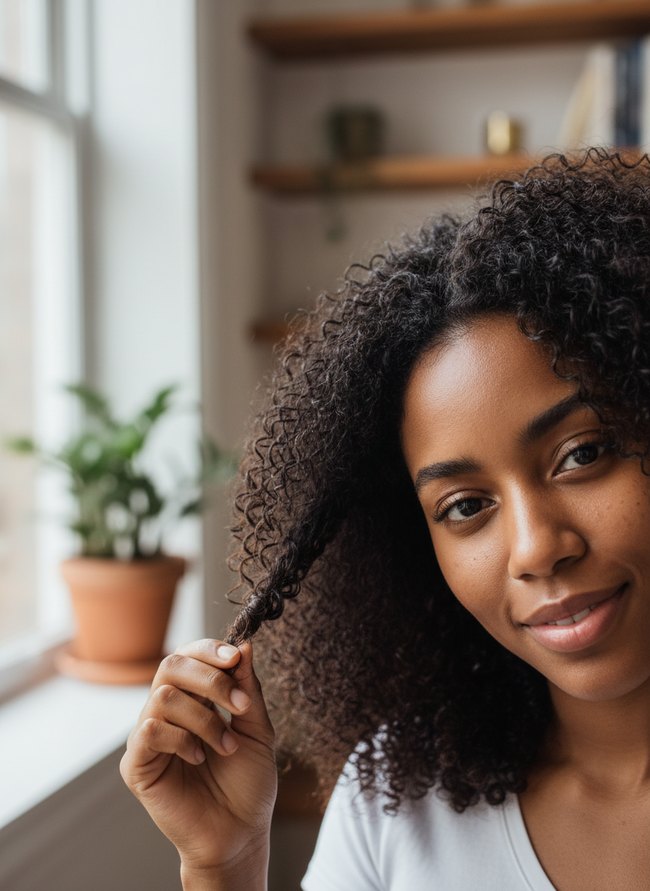
Dark coiled hair frames the woman’s face as she holds a single finger-coiled strand. A bright window and a terra cotta potted plant sit in the background. Finger coiling natural hair involves twisting hair tightly around a finger for definition.
12. Final Product Set
The young woman smiles, displaying a dark brown finger coil that sits neatly against her head. Her fingers gently hold the finished coil, showing off its shiny, defined ringlets, as a green plant and white bowls sit blurred in the background. Hair stylists achieve this defined look when they finger coil natural hair.
Choosing the Right Products for Optimal Coil Definition on Short Hair
A lightweight leave-in conditioner provides a crucial first layer of moisture for your short natural hair. You want a product with a thin, milky texture that penetrates easily. Thick, opaque creams often weigh down delicate strands. Consider conditioners with aloe vera or rose water as primary ingredients. Next, a curl cream adds flexible hold. Look for creams with shea butter or jojoba oil. These ingredients offer deep hydration without stiffness. A good curl cream will help your finger coils maintain their circular shape. Finally, a strong gel locks in the curl pattern. Clear, alcohol-free gels work best. Avoid dark, sticky gels that flake. Gels containing flaxseed or marshmallow root extract give a firm, lasting hold. Your hair will feel soft. These products work together for resilient, shiny coils.
Troubleshooting Common Finger Coiling Challenges for Short Lengths
Flattened coils on day two or three often need a light misting. Your fingers then gently re-twirl individual strands back into tight spirals. Some stylists recommend a fine-toothed comb for tiny sections of hair near the nape. Those short pieces resist curling. A small dab of styling cream on your fingertip helps those stubborn areas. This cream adds flexible hold without crunchy residue. Unraveling coils signal too little product or not enough tension. You need a firm finger wrap. A stronger hold gel works best for high humidity days. Frizz around the edges happens sometimes. Smooth a clear edge control product along your hairline with a small brush. This thin layer keeps those flyaways flat. For very short hair, definition matters greatly. Consider smaller sections of hair for each coil. Smaller sections create tighter, more noticeable curls. Your technique improves with practice.
Which Idea Will You Try First?
That’s 12 different takes on how to finger coil natural hair. The best ideas above are usually the smallest moves — one material, one layout shift, one piece of furniture in the right place. Pick whichever room feels closest to your space and start there before tackling the rest.
Found an idea worth keeping? Save this post to your Pinterest board so it’s waiting for you when you’re ready to start your own project.
Leave a Reply