Your hair needs attention. Curly strands sometimes refuse to cooperate, leaving a flat, undefined mess. Most folks struggle with frizz or a lack of bounce on wash day; many tutorials make the process look easy. Making your natural curl pattern pop requires a few key moves. Learning how to do a twist out correctly will transform your look. The guide breaks down every step for a solid outcome. Every curl needs structure to stand out. The right technique gives a head full of springy coils. A damp head of hair, clean and detangled, starts the whole process. We will get into the details.
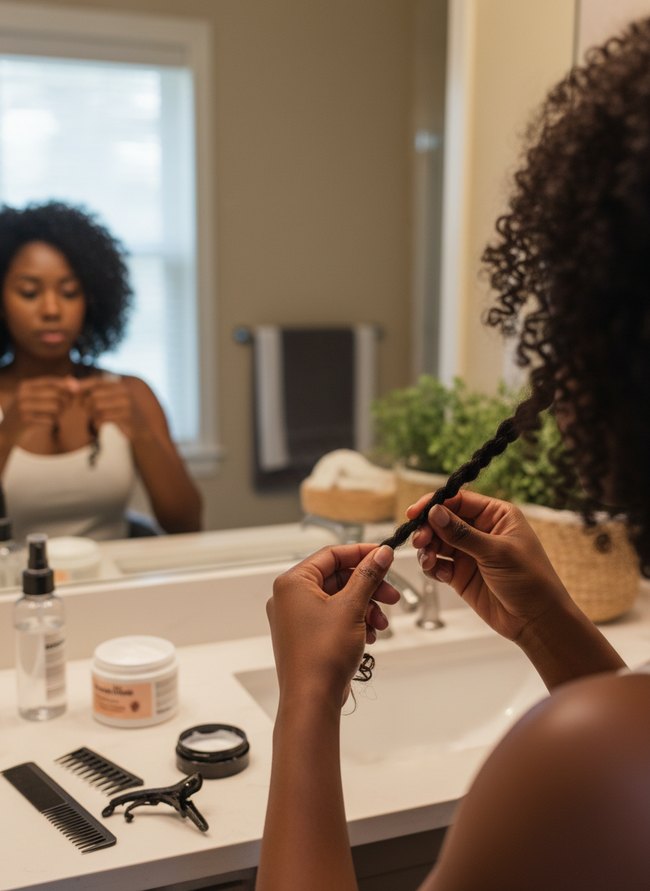
1. Pre-Twist Sectioning Defined
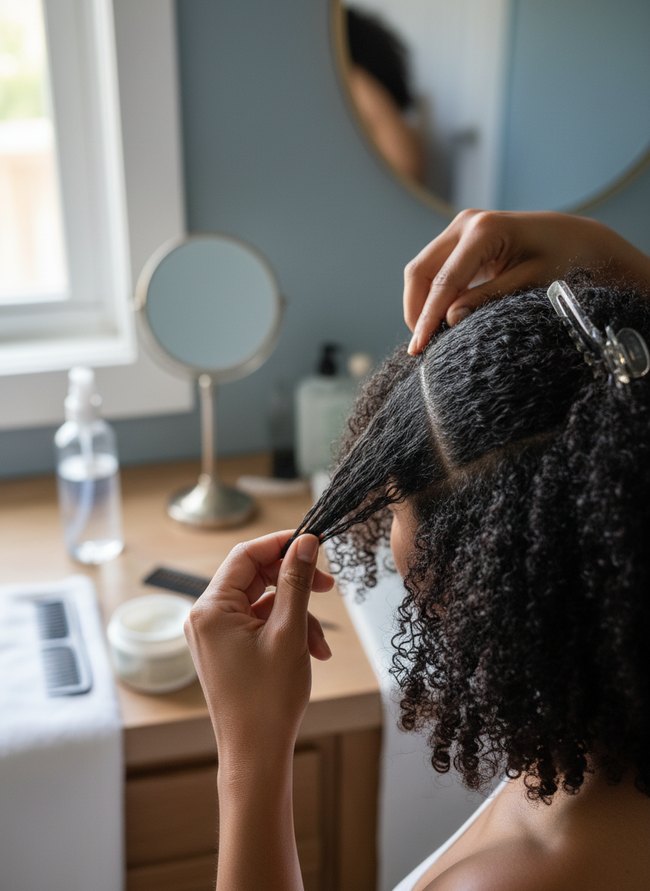
A dark-haired person carefully holds a small section of damp hair, separating the strands from the larger mass. Hands divide the curly hair into clean, distinct sections, preparing for a twist out. Sectioning clips keep other hair out of the way.
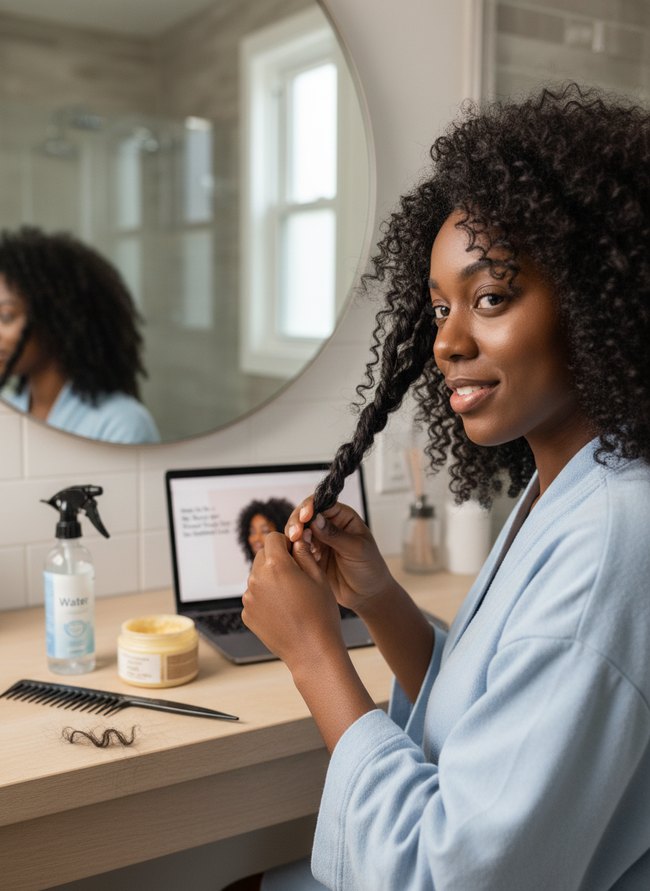
2. Moisture-Rich Twist Application
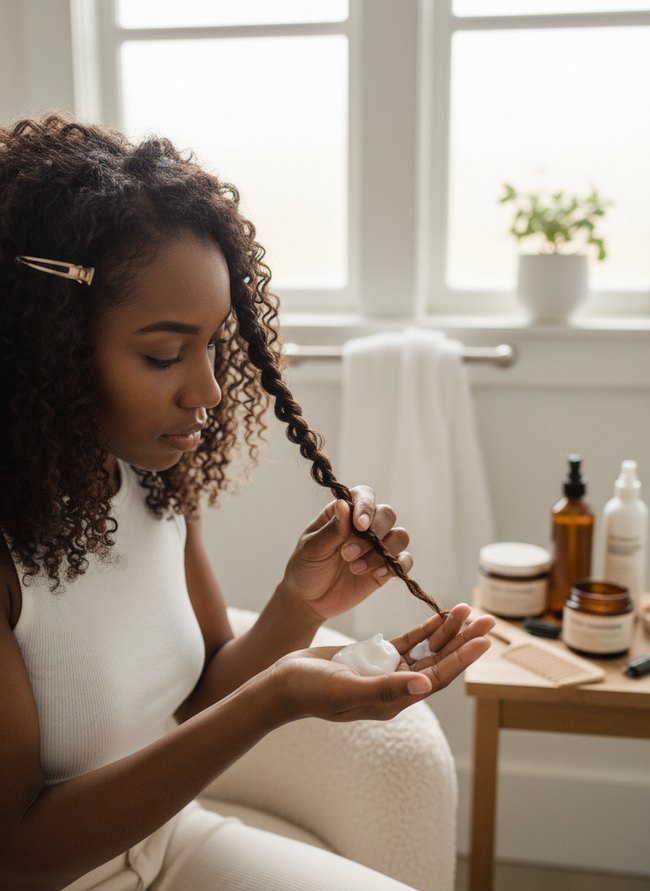
A woman holds a section of dark brown hair, carefully twisting the strand into a tight spiral. Her hands apply a white creamy product from her palm directly onto the hair strand. Hair should be damp, not soaking wet, before applying any styling cream or gel.
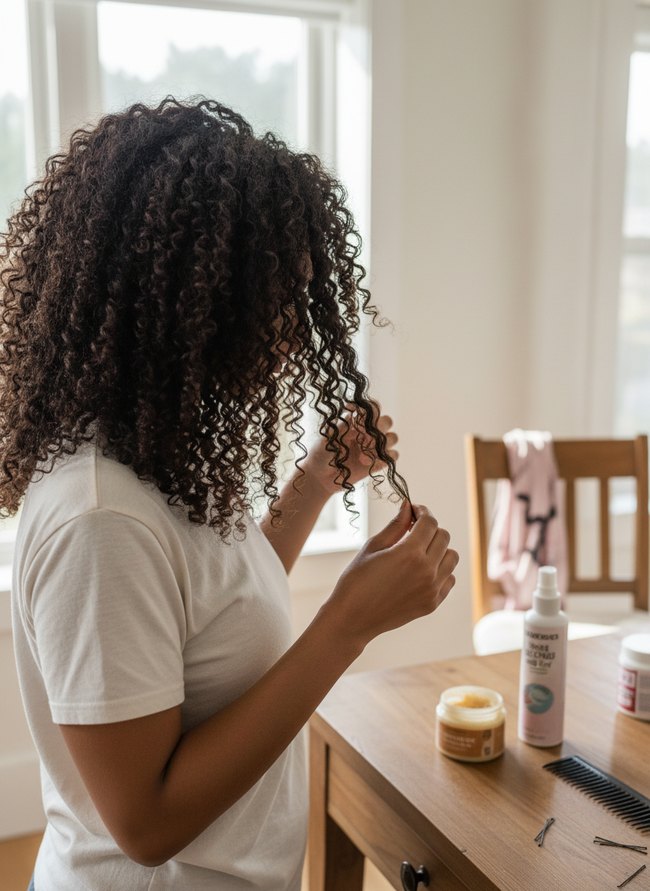
3. Tight Two-Strand Method
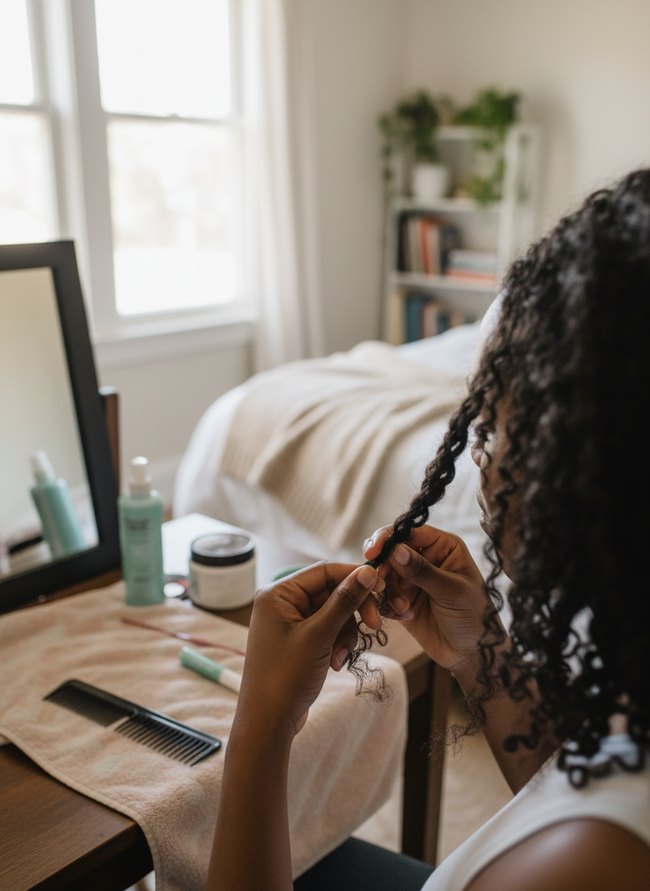
Dark brown hands pull apart a section of curly hair, twisting the strands tightly to form a firm rope. Hair sections must be twisted firmly from root to tip for a defined twist out. Strands twist in the same direction to keep the hair smooth.
4. Secure End Wrapping

Two hands carefully wrap the end of a dark twisted hair section into a small, tight coil. The hair ends need tight wrapping to form a neat, secure curl. The ends must be fully wrapped to prevent frizz.
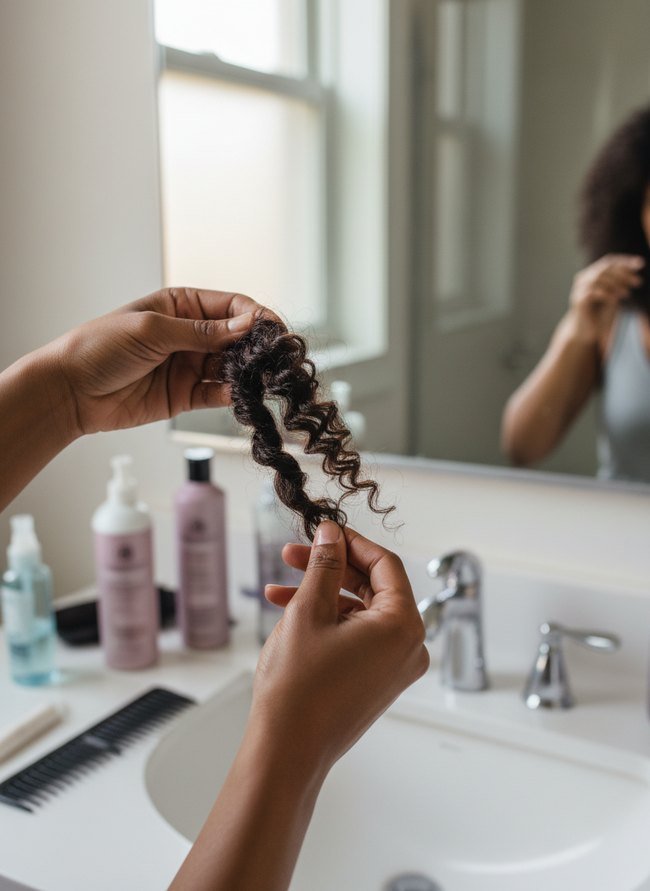
5. Overnight Set Perfection
Long, dark twists show distinct texture, ready to be undone for a soft, wavy look. Each defined twist separates carefully to reveal a fuller, curly hairstyle. Avoid pulling hair strands too hard.
6. Gentle Twist Unraveling
Dark fingers gently hold a single twisted black hair strand over a white countertop. Hands separate the twisted hair in a slow, controlled motion to prevent frizz. Always unravel the twist out carefully for smooth, defined curls.
7. Fluffy Curl Separation
Two dark hands gently pull apart a single, defined curl to create more volume. Hair can be carefully separated into smaller curly pieces. Hands gently pull the hair apart at its natural splits to avoid frizz during the twist out.
8. Root Lift Definition
A dark-haired person twists a thin hair section, creating a defined spiral. The smooth, tight twist forms from mid-shaft to hair ends. The method achieves a long-lasting, defined twist out with good root lift.
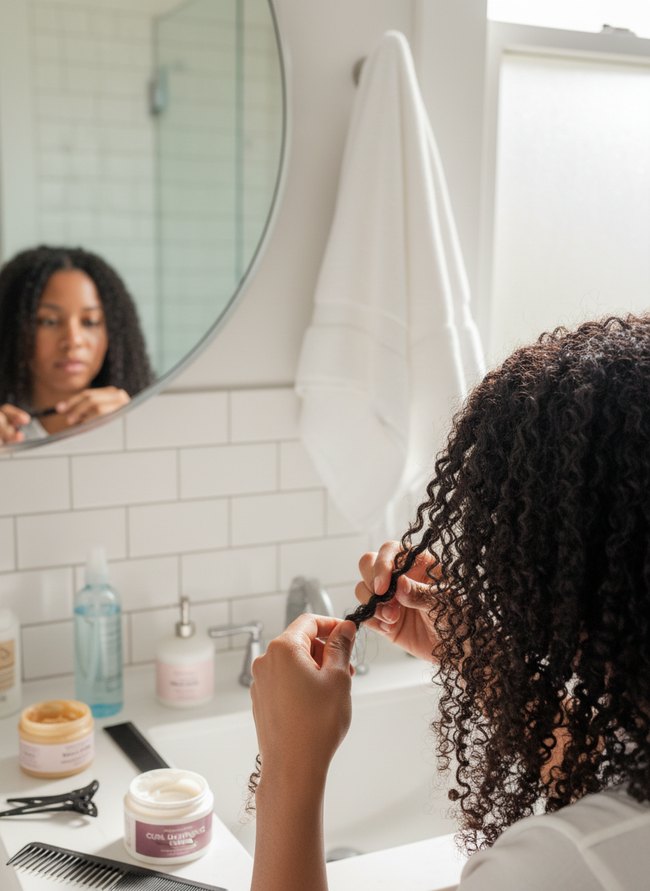
9. Defined Spiral Finish
Dark brown hair shows a long, defined spiral curl, created from a twist out with small, tight twists. Hair should look curly and separated after gently unraveling each twist. Keep fingers light when separating the twists to maintain the distinct spiral shape.
10. Voluminous Twist Out
A dark curly twist unwinds gently between the model’s hands, illustrating the final step for a voluminous twist out. The model’s light blue robe provides soft contrast to her dark hair. Hair must be completely dry before gently unraveling each twist for best results.
11. Refreshed Second Day
Dark brown hair shows defined, springy curls with bright window light behind the model. The style refreshes easily on the second day by gently separating the curl clumps. Each curl pulls apart gently without creating frizz for a fuller look.
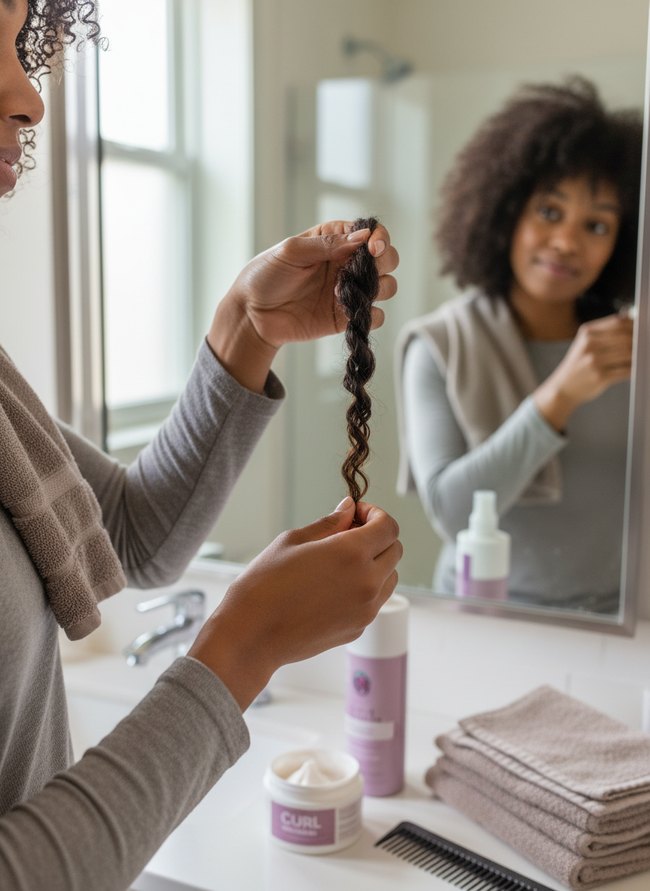
12. Elongated Twist Style
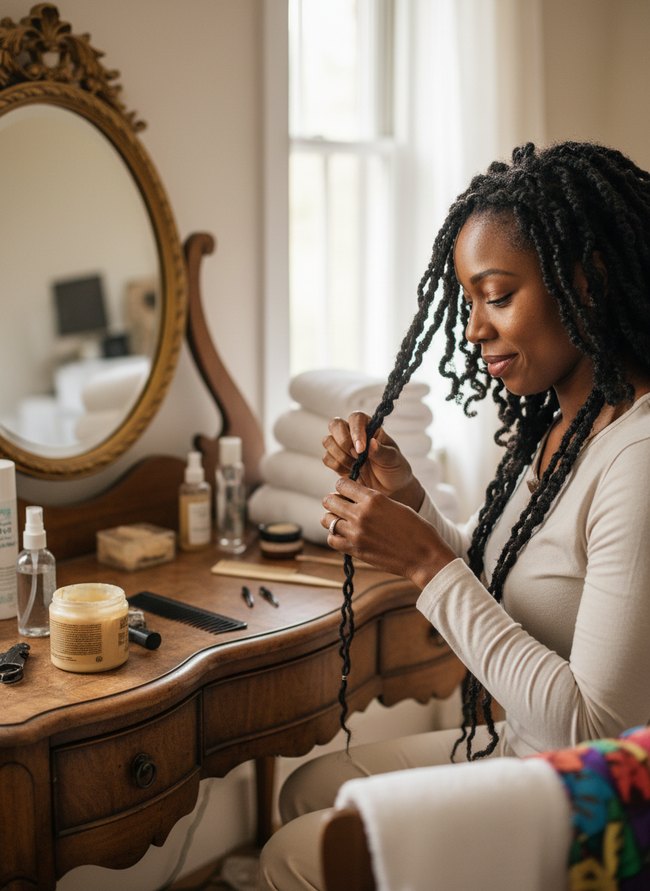
The woman’s dark hair shows a clear twist pattern, which gives the style length and definition. Tightly twist each hair section from the root to the tip for the best results. Use a good styling cream to keep the twist out looking neat.
Why Is My Twist Out Looking Frizzy and Undefined?
Many people believe damp hair gives the best twist out definition. Wet strands, however, create a watery mess. Your fingers will snag on wet hair. Damp hair also stretches too much. Products get watered down. Instead, use mostly dry hair. The hair should feel cool, not cold. A small spray bottle with plain water provides a light mist. Only mist a small section at a time. Most stylists twist hair very loosely, thinking a gentle touch protects the curls. Loose twists actually cause frizz. Loose coils unravel quickly. You need firm twists. Each twist should feel solid. Keep a tight grip from root to end. Some folks use tons of thick gel for hold. Heavy products weigh hair down. Your curls will look stiff. A lightweight cream or foam works better. Apply a small dollop of styling cream to each twist. You want a flexible hold. Drying twists with a high-heat blow dryer seems faster. High heat causes frizz and damage. Air drying is best. Let your twists dry completely overnight. Patience brings beautiful, defined curls.
My Twist Out Doesn’t Last: How to Make Your Curls Stay Defined Longer
Many twist-out wearers just sleep on a soft cotton pillowcase. Your crisp curls flatten overnight on that rough fabric. Instead, wrap your styled hair in a smooth, pineapple-printed satin bonnet before bed. A silk scarf also works wonders, protecting your delicate strands from friction.
Other people spray their hair with water every single morning. Dampness actually loosens the curl pattern you worked so hard to create. You need to avoid moisture until wash day arrives. Use a light, oil-based mist if your dark brown hair feels dry.
Some stylists suggest re-twisting your whole head each night. That constant manipulation adds unnecessary tension to your scalp. A quick two strand twist around the edges keeps the front sections fresh. Pin up your remaining strands loosely with two small black bobby pins. This method preserves your defined curls much longer.
Most folks try to refresh their twist out with heavy creams. Product buildup weighs down your bouncy waves. Opt for a lightweight foam or a curl-reviving spray with a fine mist. A quick finger curl on a few individual strands helps reshape them. These small adjustments extend your style for several days.
Which Idea Will You Try First?
That’s 12 different takes on how to do a twist out. The best ideas above are usually the smallest moves — one material, one layout shift, one piece of furniture in the right place. Pick whichever room feels closest to your space and start there before tackling the rest.
Found an idea worth keeping? Save this post to your Pinterest board so it’s waiting for you when you’re ready to start your own project.
Leave a Reply