Your hands ache from fighting stubborn hair, tired of trying to hide bulky braid knots. Many people struggle with the visible lump where new hair joins the braid, especially with dark brown synthetic hair. Crafting smooth, seamless feed-in braids gives a polished, natural look. Thin sections of hair disappear into the design, creating a clean finish. A smooth base makes the entire style look professional and sleek, avoiding awkward bumps. The technique prevents tension on your hairline, a common problem with traditional methods. You can achieve those sleek braids without any visible knots. Learn the process now.
1. Clean Sectioned Braid Start
Dark natural hair has been carefully parted into clean, square sections across the crown. A stylist’s hands hold two strands of dark braiding hair, ready to begin weaving into the existing hair. The clear sectioning creates a neat foundation for feed-in braids, ensuring a consistent pattern.
2. Anchor Braid Base Knotless

Two pale hands carefully manipulate a dark braided hair extension. A small wooden stool holds a clear plastic bag of black hair, a white spray bottle, two black combs, and several colorful elastic bands. Braids can be learned with these simple supplies.
3. Seamless Hair Integration Method
A person sits braiding dark brown hair extensions into neatly parted natural hair. Black hair clips hold sections of finished braids away from the current working area. Hair stylists learn how to do feed in braids with a clear, smooth technique by carefully adding small pieces of hair as they braid down each section. Braiders start with tiny amounts of braiding hair for a seamless transition.
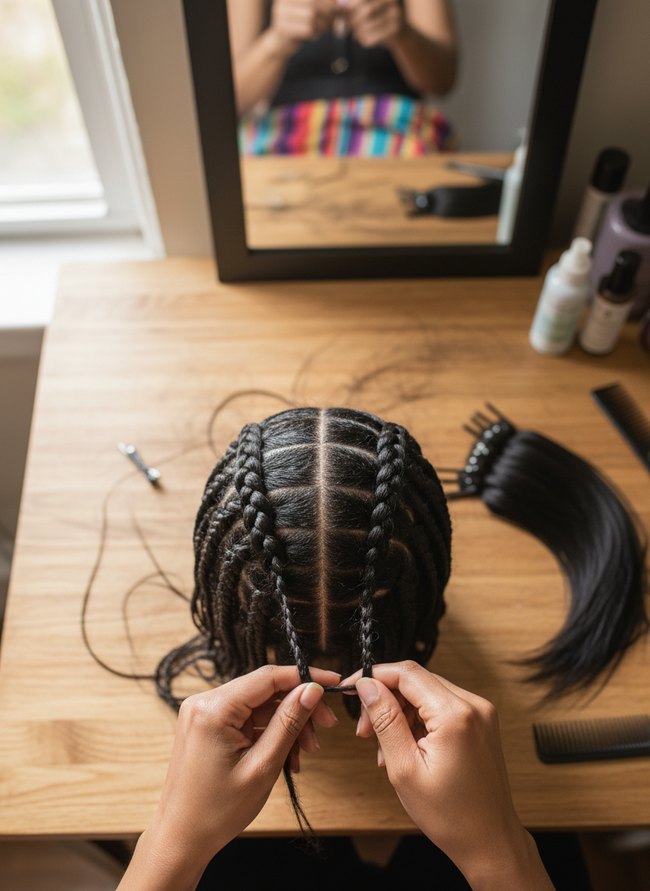
4. Gradual Hair Addition Technique
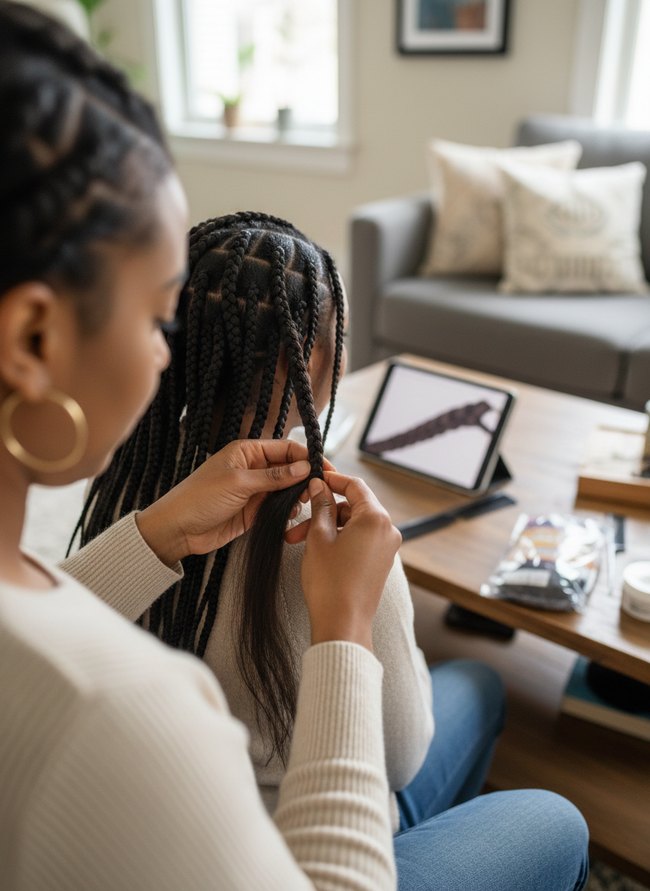
Dark hands carefully braid a section of dark hair, demonstrating feed-in braids with a smooth, knotless start. A brown wooden coffee table holds a black tablet showing a close-up image of a braided strand. The gradual method creates a clean, natural-looking braid base.
5. Smooth Feed-In Sectioning
The image shows a person with neat square hair sections on their head, featuring dark brown braided hair. Two light skin hands work to braid a new section of hair, adding brown braiding hair to the natural strands. Careful sectioning is key for clean, finished feed-in braids.
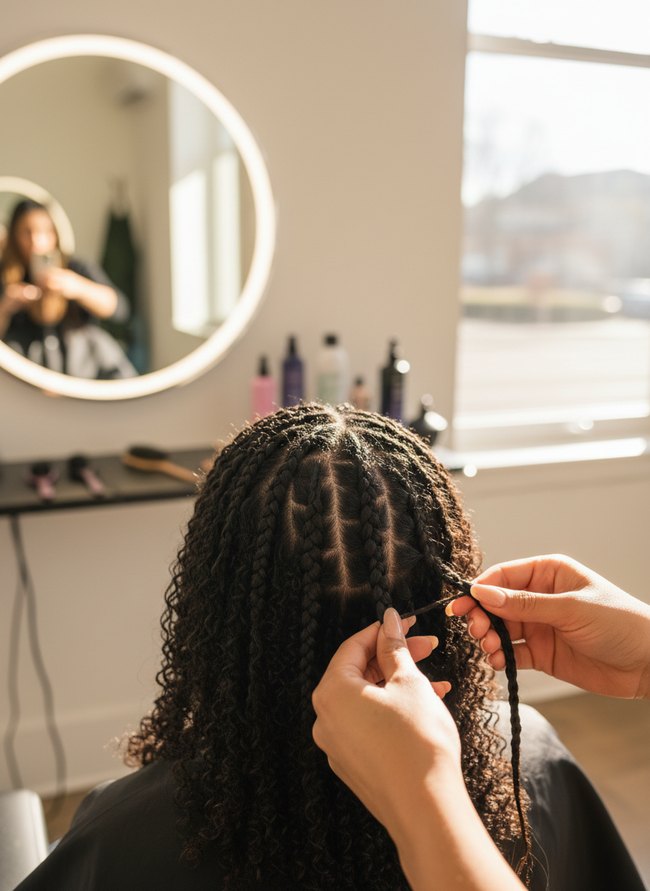
6. Root Blending No-Knot

Two hands braid a person’s dark brown hair, showing the start of a feed-in braids technique. A round, gold-framed mirror reflects the person’s face, providing a clear view of their work on the light brown hair extension. An open white notebook with “Braiding Basics No-Knot” printed on its cover offers instruction on the technique.
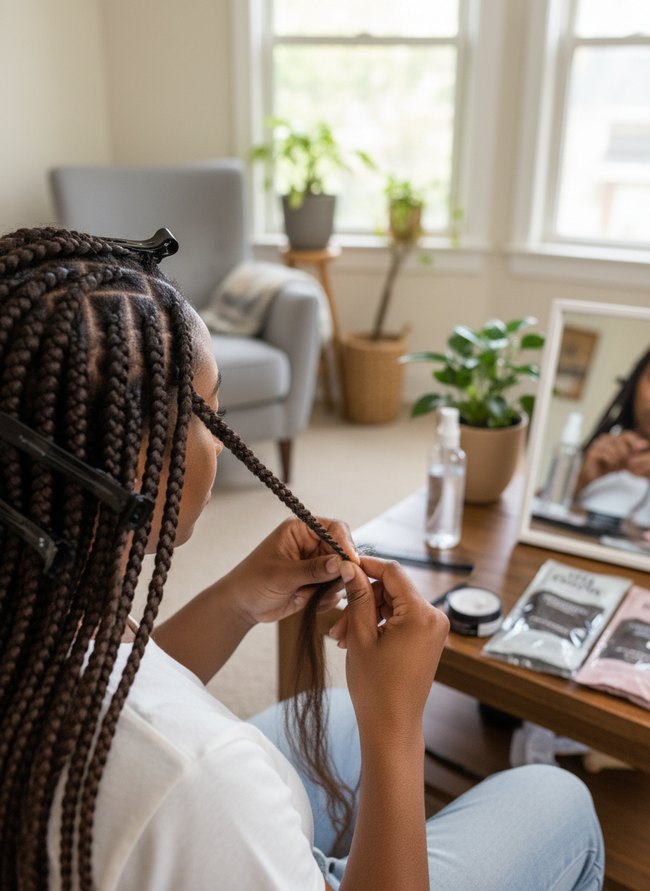
7. Precise Strand Placement
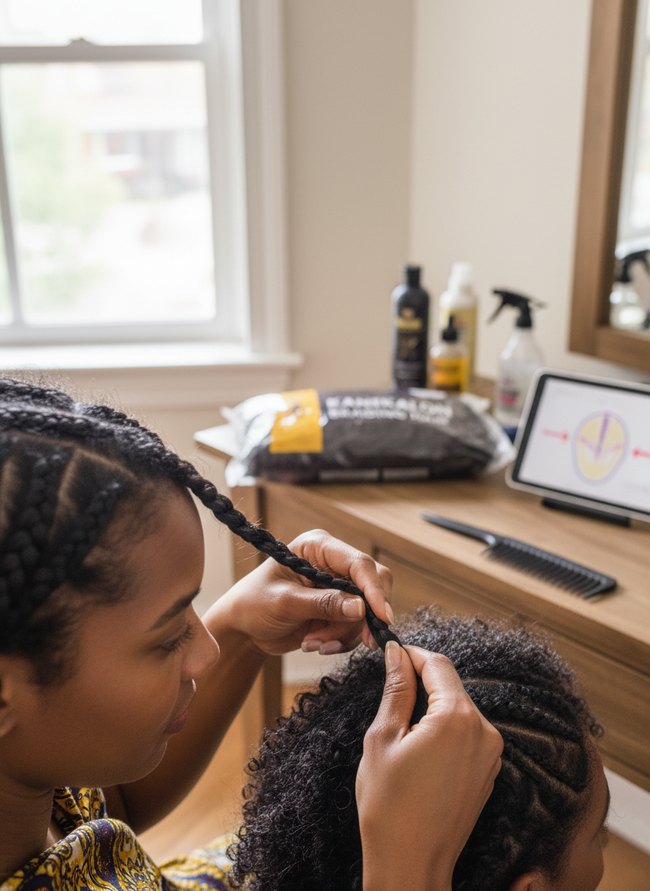
Dark hands skillfully braid a long, black hair extension into curly natural hair. Her head tilts, showing concentration on precise strand placement for neat feed-in braids. The background features a light wood dresser with hair products and a tablet displaying a diagram. Keep hands close to the head for a tight, clean braid.
8. Natural Looking Braid Foundation
A stylist’s hands carefully add a dark hair extension piece to a small cornrow braid. The dark cornrows on the client’s head create a neat pattern, showing how to do feed in braids with clean sections. The natural-looking braid foundation is achieved by making sure cornrows are tight and even.
9. Undetectable Feed-In Start
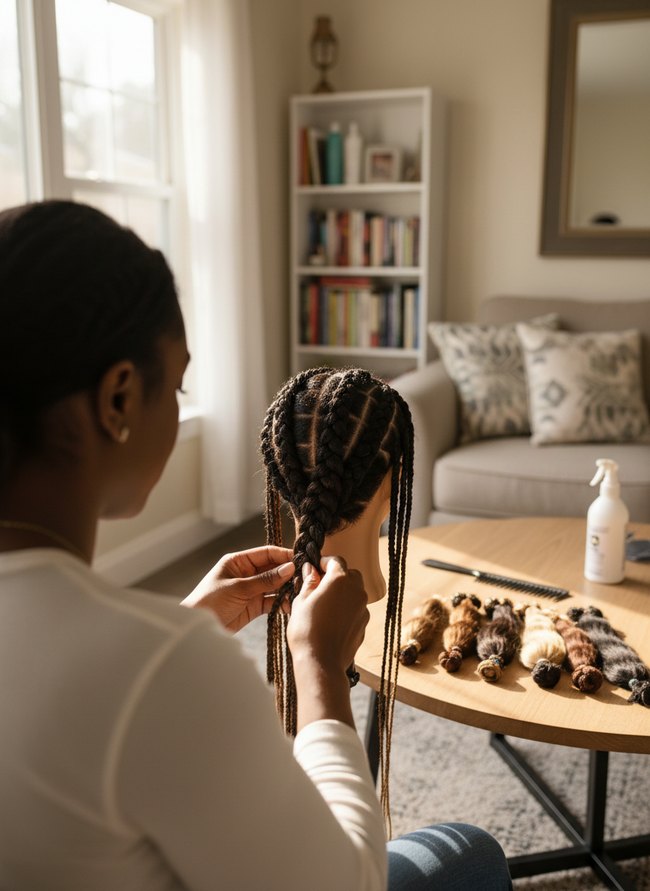
A person with dark skin and a white long-sleeved shirt braids dark brown hair on a tan mannequin head. The mannequin head sits on a light wooden round coffee table, next to a white spray bottle and a black comb. Practicing on a mannequin head first teaches how to do feed in braids.
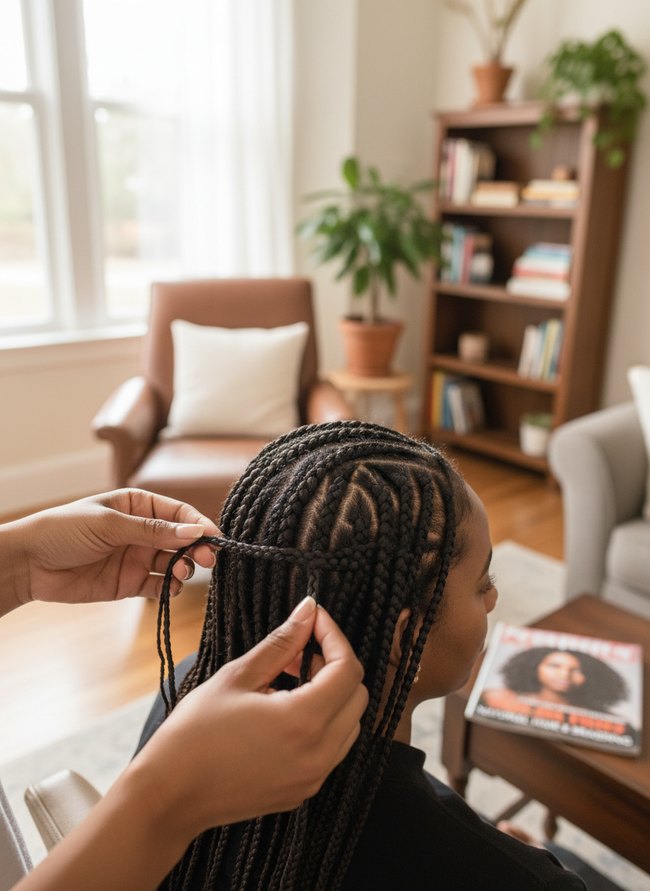
10. Secure Loop-Through Braid
Dark hands carefully weave synthetic hair extensions into a thick black braid. The stylist’s smooth fingers work the loose hair into the existing feed-in braids on the woman’s head. You can learn how to do feed-in braids by studying the careful hand placement here.
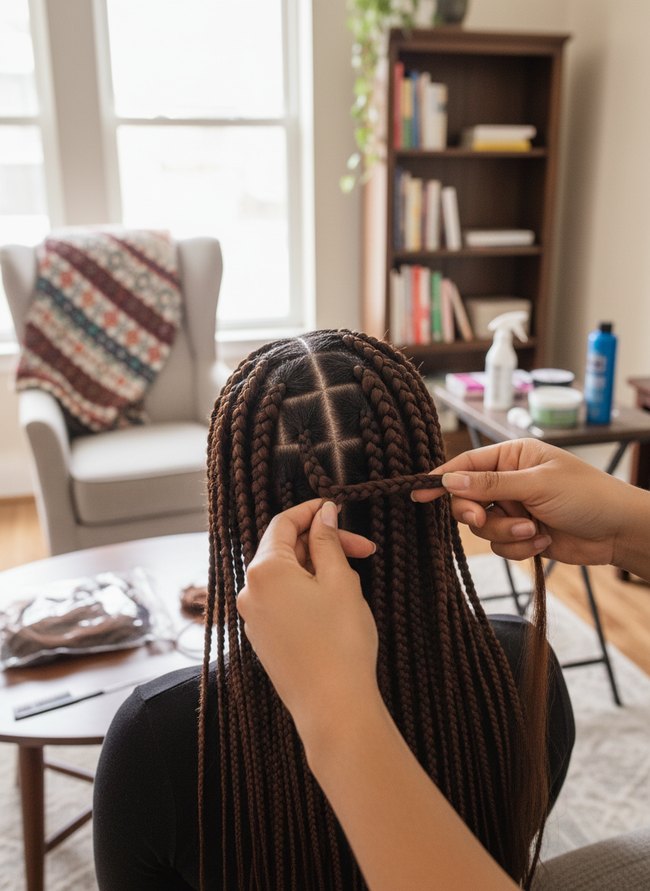
11. Flat Lay-In Technique
Dark brown hands hold two small hair strands on a practice mannequin head. The mannequin head rests on a light wood desktop with a black framed mirror and several clear plastic bottles of hair product. Aspiring stylists can master feed-in braids by practicing on the mannequin head before working on real hair.
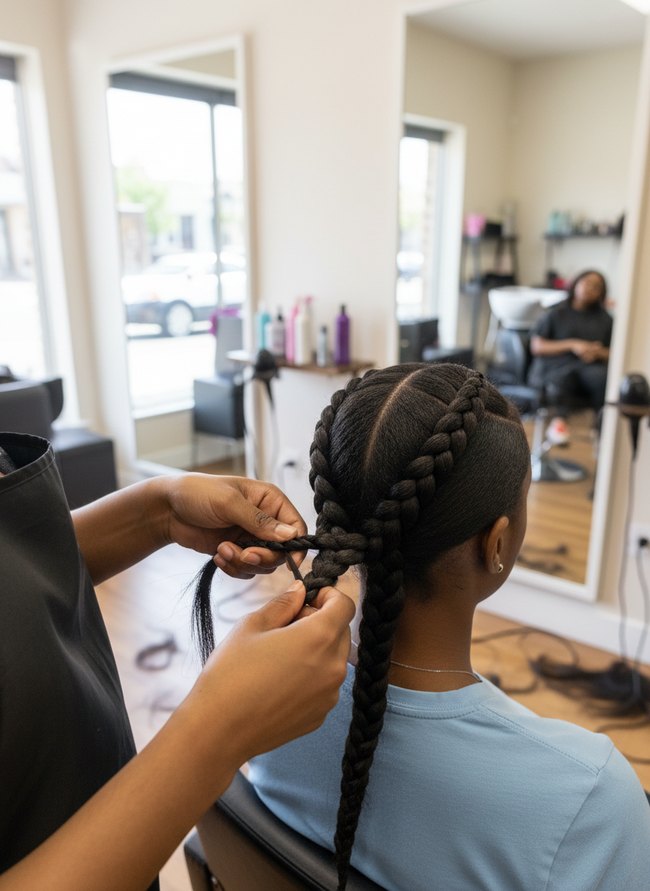
12. Invisible Extension Integration

Skilled hands carefully braid light brown hair extensions into dark natural hair. A large black-framed mirror stands upright in the background, reflecting a blurred figure. The detailed braiding technique shows exactly how to do feed in braids for a smooth, natural-looking finish.
Choosing the Right Extension Hair for a Seamless Knot-Free Start
Pre-stretched braiding hair creates the smoothest, knot-free start for your feed in braids. This type of hair comes already tapered at the ends, which mimics your natural hair’s density. Your hands will easily blend the thin artificial strands into your actual hair without a bulky attachment point. Heavy, shiny hair can look unnatural and pull on your scalp. Consider the texture and color of your own hair when picking extension bundles. A matte finish on the synthetic hair often blends better than a high-gloss sheen. Many brands offer a range of earthy colors and subtle ombré blends. Match the extension hair’s weight to your hair’s thickness; too much extra weight causes tension and discomfort. Lightweight bundles create a more comfortable style. You can find textured hair that matches your curl pattern, making the feed in process even more invisible. Some hair packs contain a blend of different fibers for added realism. Feel the hair strands between your fingers to check for a soft, pliable feel. Stiff, plastic-like hair will not blend well. Pick a hair that feels similar to your own strands for the best outcome.
Mastering the ‘Pinch and Tuck’ for an Undetectable First Feed-In
A tiny, invisible join starts your beautiful braids. Your dominant hand grips the small section of natural hair tightly at the scalp. Pinch the dark hair between your thumb and pointer finger, holding it firm. Take a thin strand of silky extension hair, perhaps a charcoal or honey-toned piece. Slide one end of the extension hair, about half an inch, into the tight pinch, right against the scalp. Your fingers create a temporary, snug tunnel.
Now, with your free hand, begin a simple three-strand braid, using the natural hair as two strands and the pinched extension as the third. Weave the thin extension hair into the first crossover of the natural hair. This initial tuck hides the extension end completely. Continue braiding with the natural hair, adding small pieces of the extension hair as you go. The feed in braids will grow smoothly from your scalp, without any bumps or telltale knots. Keep your tension even for a neat, flat finish.
Which Idea Will You Try First?
That’s 12 different takes on how to do feed in braids. The best ideas above are usually the smallest moves — one material, one layout shift, one piece of furniture in the right place. Pick whichever room feels closest to your space and start there before tackling the rest.
Found an idea worth keeping? Save this post to your Pinterest board so it’s waiting for you when you’re ready to start your own project.
Leave a Reply