Your hair sits ready for a sleek, protective style. Many people want to learn how to braid cornrows for beginners. A crisp row of braided hair starts close to the scalp. Mastering the technique takes patience, but the finished look offers long-lasting wear. You can create neat, tight braids with practice. The guide gives you clear steps for perfect cornrows. We break down the process into simple, manageable pieces. The instructions cover everything from preparing natural hair to securing the ends with small rubber bands. Soon, you will weave your own intricate patterns.
1. Simple Straight Back Braid
A single neat cornrow runs down the middle of dark hair, showcasing a simple straight back braid. The braid starts at the crown and extends to the mid-back, showing how to create a clean, foundational style. You can learn to create cornrows for beginners by following clear instructions and practicing your braiding technique.
2. Basic Front Sweep Style
Dark fingers carefully separate a small section of dark hair, preparing for a new braid. Many finished, tight cornrows already run from the scalp, showing clear, neat part lines. A spray bottle of water nearby ensures hair stays damp for easier braiding.
3. Easy Side Part Rows
The woman’s dark hair features neat, curved cornrows that sweep from a clear side part. She looks at a black tablet showing a tutorial for cornrows for beginners, sitting on a light gray sofa. The small braids lay flat against the scalp, creating a smooth, polished look.
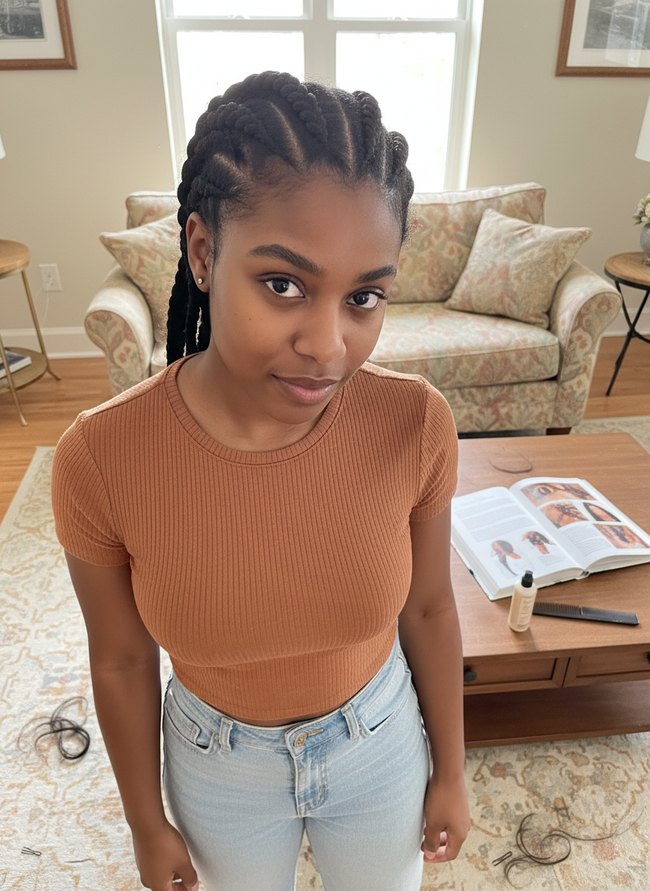
4. Beginner Undercut Cornrows
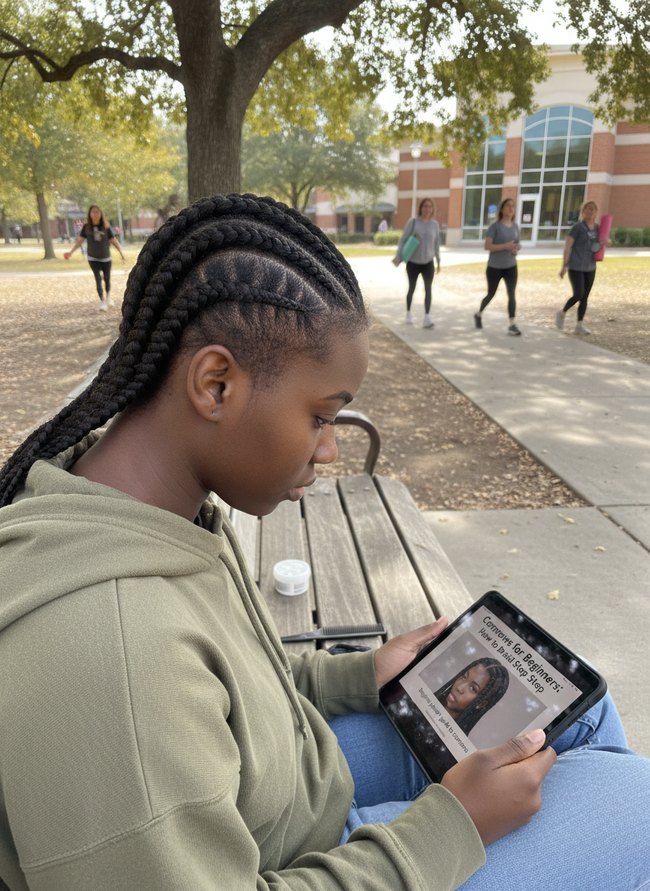
A young woman sits on a light wooden bench, looking down at a black tablet. Her dark hair features bold cornrows, with four thick braids sweeping back from her forehead and a fifth, smaller braid creating a zig-zag pattern near her ear. Hair stylists achieve a similar look by focusing on clean parts and consistent braid tension.
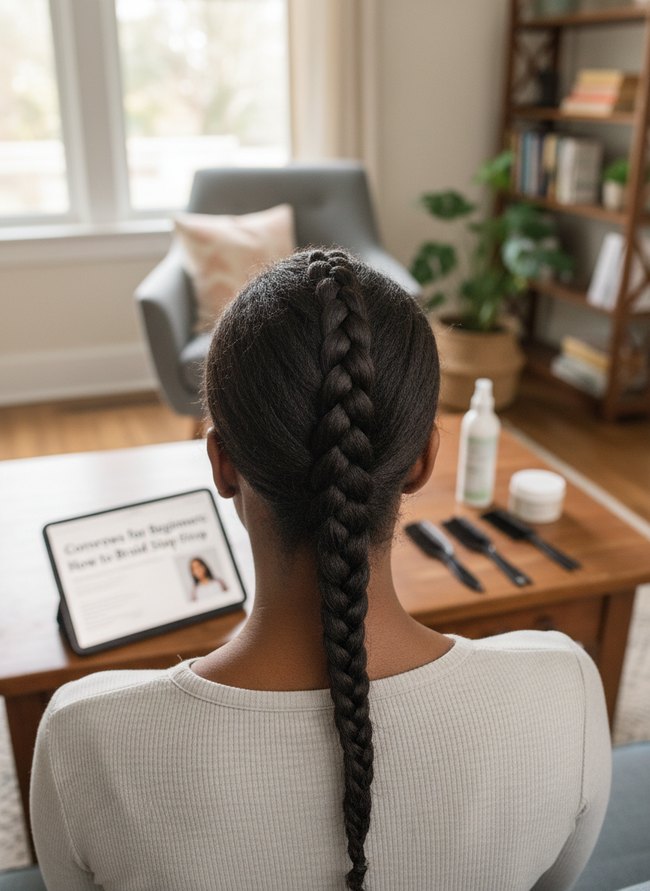
5. Classic Parallel Weave
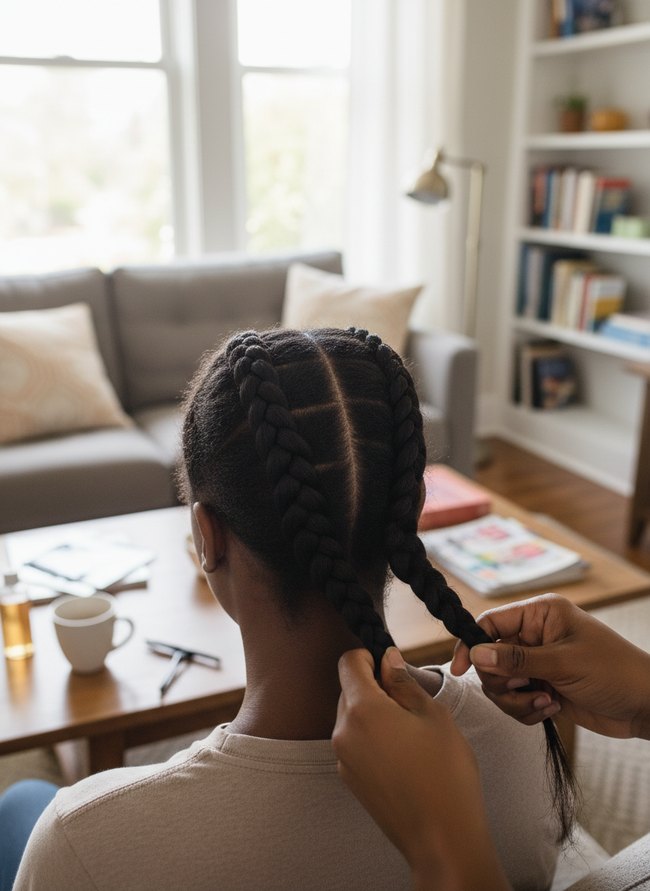
Two thick dark cornrows run down the back of a head, parted neatly in the middle. Someone’s hands hold the ends of the braids, finishing the style while sitting at a light brown wooden coffee table. The classic parallel weave is a great example of cornrows for beginners, showing clean parts and even braiding.
6. Starter Mohawk Braid

A young woman with dark braids smiles, holding a single braided strand over a white desk. Various styling tools, including black combs and colorful clips, sit next to a silver laptop and a dark tablet displaying a video. Braiding beginners can try this method, setting up their workspace with all needed supplies.
7. Gentle Curved Design
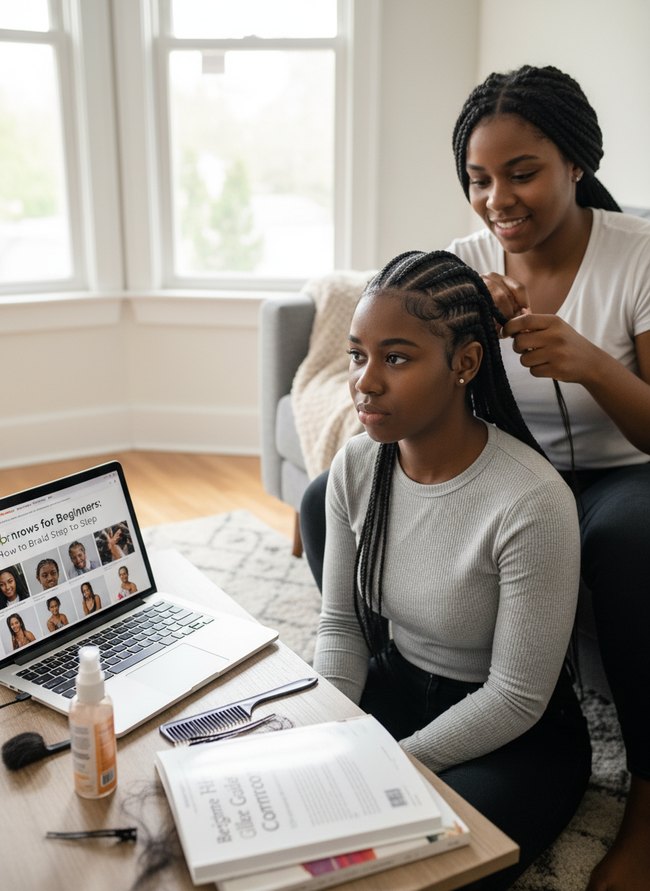
The young woman’s hair shows neat, dark cornrows curving gently around her head. Her friend braids the final sections while a silver laptop displays a web page titled “Cornrows for Beginners: How to Braid Step to Step” on a light wood coffee table. You can try the curved style for a soft, flowing look.
8. First Time Crisscross Pattern
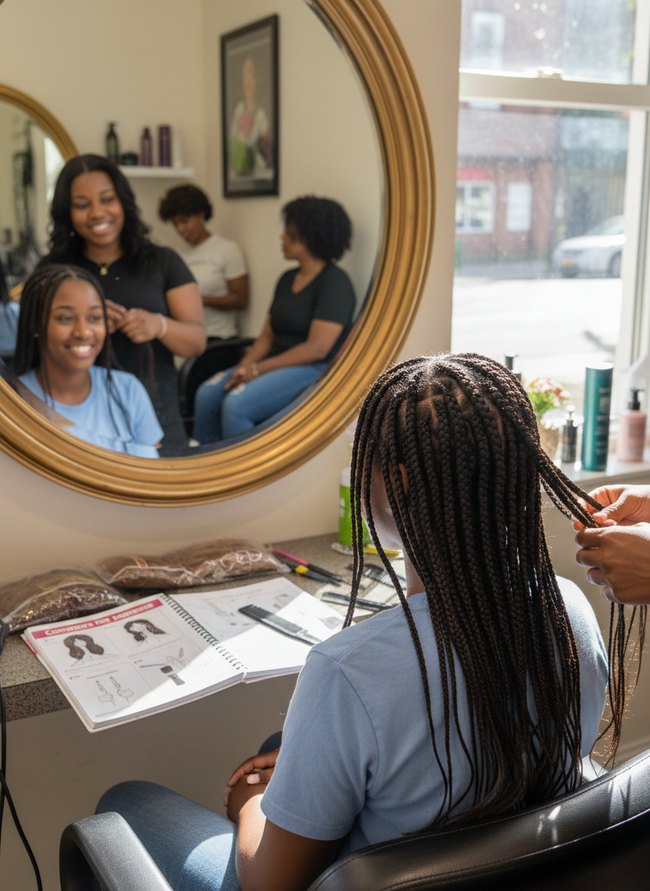
The young woman in the light blue shirt has long, dark brown braids that fall down her back. A stylist’s hands work on the cornrows, adding more braids to her hair. An open book on the gray countertop shows different cornrow styles.
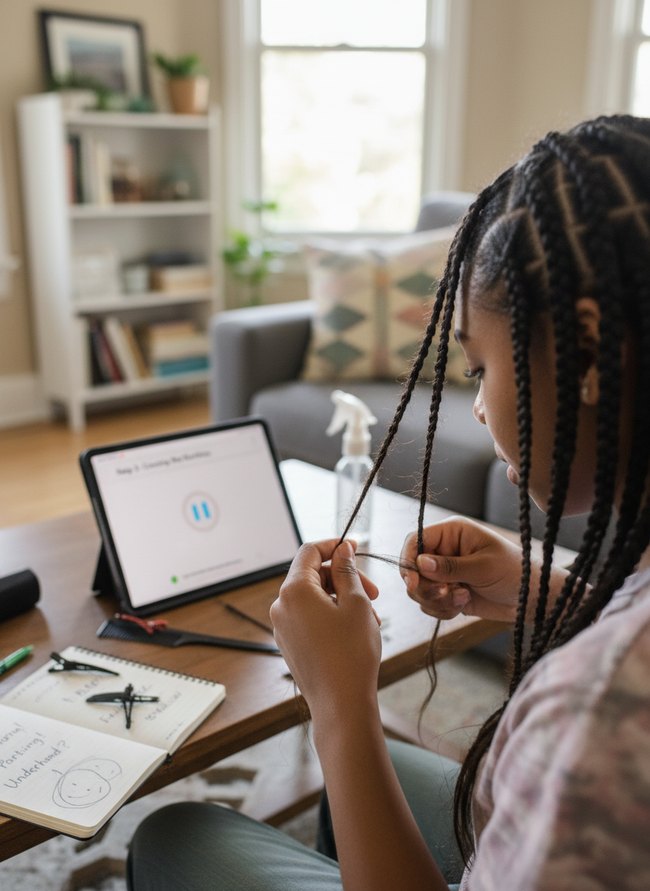
9. Fundamental Two-Strand Twist

A woman with dark brown hair practices braiding a two-strand twist, holding two black hair sections. Her laptop screen shows a guide for cornrows, displaying several small pictures of finished styles. Braiding techniques can be learned by watching videos or looking at pictures.
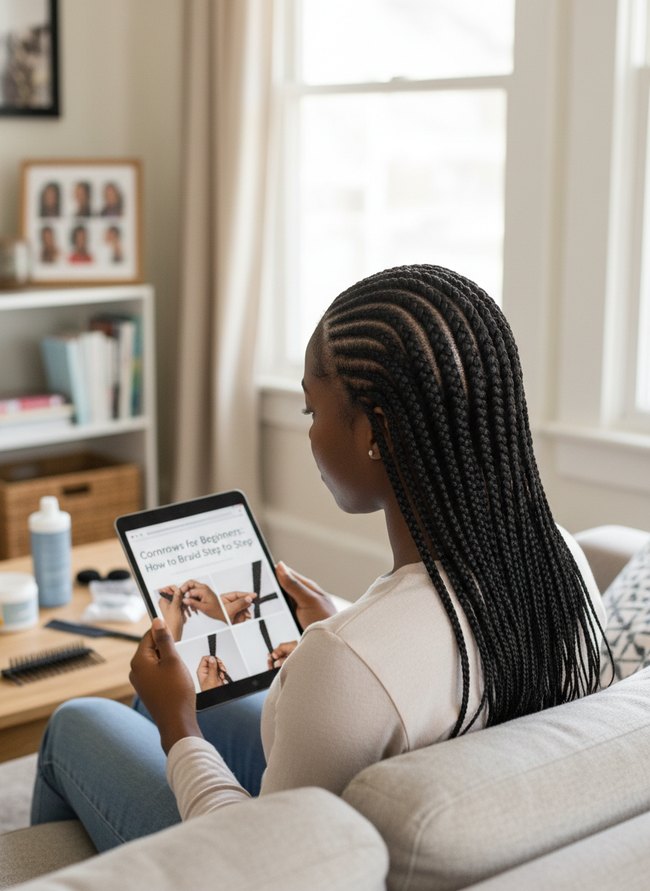
10. Youthful Half-Up Cornrows
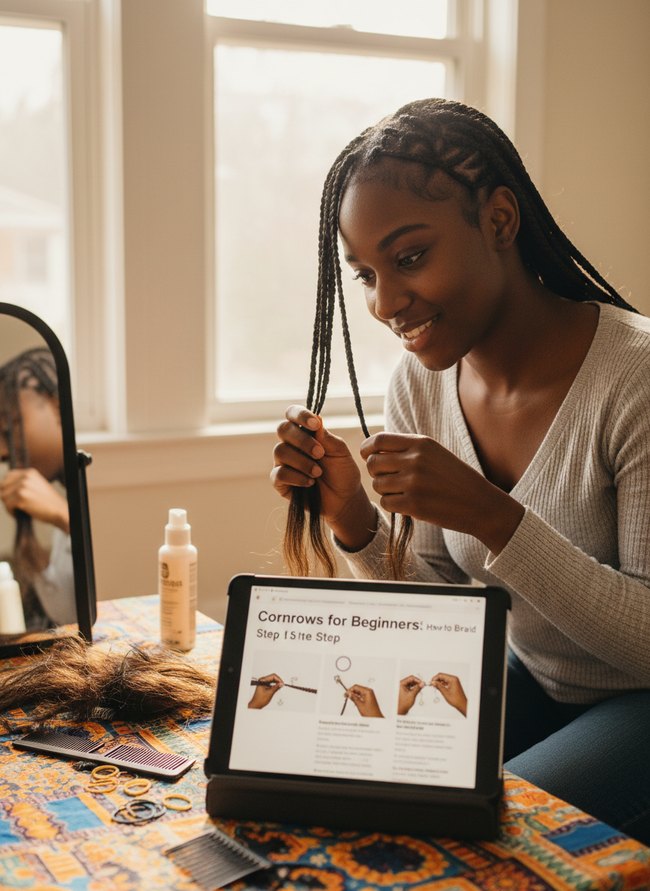
A young woman with dark brown hair practices braiding cornrows, holding two long hair sections. Her half-up cornrows are already styled on the crown. On the blue patterned table sits a black tablet displaying instructions, next to a hair product bottle and several small black combs. A good step-by-step guide helps you learn new styles.
11. Simple Braided Ponytail Base

A young woman with dark braids smiles at the viewer, wearing a cream sweater and light blue jeans. Her hair features neat cornrows that pull back into a sleek, low ponytail, creating a clean look. The style is an excellent choice for cornrows for beginners, offering a simple yet polished finish.
12. Quick Frontal Braid
Dark brown braids curve back from the hairline, forming thick, defined cornrows. A few hair clips and a black comb rest on the light brown coffee table, showing the tools used for styling. The cornrows for beginners show how simple, clean lines create a polished look.
Pre-Braiding Prep: Detangling and Sectioning for Success
A wide-tooth comb unlocks knots better than a fine-tooth comb. Many stylists recommend a deep conditioning treatment on your hair strands before you ever touch a comb for detangling. Your hair needs to be damp, not dripping wet, for the easiest glide. Sectioning clips, those colorful plastic tools, hold parted hair securely out of the way. A rat-tail comb with its long, thin handle, helps you create sharp, straight lines across the scalp. Working in small, manageable sections prevents new tangles from forming while you work on other areas. You want a smooth, clean canvas for your cornrows. Each section should have a clear, crisp part line, from your hairline all the way back to your nape. Small, clean parts make strong, defined braids. Some people prefer to use a small amount of leave-in conditioner or a light oil on each section as they detangle, adding slipperiness. This added lubrication reduces friction and protects your delicate hair from breakage during the combing process.
Troubleshooting Common Beginner Snags: Uneven Braids and Frizzy Edges
Woven braids often lose their neat lines when your fingers lift too high from the scalp. Consistent finger placement keeps your
**cornrows for beginners** tight and uniform. Many people find their braids start wide and thin out dramatically. This issue signals uneven hair distribution across the three sections you hold. A small plastic comb with a long, thin tail helps you divide hair into three equal, narrow strands before each new stitch. Loose strands around the perimeter of your face create a fuzzy halo. Smooth edge control gel, a clear styling product, can tame those tiny hairs. Apply a pea-sized amount of gel with your fingertip along the hairline before you begin braiding. Sometimes a braid detaches from the scalp. You can re-secure a loose braid by gently pulling the detached section taut, then re-braiding that small segment directly against your head. Little bumps sometimes appear along the braid’s path. These bumps happen when you add hair unevenly. Make sure to gather the same small amount of new hair into each outer strand before you cross it over the middle. A light misting of water on dry hair sometimes helps. Damp hair has more elasticity.
Which Idea Will You Try First?
That’s 12 different takes on cornrows for beginners. The best ideas above are usually the smallest moves — one material, one layout shift, one piece of furniture in the right place. Pick whichever room feels closest to your space and start there before tackling the rest.
Found an idea worth keeping? Save this post to your Pinterest board so it’s waiting for you when you’re ready to start your own project.