Fingers learn the unique tension of new hair without a teacher. Many guides suggest an expensive salon visit for professional knotless braids. Your own hands build stronger muscle memory for future styling. Braiding techniques deliver a clean, flat root for extended wear. A small mirror at waist height shows every precise section. You can master how to do knotless braids with simple tools and dedicated practice. The guide breaks down every motion, from sectioning to sealing, for a smooth finish. Practice on a small back section first, before you tackle the entire head of dark hair.
1. Simple Sectioning Preparation
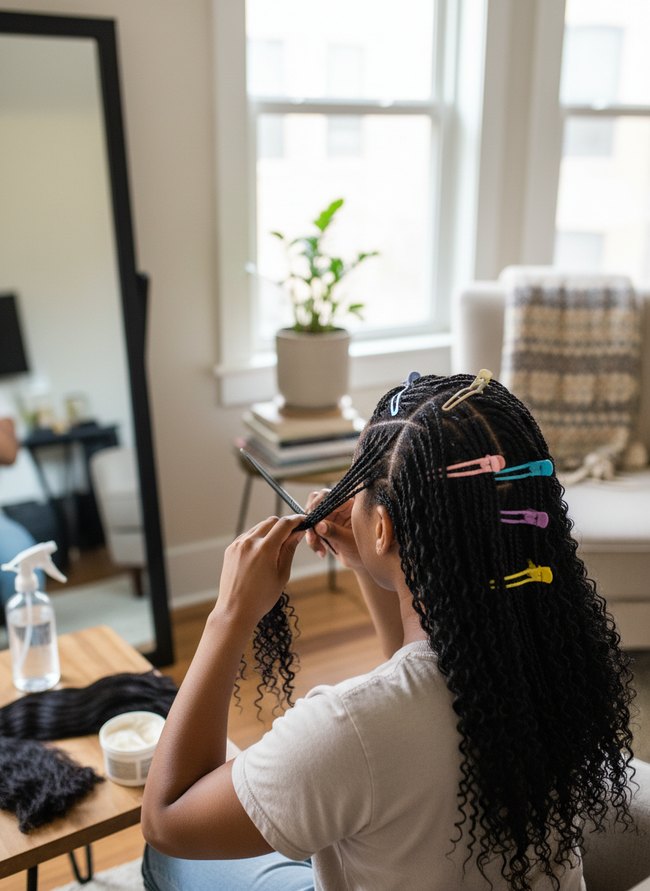
Colorful hair clips separate the dark hair into neat square sections, establishing a clear grid for knotless braids. Individual sections remain held apart by the bright plastic clips, keeping the working area tidy. A small wooden table provides a flat surface for hair products and a clear spray bottle. Hair clips create precise hair sections.
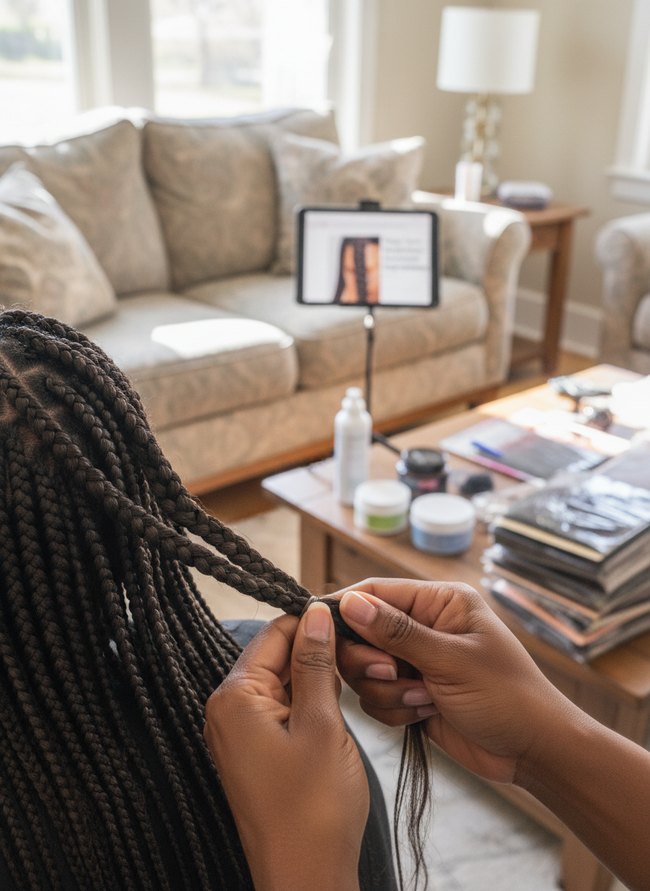
2. Beginner Braid Foundation
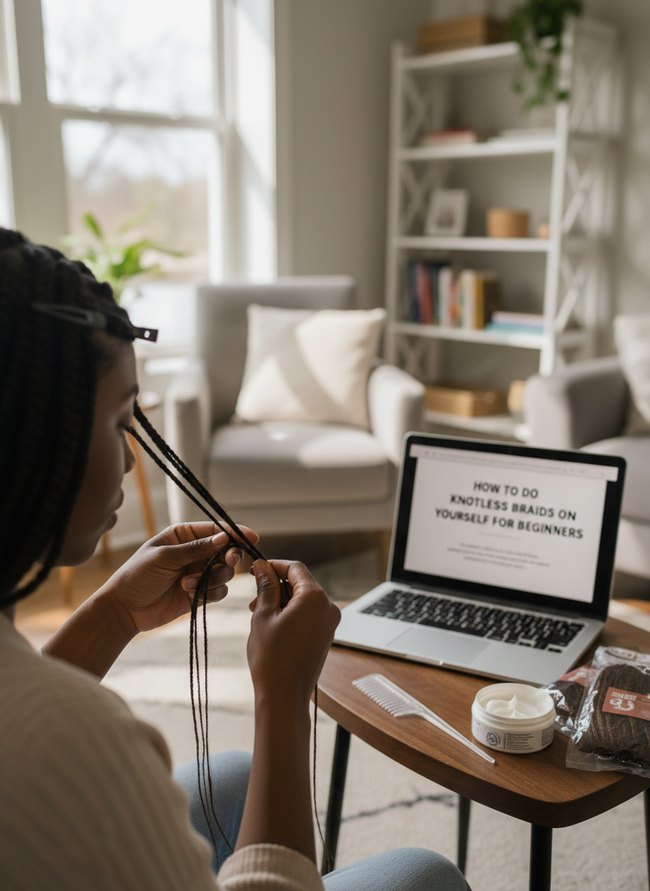
A laptop screen shows clear, white text against a dark background, making the tutorial easy to follow. A wide-tooth comb and a white jar of hair cream sit ready on the small, dark brown wooden table. Hair stylists can learn to do knotless braids by watching a video tutorial.
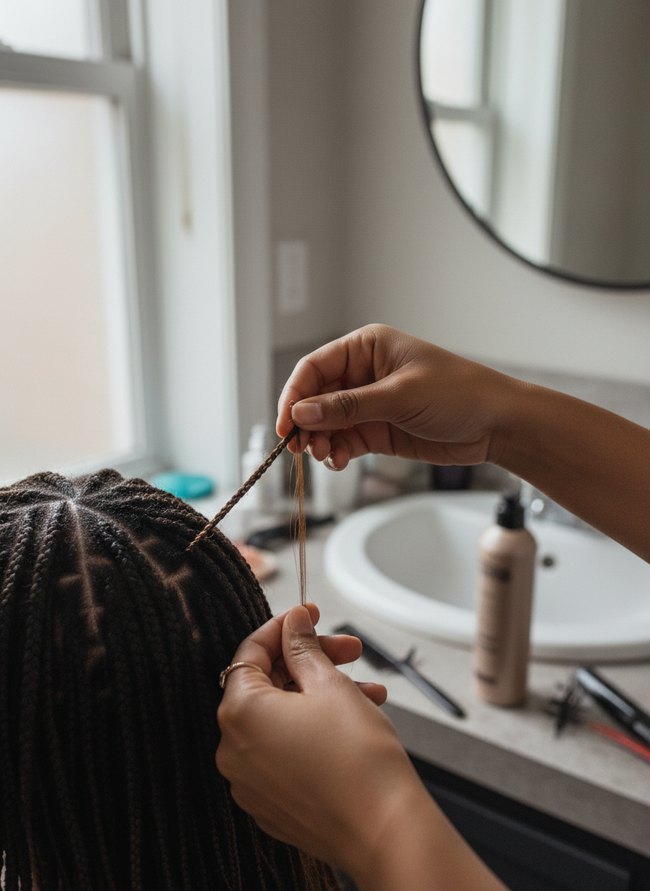
3. Easy Feed-in Technique

The stylist’s hands gently prepare a small section of light brown braiding hair, demonstrating a key step in knotless braid creation. Her careful finger placement ensures a smooth start for each knotless braid, preventing bumps at the scalp. A white bathroom counter holds a plastic bag of matching hair extensions and black hair clips, ready for use. You can steal the precise, gentle handling of the hair strands.
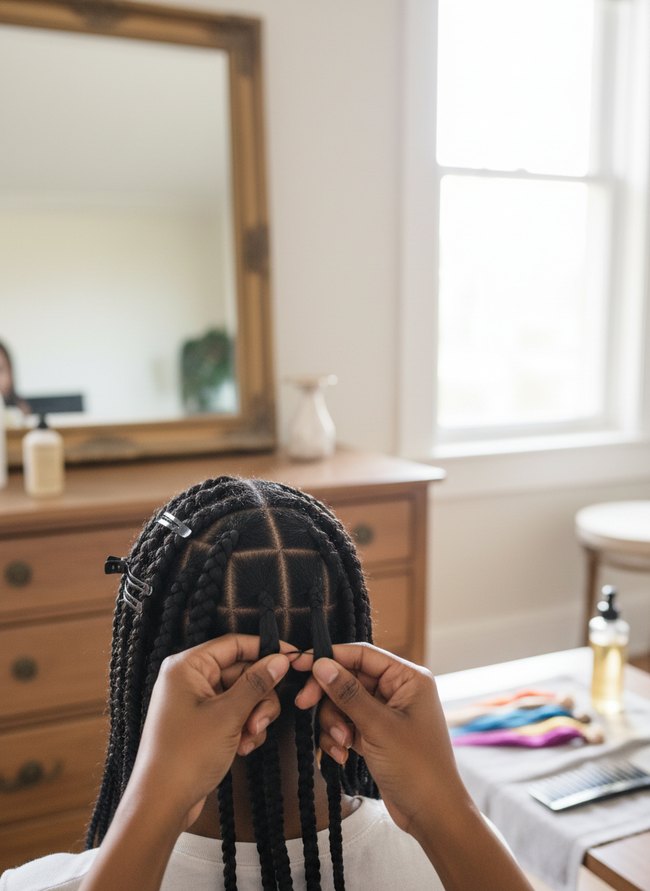
4. Clean Parting Method

A large, glossy mirror reflects a bright window, illuminating the hair styling process. Dark brown braids form on the client’s head. A white tablet on the wooden dresser displays a reference image of a braided hairstyle. The tablet provides a visual guide for consistent styling.
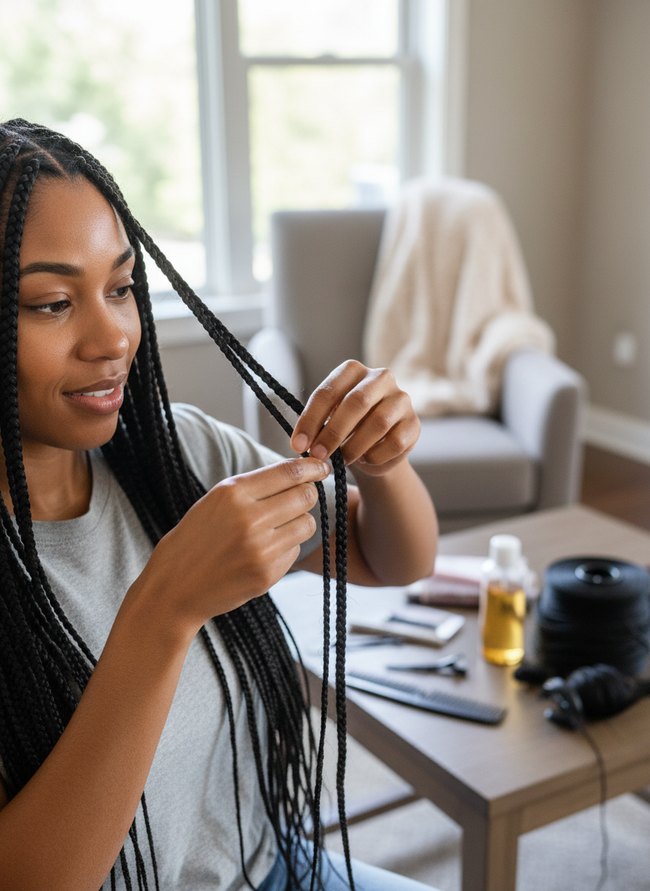
5. Smooth Strand Addition

Gentle finger tension keeps the dark brown hair sectioned neatly, preventing pulling on the scalp. The careful hold ensures a comfortable braiding experience for the person styling their home hair. A gold-framed mirror on a round metal table shows the stylist’s face, reflecting her work. Small, clear spray bottles on the table offer helpful moisture.
6. Gentle Tension Control
Black hair shows careful sectioning into neat squares on the scalp. Precise parting maintains even tension throughout the braid, preventing pulling or discomfort for knotless braids. Small silver clips hold back finished sections, while a golden mirror reflects bright window light. The controlled hair sections are a smart move.
7. Seamless Root Blending

A three-strand braiding technique blends extensions smoothly into natural hair. The method ensures each knotless braid begins without a visible knot, creating a flat, natural-looking root. The seamless look is achieved by carefully feathering in the braiding hair as each braid begins.
8. Uniform Braid Pattern
The stylist maintains even tension on each dark braid, creating a smooth, uniform pattern across the scalp. The careful technique ensures each knotless braid lies flat and flows naturally, preventing bumps or gaps. The stylist’s hands work on the long black hair, with a small bottle of golden oil and a black comb on the wooden table nearby. The consistent size of each individual braid is the key takeaway for your own how to do knotless braids project.
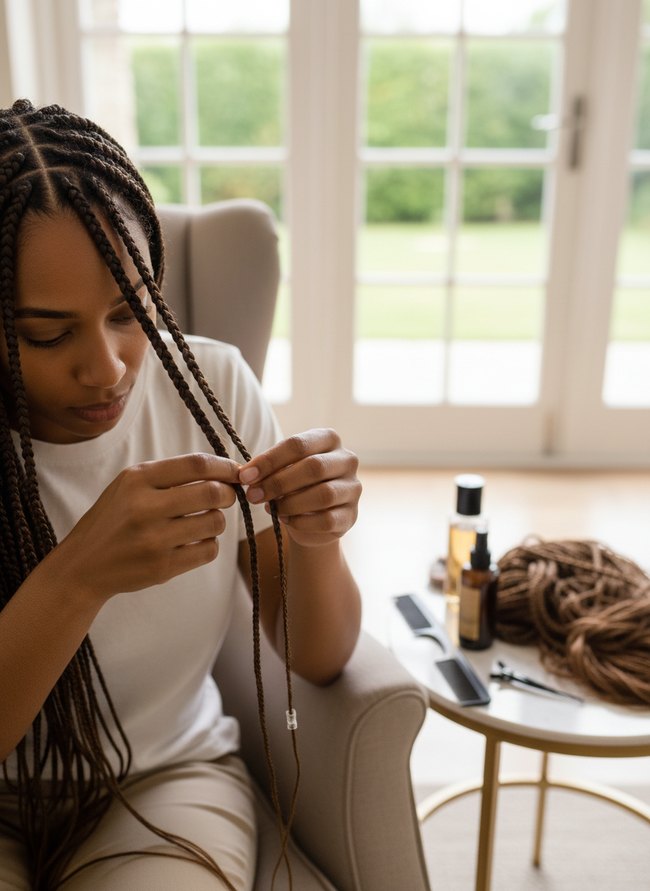
9. Secure Braid Finishing
The close-up on the dark brown braids shows the secure finishing technique clearly. The tight, firm wrap prevents unraveling, giving knotless braids a clean, polished look. A nearby wooden coffee table holds various hair products and a tablet displaying more hair styling instructions. Always finish braids with a firm, neat wrap.
10. Back Row Guidance
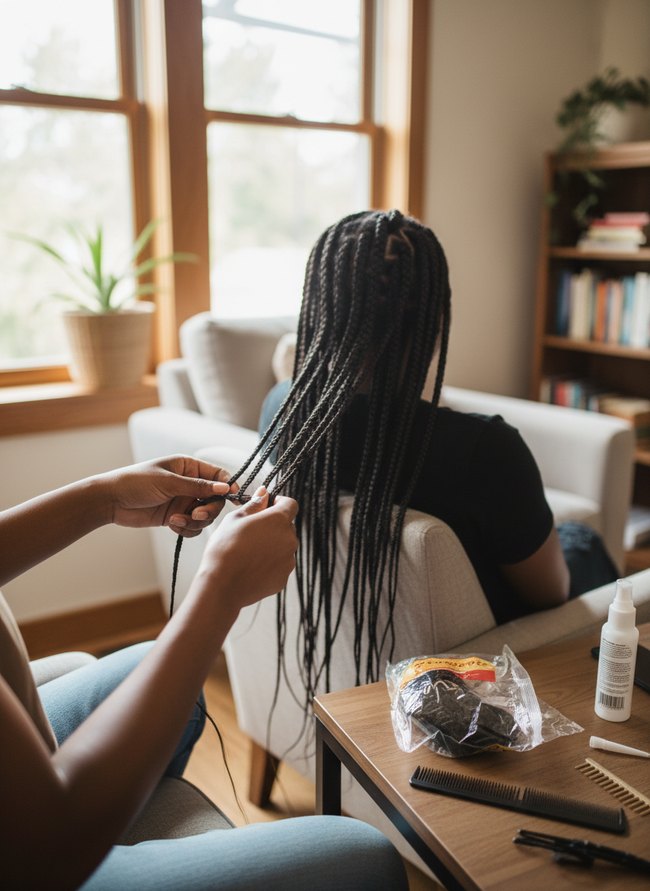
The stylist’s hands demonstrate a firm grip on the dark hair, showing the precise tension needed for knotless braids. Several finished black braids cascade down the client’s back, highlighting the neat, even sections. A small white spray bottle and a black comb rest on the wooden side table, providing useful tools for the braiding process. The consistent braid thickness is a key takeaway.
11. Side Section Mastery
Careful hair sectioning creates neat, square-shaped bases for each individual knotless braid, ensuring a polished final look. The method prevents uneven tension on the scalp, making the braiding process more comfortable. A stylist’s dark fingers skillfully add light brown braiding hair into the natural dark hair, while a silver ring accents the movement. Master precise parting for the braids.
12. Front Hairline Integration
The stylist carefully integrates a new brown hair strand into the existing knotless braid, adding length and fullness. The method allows for a seamless flow from the natural hairline, making the braids appear to grow directly from the scalp. Your setup includes styling products and a black comb on a white round side table. The careful integration of new hair creates natural-looking knotless braids.
The Biomechanics of Tension Distribution in Base Parting for Reduced Scalp Stress
Even, gentle tension across the scalp dramatically lowers discomfort for knotless braids. Hair follicles experience less pulling when each section of natural hair gets a balanced, light hold. Many braiders pull hair tight at the edges of a square parting, creating concentrated stress points. Instead, you want your fingers to spread the small pulling force evenly over the entire quarter-inch section of hair. A soft, consistent grip on the natural hair near the scalp prevents sharp, localized pressure. Uneven pulling can lead to tiny, red bumps along the parting line. You can practice this gentle touch on a doll head, feeling how slight finger adjustments change the strand’s resistance. The goal remains a smooth, flat foundation, not a cinched, taut band of hair. Your client’s comfort during the three-hour braiding session hinges on this initial, careful distribution of force. Scalp health improves with this mindful application.
Optimizing Hair Fiber Integration: A Material Science Perspective on Synthetic Hair Blending Ratios
The braid’s long, neat finish directly reflects your fiber blending technique. You want the synthetic hair to marry your natural strands without any bulky bumps or visible demarcation lines. Consider a single strand of honey-toned braiding hair; its fine texture needs careful integration. A common error involves adding too much braiding hair too quickly, creating a thick, obvious knotless braid attachment point. Instead, take a tiny, pencil-thin piece of extension hair for the initial feed-in. This small addition allows the extension hair to gradually build volume with your natural hair. Every subsequent piece of braiding hair you add should also be thin, about the width of a shoelace. Proper layering of these small fiber segments prevents an abrupt change in the braid’s thickness. Your fingers should feel a smooth, continuous flow from your scalp down the braid.
Which Idea Will You Try First?
That’s 12 different takes on how to do knotless braids. The best ideas above are usually the smallest moves — one material, one layout shift, one piece of furniture in the right place. Pick whichever room feels closest to your space and start there before tackling the rest.
Found an idea worth keeping? Save this post to your Pinterest board so it’s waiting for you when you’re ready to start your own project.