Tag: install

  • How to Install a Glueless Wig for Beginners

    How to Install a Glueless Wig for Beginners

    Hair changes every look. Some folks think adding a wig means sticky glue and a whole afternoon of fuss. You can skip that gooey stuff entirely. A good glueless wig offers a strong hold with minimal effort. The guide focuses on the solid steps to put your new wig on right the first time. We will walk through the simple setup for a smooth, natural finish. Get ready for easy wins.

    1. Secure Wig Cap Foundation

    Secure Wig Cap Foundation

    Two hands gently stretch a beige wig cap over a person’s head, readying the base for a glueless wig. Smooth the cap down firmly so no bumps appear. The cap must fit snugly around your hairline.

    2. Adhesive-Free Hairline Prep

    Adhesive-Free Hairline Prep

    A woman holds a white cotton pad, preparing her hairline for a glueless wig. Her hands carefully clean the skin near her temples. The clean skin helps the wig stay put without glue.

    3. Elastic Band Method Setup

    Elastic Band Method Setup

    A thin, beige elastic band sits across the woman’s forehead, neatly pinned to her dark wig cap. The band should be carefully positioned just behind your hairline, ensuring a snug fit without tightness. Small black bobby pins secure the band to keep it from slipping.

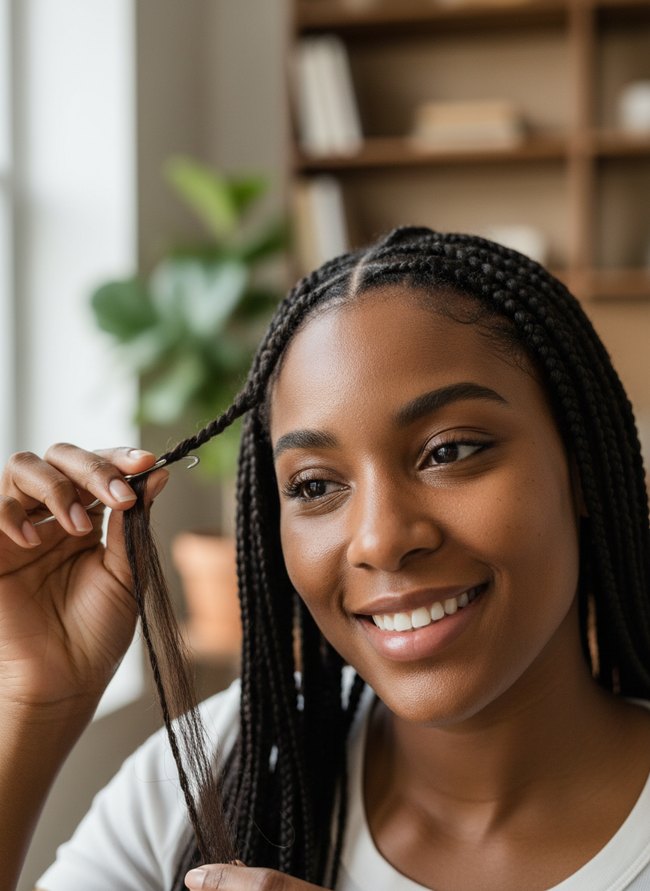
    4. Basic Wig Placement Guide

    Basic Wig Placement Guide

    The blonde wig shows a natural middle part and soft waves, framing the model’s face. Fingers gently adjust the hairline, finding a comfortable position for the glueless wig. The wig’s front edge sits just above your natural hairline for a seamless look.

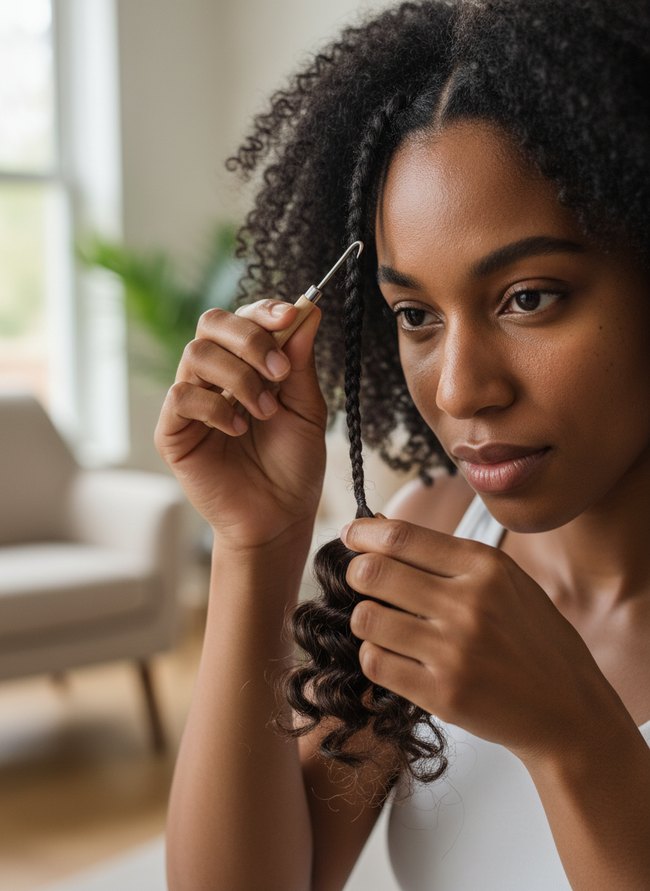
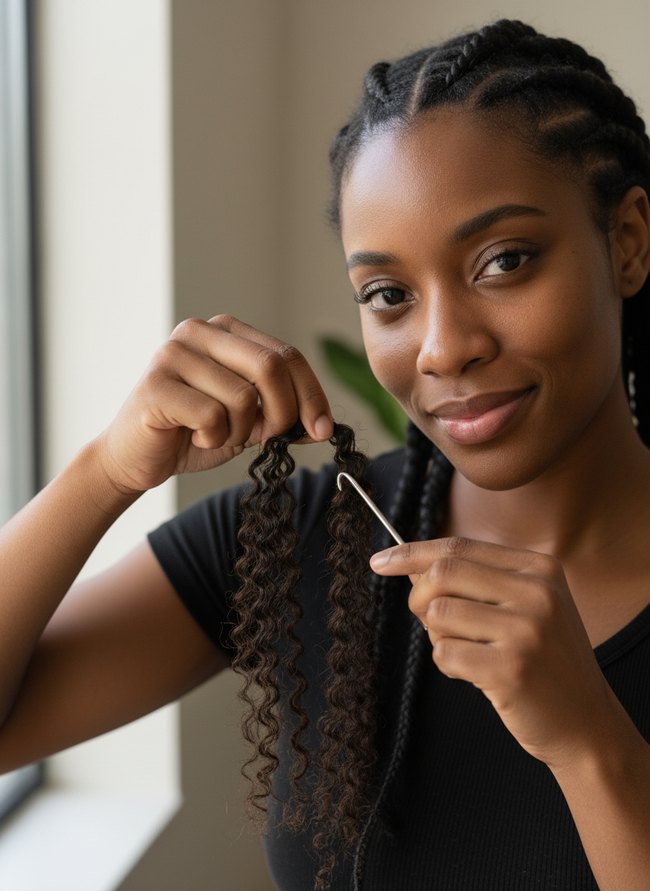
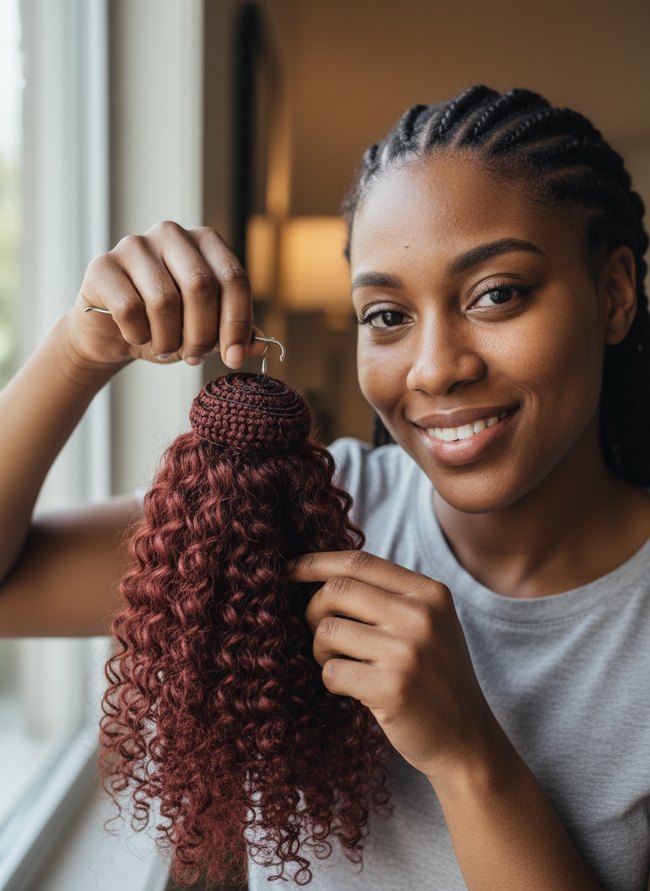
    5. Comb Adjustment Technique

    Comb Adjustment Technique

    A small black wig comb secures the dark brown wavy wig to the wearer’s natural hair. The woman’s hands work carefully, one hand holding a black metal pin while the other adjusts the tiny plastic comb inside the wig. Always use small combs to properly install a glueless wig for a snug fit.

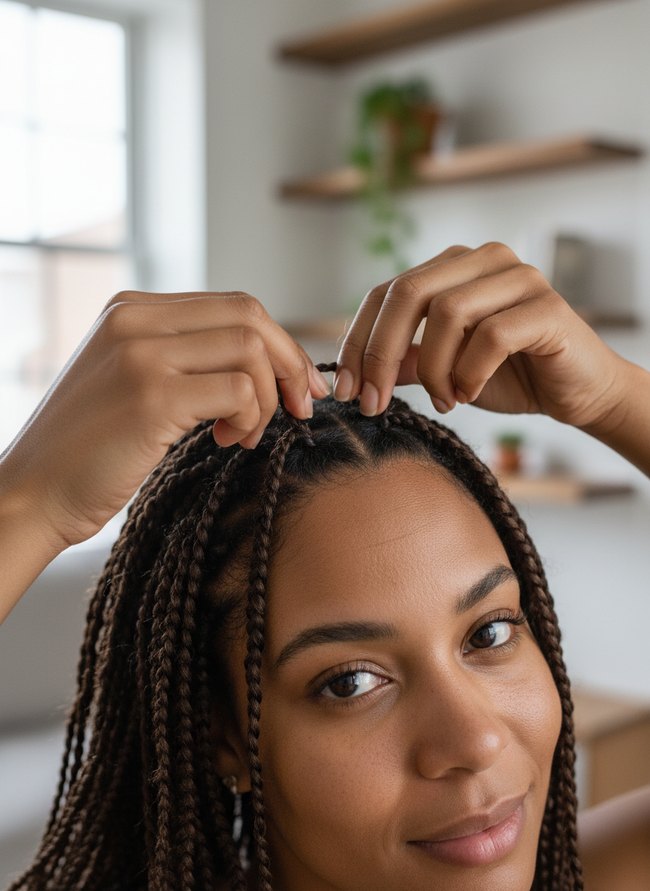
    6. Beginner Wig Alignment

    Beginner Wig Alignment

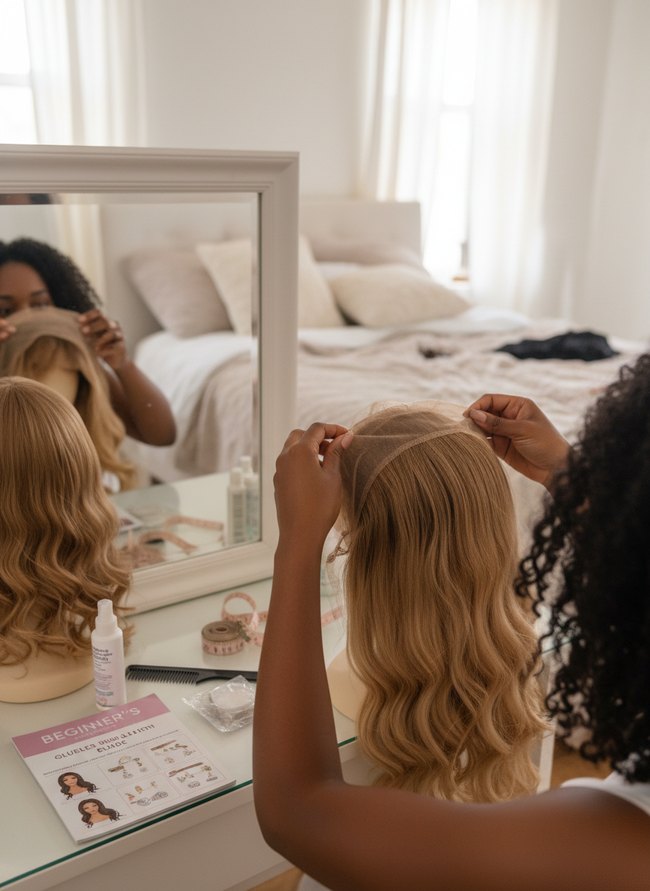
    A woman’s hands gently hold the delicate beige lace of a blonde glueless wig. Her fingers carefully adjust the transparent lace front, showing how to install the wig by aligning the hairline. The instruction booklet on the white vanity shows clear steps for beginner wig alignment.

    7. Ear Tab Positioning Trick

    Ear Tab Positioning Trick

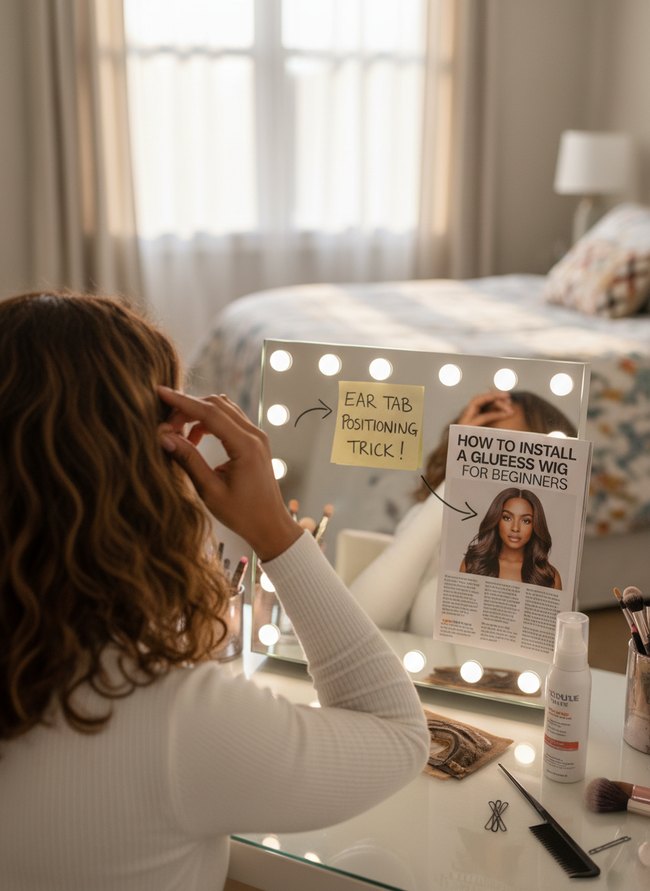
    A yellow note on the lighted mirror highlights an important ear tab positioning trick. The woman’s right hand presses the brown wig’s ear tab down, showing proper placement. Adjust the wig’s ear tabs carefully to sit just above your natural ears.

    8. No-Glue Wig Finishing

    No-Glue Wig Finishing

    A light brown wig cap with a lace front is carefully placed on the model’s head. The wig cap must fit snugly over your natural hair, smoothing out any bumps. Place the cap just behind your natural hairline to prepare for how to install a glueless wig.

    9. Baby Hair Blending Start

    Baby Hair Blending Start

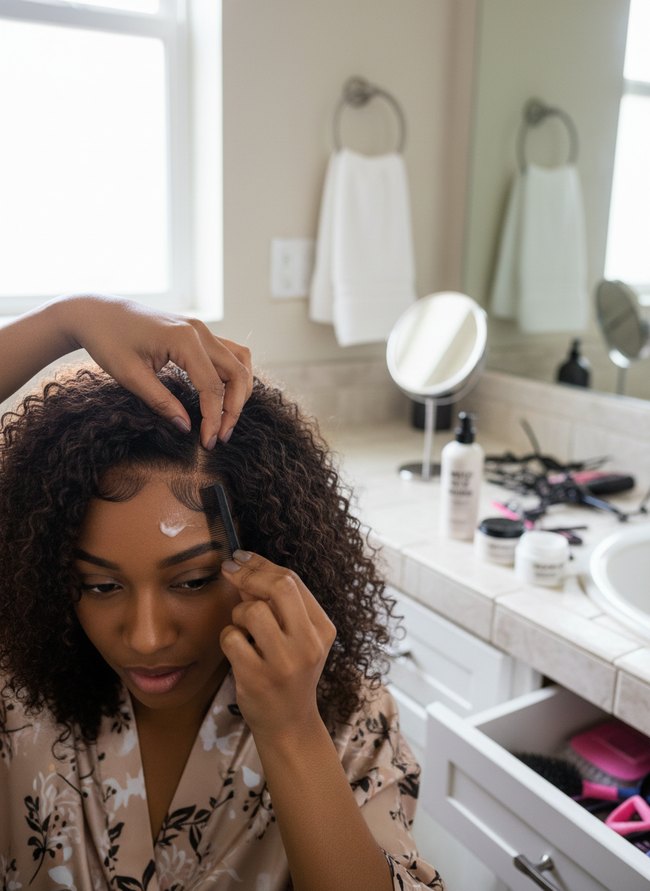
    Dark hair around the hairline shows small, styled curls. A fine-tooth black comb shapes the wig’s baby hairs, pulling them into gentle waves. A small amount of white styling cream provides a natural, soft finish.

    10. Simple Lace Cut Trim

    Simple Lace Cut Trim

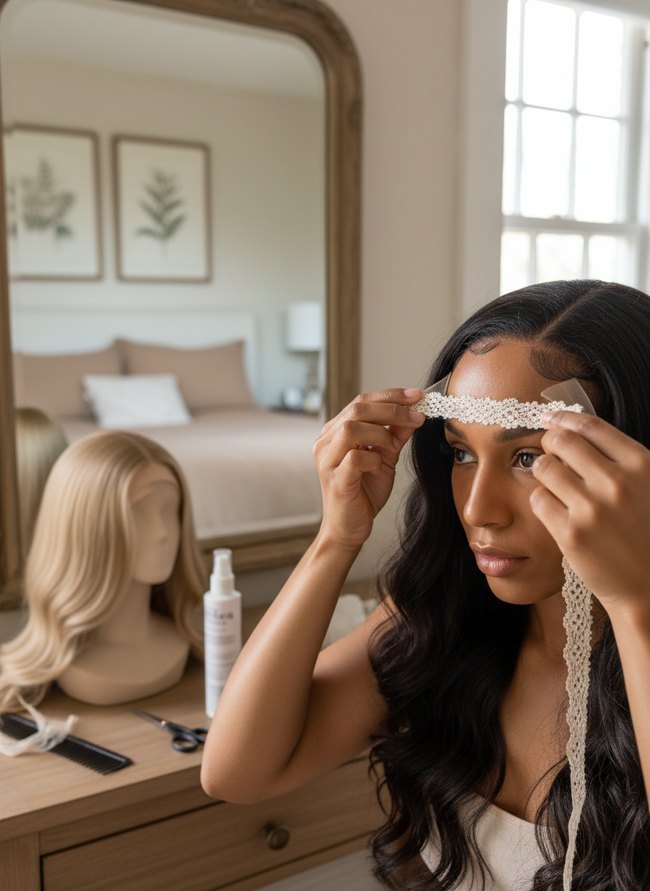
    The model holds a thin strip of cream-colored lace trim over her forehead, showing where to cut the excess lace from your glueless wig. Hold the wig’s lace front firmly against your skin to get a natural hairline. Cut the extra lace very carefully, leaving a small, half-inch border of lace.

    11. Scalp Area Concealment

    Scalp Area Concealment

    The light brown wig cap stretches smoothly across the model’s forehead, covering her hairline and natural dark hair. A wig cap in a shade close to your skin tone helps a glueless wig blend seamlessly. The cap must lie flat against your scalp to create a natural base.

    12. Frontal Section Attachment

    Frontal Section Attachment

    The woman holds a sheer lace frontal up to her forehead, aligning the thin mesh with her natural hairline. Gently place the lace frontal over your forehead, making sure the edges sit right at your hairline. Secure the frontal with small clips or adhesive to keep your glueless wig in place.

    My Wig Keeps Slipping: Troubleshooting for a Secure Fit Without Glue

    Many people believe a tight wig cap will keep their glueless wig firmly in place. That thin nylon dome often causes more problems. Instead, choose a velvet wig grip. This plush black band has two sides. The soft velvet side grips your natural hair. The opposite grippy rubber side holds the wig’s lace base. You wear the dark band like a headband.

    Another common mistake involves cutting the lace too close to the hairline. A close cut leaves no room for adjustments. Leave a quarter-inch of extra transparent lace around the perimeter. This extra material gives you more space for the wig grip. The wider lace edge offers more surface area for the rubber to hold. Your wig will feel more secure.

    Some beginners pull their natural hair back into a bulky bun under the wig. A large lump creates an uneven surface. Bumps under the wig make it slide. Flat cornrows or small twists offer a smoother canvas. A flat foundation helps the wig sit evenly. A smooth base means less movement for your glueless wig.

    Avoiding the ‘Wiggy’ Look: Blending Your Hairline for a Natural Finish

    Many people think wig glue is the only way to get a smooth hairline. They believe a glueless wig always looks like a helmet. Your natural skin peaking through offers a much softer edge. Most people pull their wig straight down to their forehead. This creates a harsh, straight edge. Instead, gently push the front lace of the glueless wig slightly behind your natural hairline. A small gap reveals your own skin. This tiny space helps the wig melt into your face.

    Another common mistake involves cutting the lace in a straight line. That sharp cut screams “wig.” A better approach involves tiny, zig-zag cuts along the front edge of the lace. Use small, pointed scissors for this delicate task. Little jagged edges mimic natural hair growth. Some people also forget to flatten their own hair underneath. Bulky braids or buns create an unnatural bump. Flat cornrows or a smooth cap keep everything sleek. Lightly applying foundation to the lace edge matches your skin tone. A small, soft makeup brush helps blend the color. This simple step makes the wig disappear.

    Which Idea Will You Try First?

    That’s 12 different takes on how to install a glueless wig. The best ideas above are usually the smallest moves — one material, one layout shift, one piece of furniture in the right place. Pick whichever room feels closest to your space and start there before tackling the rest.

    Found an idea worth keeping? Save this post to your Pinterest board so it’s waiting for you when you’re ready to start your own project.

  • How to Install Crochet Hair Step by Step

    How to Install Crochet Hair Step by Step

    Hair extensions offer a range of styles, from braided patterns to loose flowing strands. Many options exist for adding length and volume to natural hair, often without heat or harsh chemicals. A tight installation saves money on salon visits but demands more personal time. A quicker install might cost more or require professional help. Crochet hair offers a versatile method for achieving many looks at home. The protective style gives natural hair a break from daily manipulation. Each approach to installing crochet hair carries its own balance of effort and reward. We explore some ways to attach these soft, synthetic fibers.

    1. Braiding Cornrow Base

    Braiding Cornrow Base

    Dark cornrow braids offer a flat base for installing crochet hair, creating a smooth surface. Small braids prioritize a sleek foundation over loose, flowing hair. A woman’s neutral-toned t-shirt and bright window light provide a simple background.

    2. Looping Hair Through

    Looping Hair Through

    A dark braided strand forms a small loop above the woman’s forehead, held by two hands. The method means you are ready to begin looping hair through your cornrows. The woman’s natural skin tone and a light neutral shirt suggest a focus on the hair installation process.

    3. Securing Knot Tight

    Securing Knot Tight

    Two dark-skinned hands gently grasp a section of warm, reddish-brown braided hair near the forehead. The knot can be pulled taut, securing the crochet hair firmly against the scalp. A tight knot provides a long-lasting style, though removal may take extra effort later.

    4. Crochet Hook Insertion

    Crochet Hook Insertion

    A wooden-handled crochet hook holds a dark, braided hair section. Your hand guides the tool through a small cornrow, positioning the hook for new hair. The method offers quick installation, trading individual braiding time for speed.

    5. Individual Strand Method

    Individual Strand Method

    Black cornrow braids create a clean, organized pattern across the scalp. The method offers a neat foundation for crochet hair. The dark braids extend down the back, showing a long, flowing style.

    6. Invisible Knot Technique

    Invisible Knot Technique

    Dark curly hair pieces are held apart, showing their long wavy texture. A thin silver crochet hook sits ready to begin the invisible knot technique for installing crochet hair. Hair stylists choose this method for a smooth, natural finish; however, the technique means spending more time on each individual attachment.

    7. Sectioning Hair Precisely

    Sectioning Hair Precisely

    Black box braids frame the woman’s face, showing careful sectioning. Metal hair clips hold sections of brown hair in place, trading quick adjustments for a firm hold. A wooden shelf with a green potted plant sits in the background, adding natural color.

    8. Adding New Extensions

    Adding New Extensions

    Dark brown braids frame your face, showing a careful hand at work. Skilled fingers separate a small section of black hair at the crown. The choice allows for precise placement as you learn how to install crochet hair.

    9. Styling Finished Look

    Styling Finished Look

    The woman’s dark braided hair shows a neat, parted section. Her hands hold a metal latch hook, ready to install crochet hair. The choice offers a quick transformation, trading away the time of traditional braiding for speed.

    10. Refreshing Old Braids

    Refreshing Old Braids

    Dark hands gently pull apart strands of auburn crochet hair. Older braids can be refreshed, trading a new style for extended wear. Her face, framed by a light window, shows a pleasant expression.

    11. Edge Control Application

    Edge Control Application

    The woman’s left hand holds a small metal latch hook, guiding the tool into the dark auburn crochet hair. Her right hand gently touches the deep red curls, checking the soft texture. A bright window behind her brings a subtle glow to the indoor setting.

    12. Finishing Spray Setting

    Finishing Spray Setting

    A woman’s dark braided hair shows a neat part line near her temple. Crochet braids can hang freely, trading a fully styled look for a natural flow. Her left hand holds a silver latch hook tool, ready to secure the brown synthetic braids.

    Should You Braid Your Hair Straight Back or In Cornrows for Crochet?

    Two distinct braiding patterns, straight back or cornrows, offer different foundations for your crochet hair. Straight back braids, simple and swift, offer quick installation. These long, uniform braids provide a flatter base. However, straight back braids give less shape control. Your final crochet style might lack volume near the temple lines.

    Cornrow patterns, intricate and detailed, take more time to create. A skilled braider forms these tight, curved rows. Cornrows give you precise control over the shape and height of your finished style. You can design custom patterns, like a circular beehive or a square bob. But the extra braiding time adds to your total installation schedule.

    Straight back braids work well for a quick, flat look. People wanting a simple, fast style choose this option. Conversely, cornrow patterns suit those seeking a sculpted, voluminous shape. Someone desiring a specific, rounded silhouette will prefer cornrows.

    To Leave Out or Not to Leave Out: Choosing Your Hairline Method

    The decision between a full crochet install and leaving out your natural hair around the edges changes your final look. Leaving out your own hair, typically a narrow strip of half an inch along the hairline, offers a seamless transition. This technique gives the illusion of hair growing directly from your scalp, creating a soft, natural frame. Your own delicate strands require daily styling; you must braid, twist, or gel the exposed hair every morning. A full crochet install, where braided hair completely covers your entire head, requires less daily effort. This method offers complete protection for your hairline, shielding fragile edges from daily manipulation.

    However, a full install means a less natural hairline; the small knots of the crochet braid will be visible upon close inspection. The choice hinges on your styling commitment and desired aesthetic. If you want a truly undetectable finish and don’t mind extra styling time, leaving out your own dark hair is a strong choice. If you prefer low-maintenance styling and prioritize protecting your delicate hair, a full install with no leave-out is a better option. Consider your lifestyle and how much time you want to spend on hair each day.

    Which Idea Will You Try First?

    That’s 12 different takes on how to install crochet hair. The best ideas above are usually the smallest moves — one material, one layout shift, one piece of furniture in the right place. Pick whichever room feels closest to your space and start there before tackling the rest.

    Found an idea worth keeping? Save this post to your Pinterest board so it’s waiting for you when you’re ready to start your own project.