Online guides often focus on fancy tools, but a clean, single-prong comb does the heavy work for precise parting. Hair texture matters less than consistent sectioning for crisp stitch braids. Natural hair, whether fine or coarse, holds the braid with a firm, even pull. The guide shows how to do stitch braids, detailing each step for a polished finish. Scalp health provides the foundation; clean, moisturized skin prevents irritation under the tight braids. The small, neat cornrows appear effortlessly sculpted when attention is given to every strand. Finger placement, a small but critical detail, dictates the braid’s tightness and overall shape. We will break down the process into clear, manageable actions, making this classic protective style accessible for your own hands.
1. Simple Single Stitch Braid
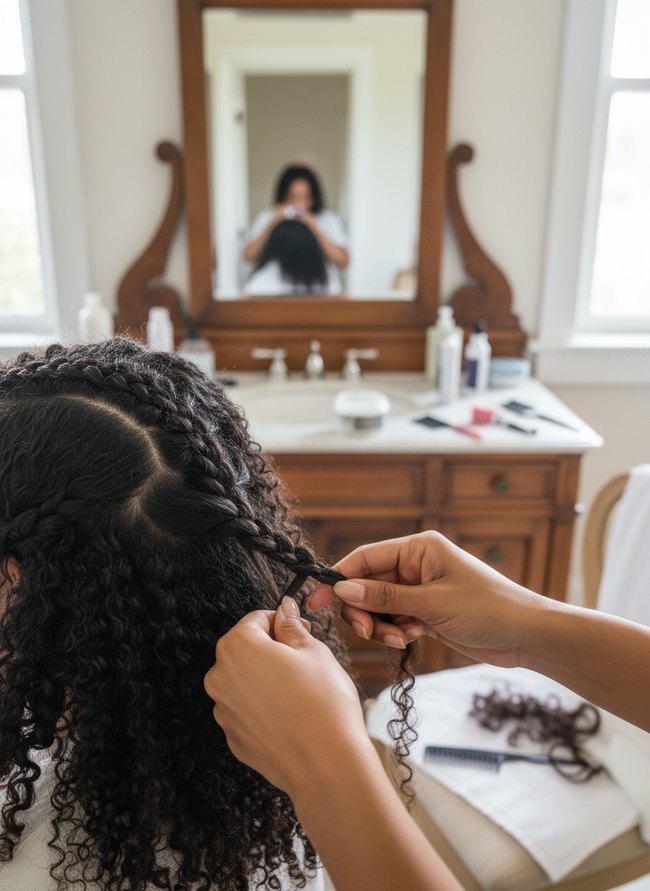
A deep, clean part down the center of the dark hair defines the stitch braid structure. The strong line provides a clear guide for creating uniform, neat sections, making the overall braid pattern look polished and intentional. Two hands work together, carefully weaving small hair sections, demonstrating the hands-on process of how to do stitch braids. You can steal the precise, straight part for your own clean braid designs.
2. Double Stitch Braid Start
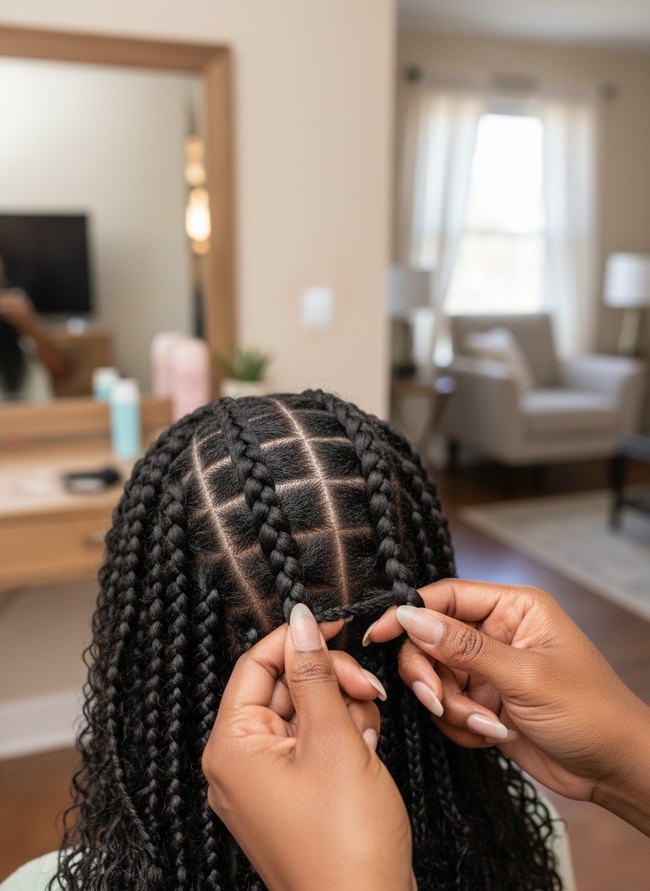
The stylist’s hands demonstrate the precise finger placement for starting a double stitch braid, creating a strong, clean foundation. Square partings on the dark hair ensure even tension and a neat grid pattern across the scalp. A wooden mirror and light-toned walls provide a soft background. Hair partings create a consistent braid pattern.
3. Angled Stitch Braid Section
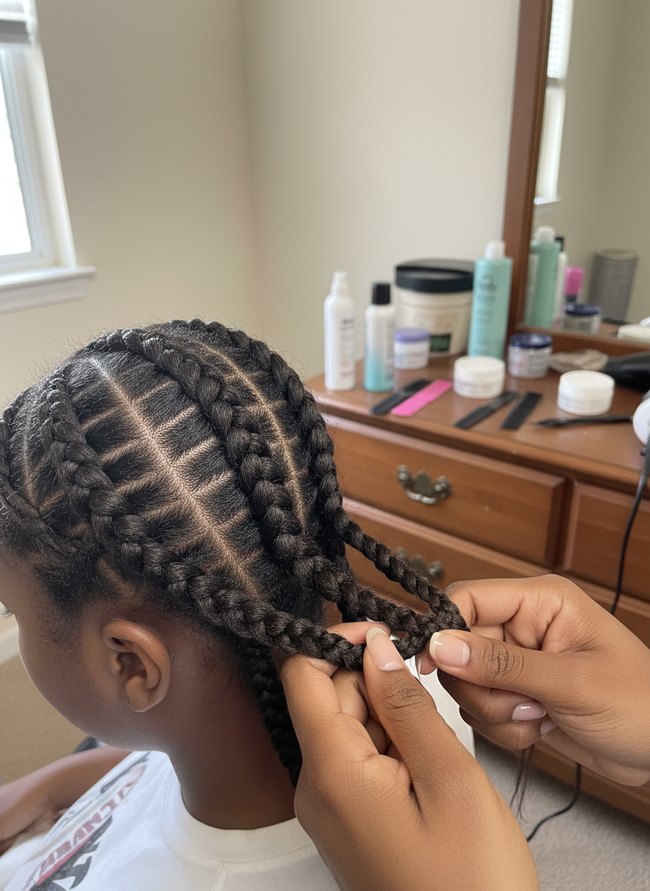
The stylist uses precise angled partings to create clean, geometric sections for each stitch braid. Each dark brown braid follows a consistent diagonal path across the scalp. Neat rows of hair products on the wooden dresser provide a helpful backdrop for focusing on the braiding technique. The single move worth stealing here is the use of sharp, diagonal parts for every braid.
4. Curved Stitch Braid Base
Crisp, square-shaped parts on the scalp create a neat, defined base for the dark hair braids. Precise sectioning ensures each braid begins cleanly, making it easier to maintain an even pattern throughout the style. Several small white containers of hair product and dark styling combs sit on the wooden desk, ready for use as the individual learns how to do stitch braids. You can steal the idea of using sharp, geometric parts for a polished final look.
5. Feed-In Stitch Braid Method

Two hands carefully add a thin black hair extension to a partially braided section of dark natural hair. The clear view of the feed-in method shows how to do stitch braids by adding new hair to each individual braid, creating a smooth, strong connection. The neat, tight braids display a uniform pattern across the head. Focus on the precise hand placement for a clean result.
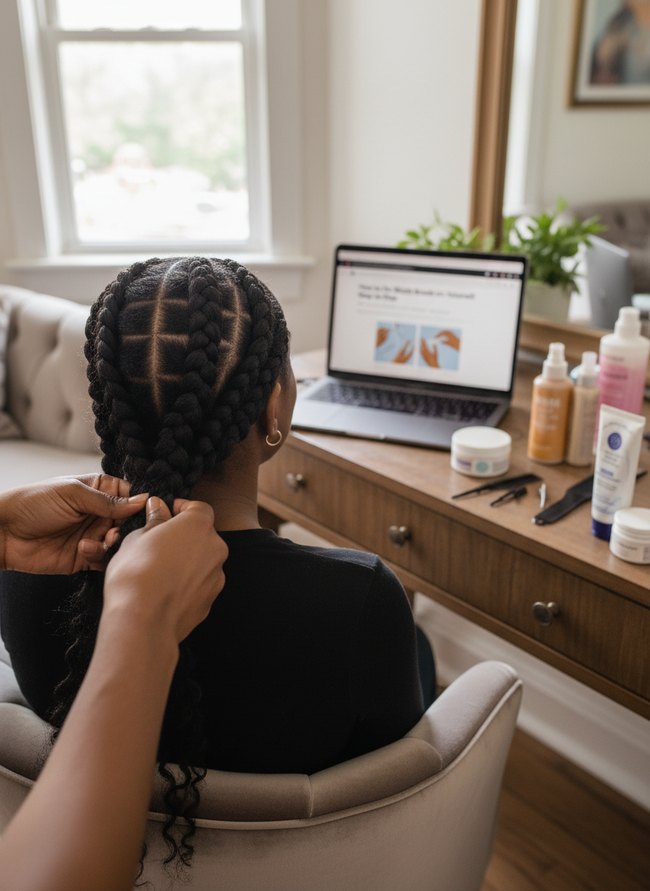
6. Small Stitch Braid Pattern

Clean part lines define the small stitch braid pattern, creating a precise grid on the dark hair. The geometric division provides a structured base for each individual braid, making the pattern consistent and neat. A laptop on a light brown wooden table shows a guide, offering visual help for you to follow. The key takeaway for your own small stitch braids is the crisp, white part lines.
7. Large Stitch Braid Technique
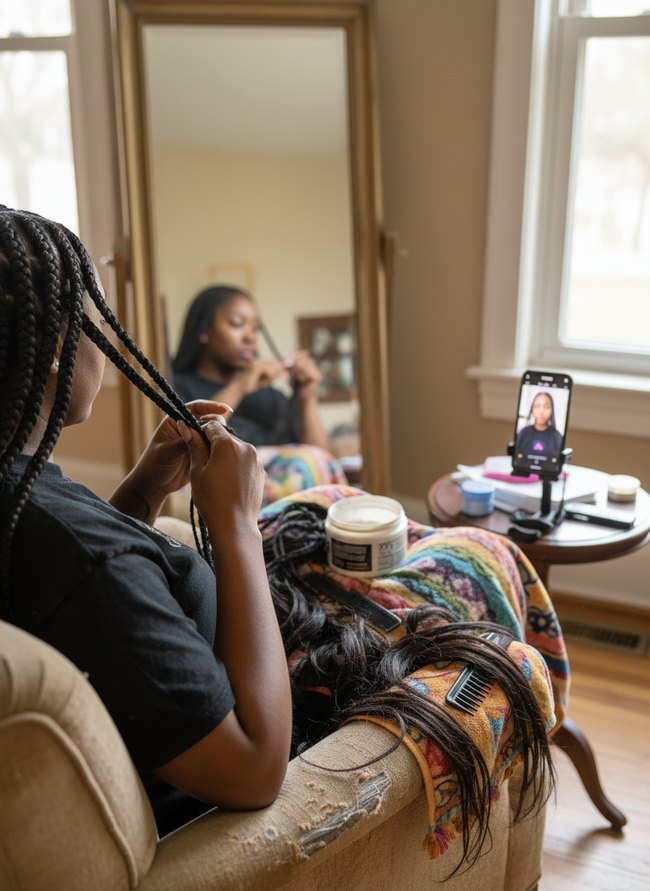
A woman in a black shirt uses an antique gold-framed mirror to monitor her progress while braiding her dark hair. Her hands work a new braid, while a white jar of hair product and a black comb rest on a colorful patterned blanket. The setup offers a simple, effective way to learn how to do stitch braids on yourself.
8. Side Swept Stitch Braid

Careful sectioning of the dark curly hair creates a neat, flat base for the side-swept stitch braid. Clear plastic clips hold back the remaining hair, showing a helpful technique for keeping sections separate while you work. A black fine-tooth comb, hair ties, and white cream jars sit ready on the warm oak counter. Small clips manage loose hair when you do stitch braids.
9. Half-Up Stitch Braid Style
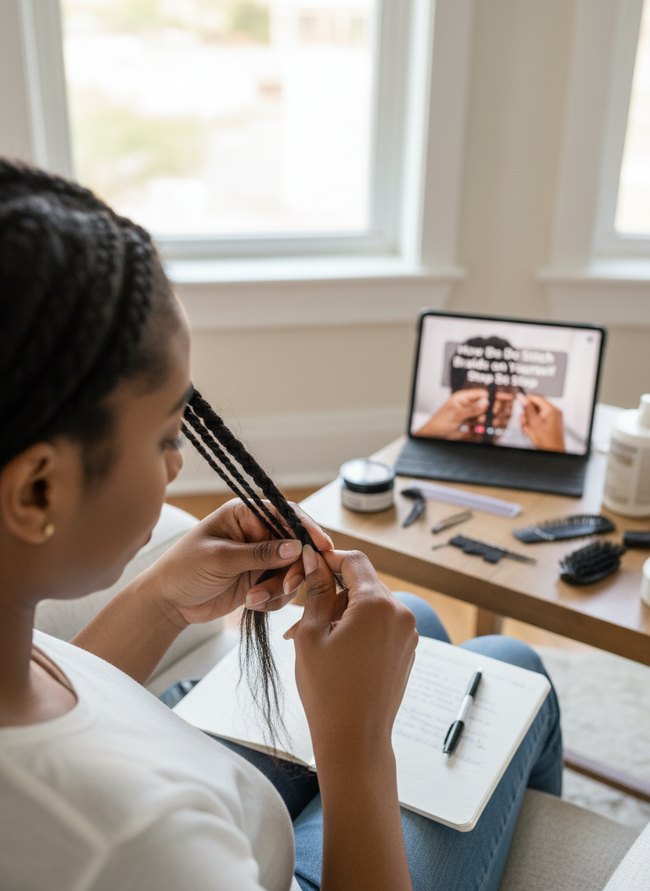
The dark grey tablet displays a digital tutorial, guiding users through stitch braid steps. Users gain confidence by watching the stylist’s hands on the screen perform motions mirroring their own. Various black hair tools and white hair products sit on the light brown wooden table, ready for use. Replicate the on-screen guidance for clear results.
10. Crown Stitch Braid Foundation
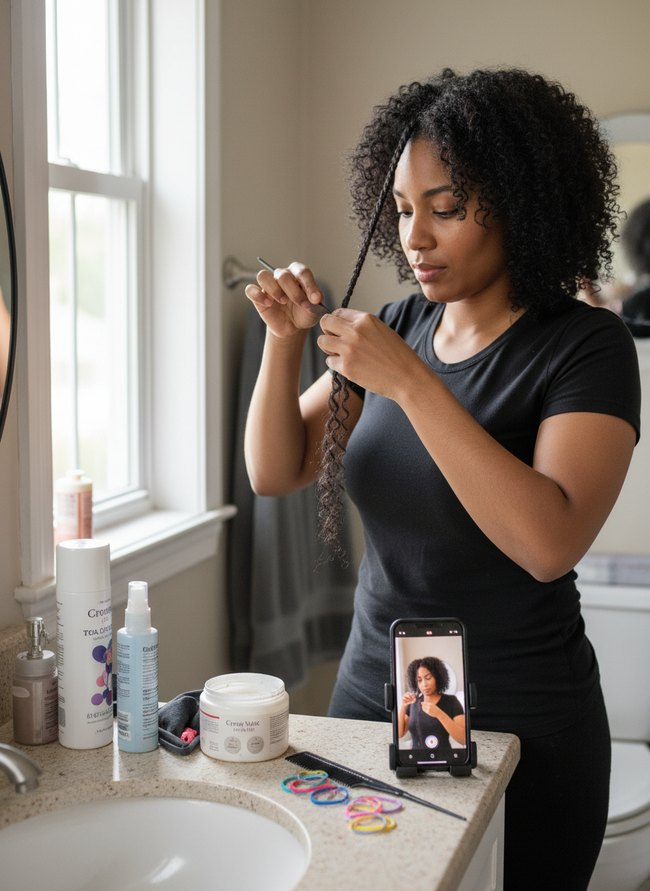
The black smartphone on the counter displays a video tutorial, providing clear visual guidance for the hair styling process. The direct visual aid helps you easily follow each step when learning how to do stitch braids. Various hair products and colorful rubber bands sit nearby, indicating preparation for a neat, finished style. The clever use of the phone as a live model is a smart move worth stealing for your own projects.
11. Defined Stitch Braid Parting

The square parting establishes a clean, geometric base for the stitch braids. The careful division of dark hair creates a uniform grid across the scalp, ensuring each braid has a distinct starting point. A black laptop sits open on a dark table, displaying a hair tutorial that guides the process. Precise parting is a key element for polished stitch braids.
12. Clean Stitch Braid Rows
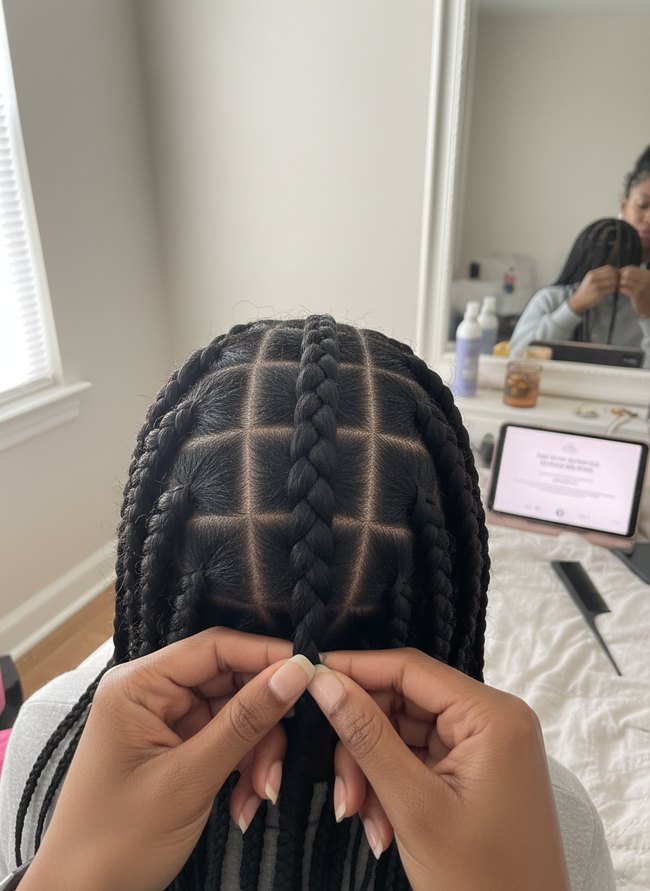
Crisp square partings define the crown, giving each dark braid a distinct, geometric foundation. Clean lines provide a neat, organized look for stitch braids, making the style appear polished and intentional. Brown hands carefully braid the dark hair, ensuring uniform tension and smooth sections. Precise sectioning creates a sharp, professional finish.
The ‘Clean Parting’ Imperative: Mitigating Tension Differentials and Scalp Stress in Self-Styling
Consistent parting geometry prevents uneven stress distribution across the scalp. An irregular parting line, perhaps a half-inch wider at the crown than at the temple, pulls hair strands with varying force. This uneven tension creates hot spots, small areas where hair follicles experience excessive strain. Hair breakage often occurs at these vulnerable points. Conversely, a uniform quarter-inch parting width ensures each tiny braid receives similar pulling force. Maintaining even tension across your head minimizes the risk of hair loss. Improperly sized sections lead to differing stitch braid thicknesses. Thicker braids exert less force per strand than thinner ones, creating an uncomfortable tugging sensation. Your scalp will thank you for precise, even sections.
Sub-Section Tension Dynamics: Optimizing Hair Fiber Elongation for Durability and Definition in Stitch Braid Construction
Bonus: Tension Dynamics
Maintaining even tension on hair sections helps create crisp, defined stitch braids. Your fingers grip the small diamond-shaped hair sections firmly, pulling each one with consistent, gentle force. Uneven pulling causes puffy, loose spots within the cornrow base. One common mistake involves holding the first few hair additions too tightly then loosening the grip further down the braid. This practice makes the braid start clean but quickly turns messy.
Proper tension ensures every lifted hair strand lies flat against the scalp. A steady hand prevents gaps or bumps along the braid’s path. You want a smooth, continuous line from the front hairline back to the nape of the neck. Inconsistent tension also strains hair follicles, potentially causing discomfort or even hair damage over time. Each small section of hair should feel secure, not painfully tight. Achieving uniform tension requires deliberate, slow movements, allowing your fingers to feel the resistance of the hair. This careful technique will produce durable, sleek stitch braids.
Which Idea Will You Try First?
That’s 12 different takes on how to do stitch braids. The best ideas above are usually the smallest moves — one material, one layout shift, one piece of furniture in the right place. Pick whichever room feels closest to your space and start there before tackling the rest.
Found an idea worth keeping? Save this post to your Pinterest board so it’s waiting for you when you’re ready to start your own project.
Leave a Reply