Strong locs require precise technique, not expensive products. Many guides overcomplicate the process, suggesting an array of oils or gels that often cause buildup on dark hair strands. The simple tutorial will show you the exact motions. A clean scalp with defined root sections marks the true beginning of proper loc care. Achieving that neat, uniform grid across your head requires a consistent approach and gentle handling of the fine new growth. Your hair texture dictates the perfect twist tension, ensuring durable, long-lasting sections without breakage. We break down the real steps for how to retwist locs, revealing the patterns others miss.
1. Pre-Twist Sectioning Technique
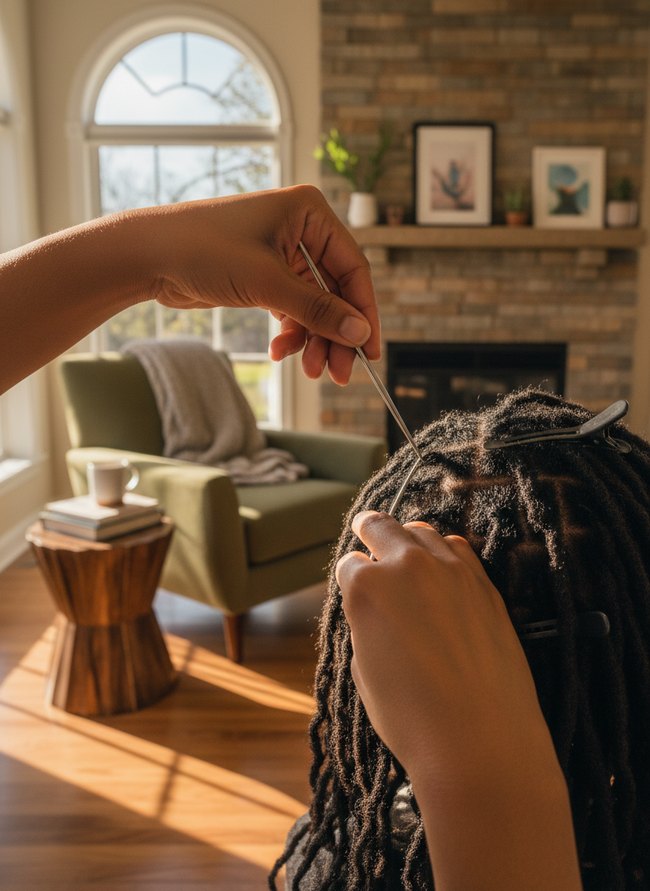
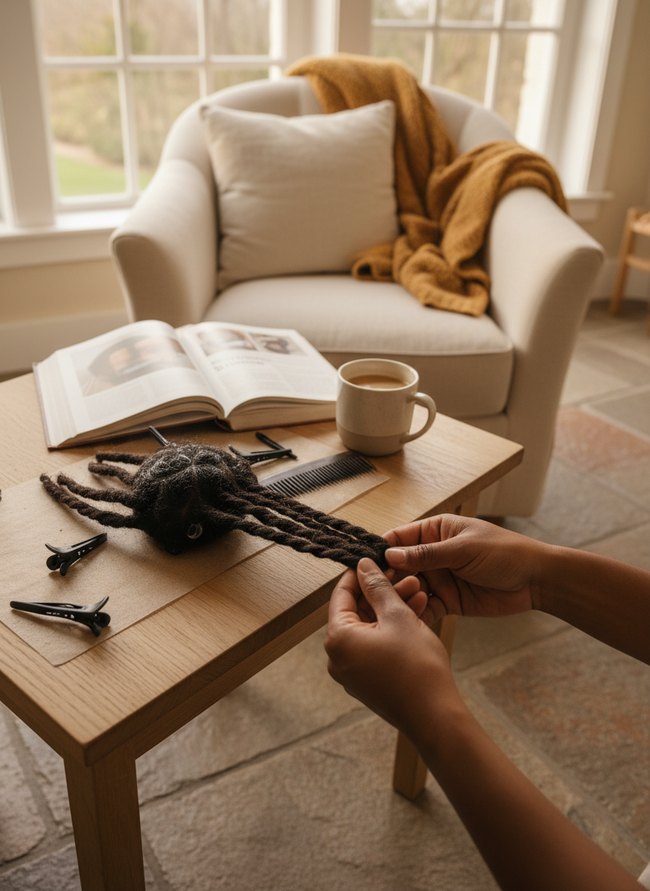
A metal rat-tail comb precisely sections the dark hair, isolating a small square of new growth near the scalp. Careful division creates clean, crisp lines, making it easier to retwist locs evenly. Black plastic clips hold back other locs, keeping them separate from the working area. The focused action in this well-lit living room scene shows effective preparation. Steal the precise sectioning.
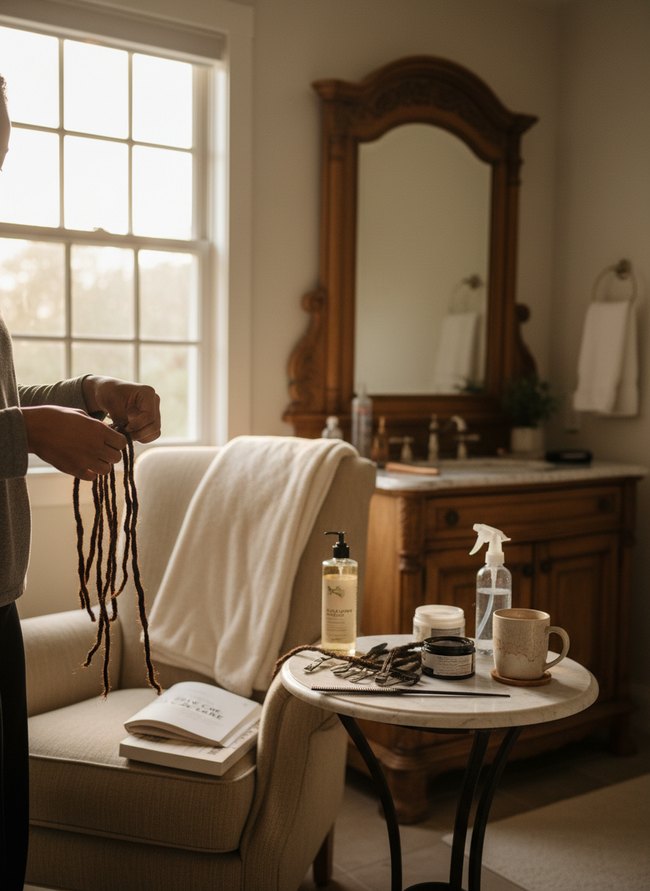
2. Product Application Prep
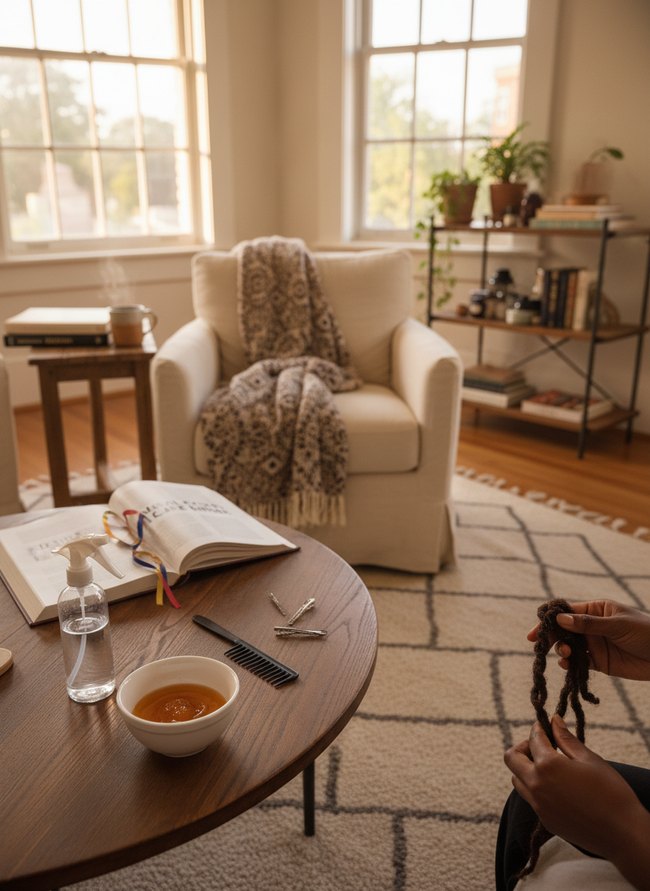
A dark wood coffee table provides a solid, accessible surface for styling tools. The arrangement ensures all necessary products and implements remain within easy reach for your loc retwist. A clear spray bottle, a small white bowl with orange styling product, a black comb, and several silver hair clips are neatly positioned on the tabletop. Dark hands hold a section of dark brown locs, preparing for the retwist process. You can steal the idea of keeping all your styling tools organized on a single, close surface.
3. Root Retwist Method
A detailed close-up on black hair locs and a silver comb clearly shows a specific loc retwisting technique. Hands firmly hold a single loc, with the comb positioning hair strands at the root for precise manipulation. A bright window in the background illuminates the scene, offering natural light for clear visibility. Focus on the comb’s teeth for guidance on sectioning hair.
4. Palm Roll Technique
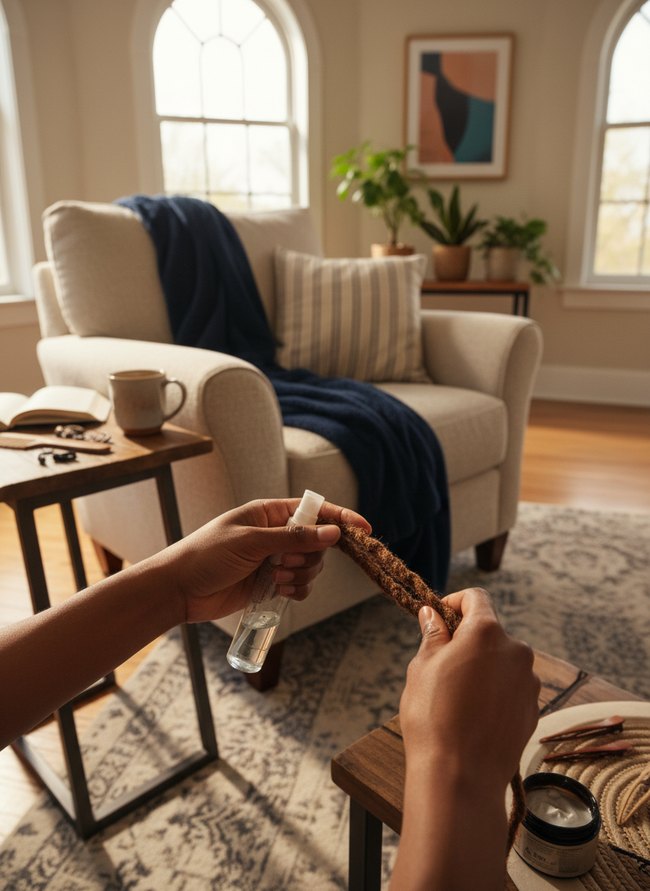
A person’s hands gently mist a brown dreadlock with clear liquid from a small spray bottle. The action shows a key step in how to retwist locs, preparing the hair for the palm roll method. A dark wooden side table holds a round container of white cream and some brown hair clips. Readers can learn to use a spray bottle for even moisture distribution.
5. Interlocking Retwist Pattern
A person’s hands delicately hold multiple long, dark locs, showing the specific interlocking retwist pattern. Natural light streams from a large, white-framed window, brightly illuminating the brown hair strands. A small marble-topped table holds hair care products like a clear spray bottle and a dark pot of cream, ready for the loc retwist. The main lesson is to prepare hair and tools in a well-lit, comfortable space.
6. Two-Strand Twist Start
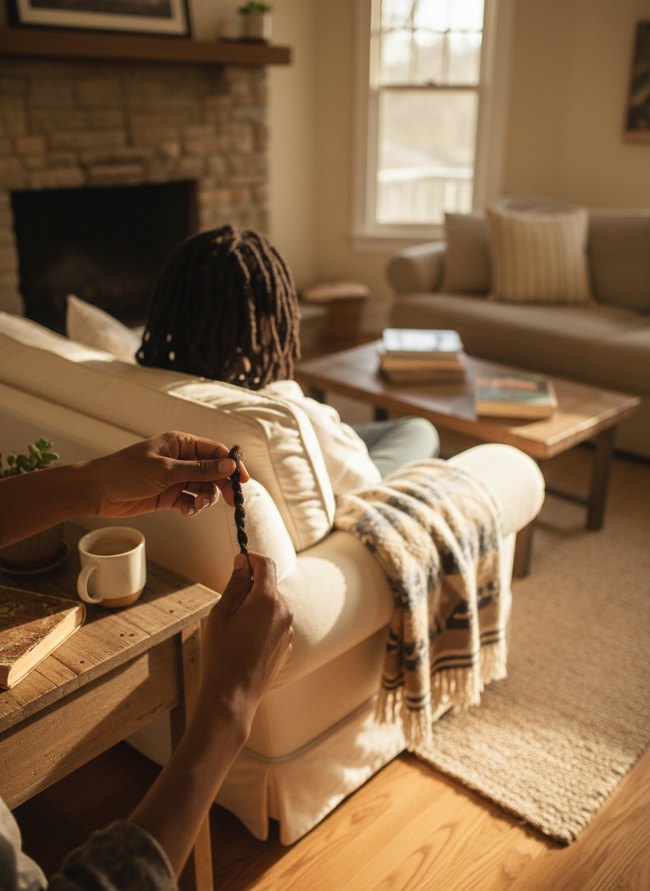
Hands carefully twist a dark brown loc, demonstrating a key step in how to retwist locs. The close-up view clearly highlights the two-strand twisting technique, making the process easy to understand for home stylists. A cream-colored couch and a wooden side table provide a cozy, relaxed setting for hair care. The move worth stealing is the clear focus on the hands and the loc, simplifying complex instructions.
7. Crochet Hook Tightening
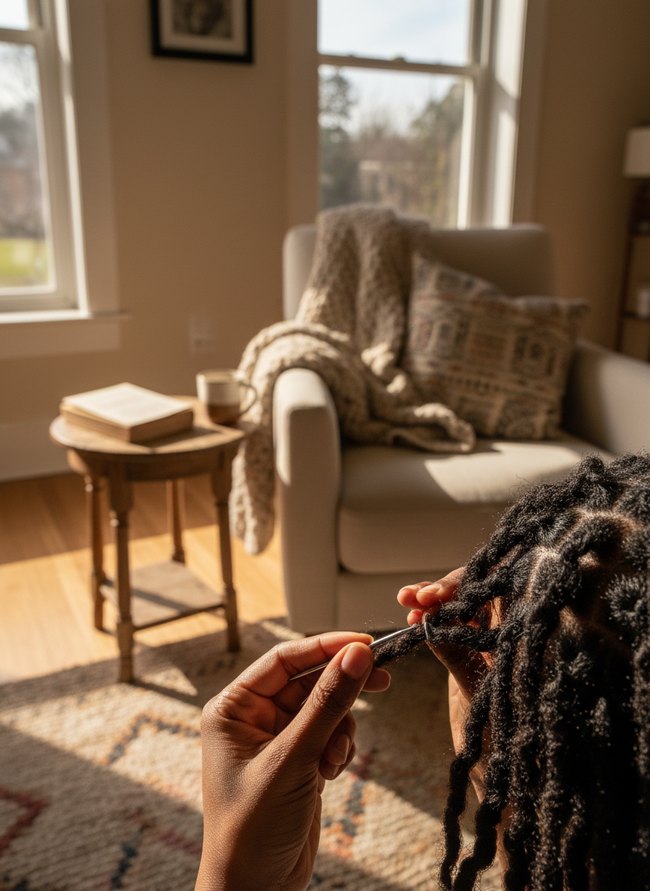
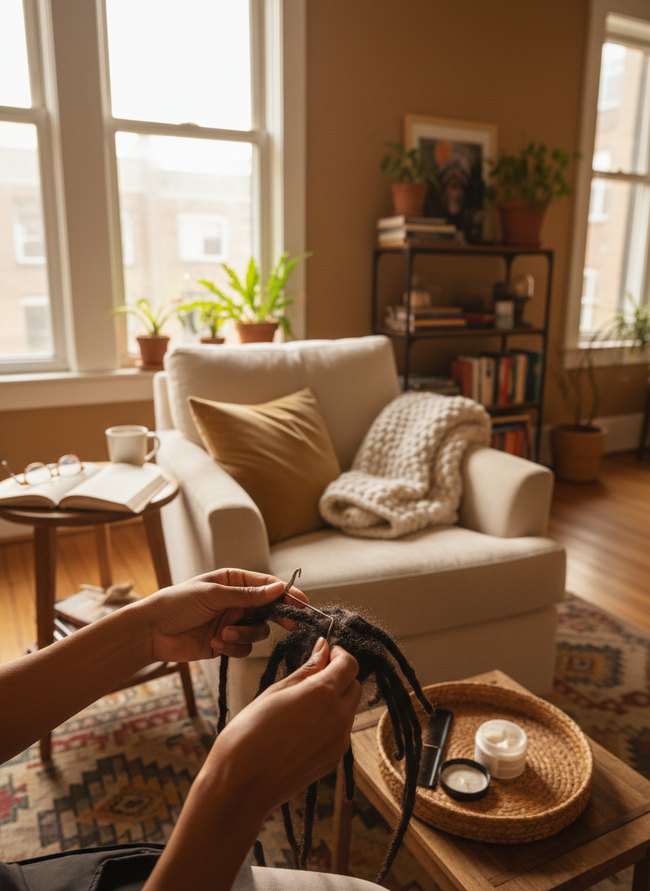
Bright natural light on black hair demonstrates proper visibility for a crochet hook tightening session. Direct sunlight illuminates the dark locs, offering clear detail for precise work. A small metal crochet hook pulls a single loc toward the scalp, showing the technique for retwisting locs. Good lighting aids detailed hair work.
8. Clip Setting Technique
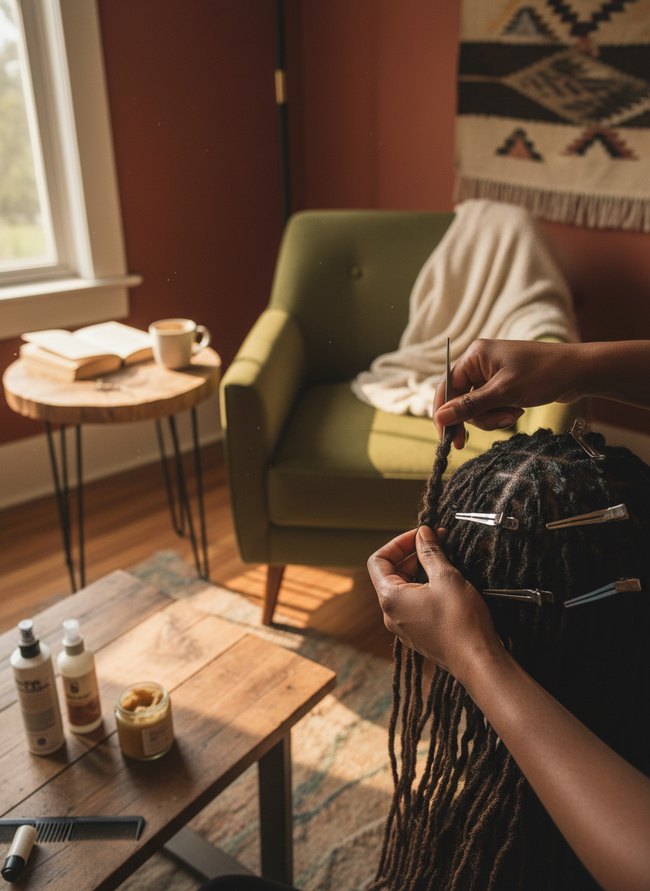
The stylist uses metal clips to section the dark hair, holding new twists in place while other locs are retwisted. The method keeps the fresh twists tight and neat, allowing the product to set properly. A small metal tool helps separate hair strands cleanly, and a wooden coffee table holds white product bottles and a glass jar of yellow cream. Consider using metal clips to hold down your sections for a crisp, organized loc retwist.
9. Braiding Base Retwist
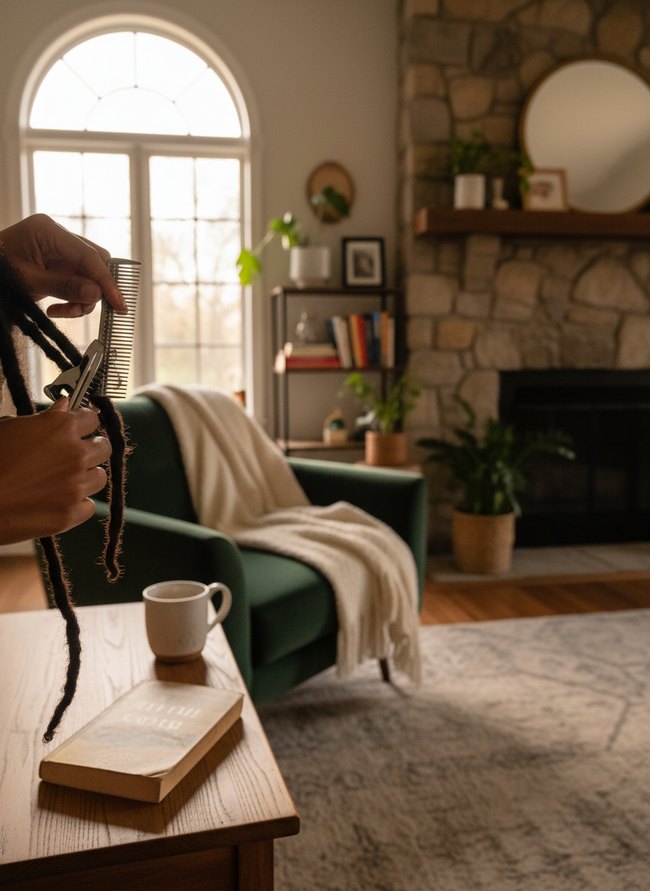
The close-up on the dark brown locs demonstrates a clear braiding technique for retwisting locs. A light oak coffee table holds the locs, several black hair clips, and a black styling comb. The person’s hands carefully twist a hair section. Focus on the clear hand placement for your own retwisting.
10. Coil Method Retighten
A metal latch hook helps to easily retwist locs with precision. The tool allows for clean root maintenance, ensuring a neat, lasting style. A small wooden side table holds a round woven tray with hair products and a black comb. The primary move to steal here is the dedicated use of the metal latch hook.
11. Gelled Edge Finishing
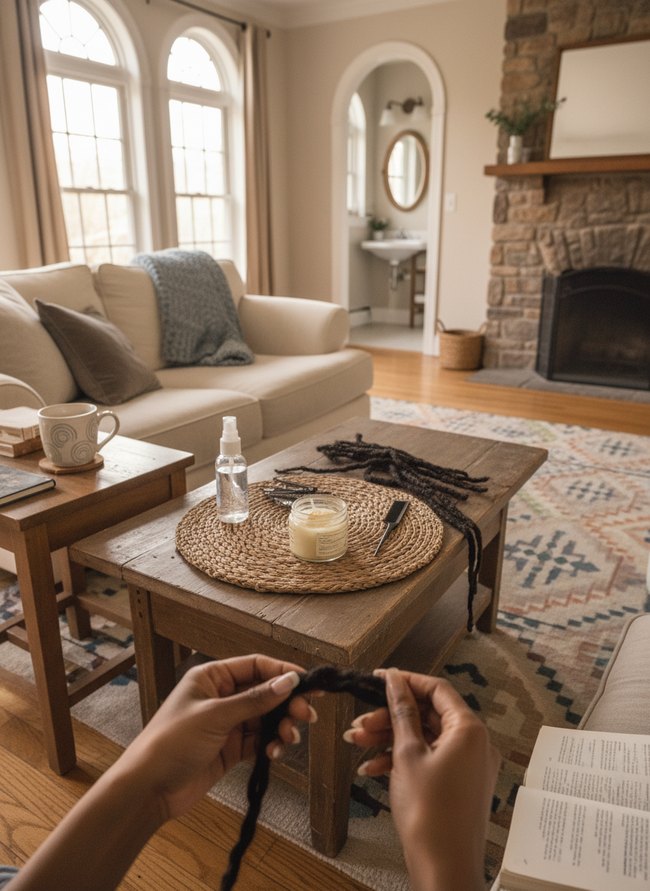
A clear spray bottle filled with water-like liquid shows preparation for a neat hairline, creating a smooth finish. A small glass jar of yellow pomade sits ready on a round woven placemat, offering a clean setup for styling hair. The visible supplies make home retwisting accessible, so steal the organized arrangement of tools on a dedicated surface for your own loc retwisting.
12. Drying Hood Set
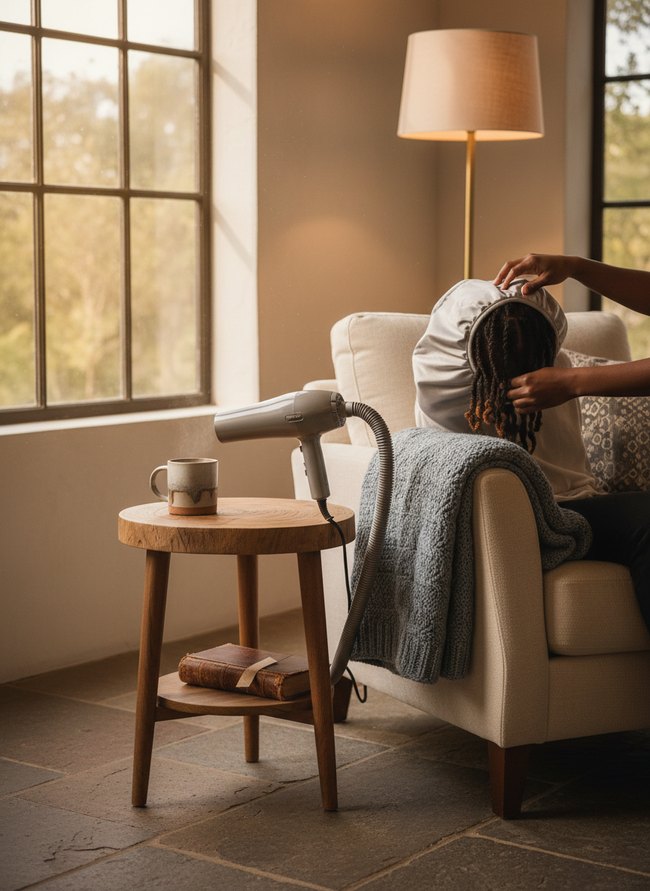
A soft gray bonnet dryer dries the person’s dark brown locs. The smart setup dries hair hands-free, leaving fingers open for other tasks. A small wooden side table holds a light gray hairdryer with a ribbed hose and a two-toned ceramic mug. The practical drying solution allows easy at-home loc retwisting.
The Biomechanics of Root Separation: Minimizing Tension Stress and Follicle Damage
Finger pressure and precise tool use protect your hair follicles. A light touch prevents damage during the retwisting process. Many people tug at tight, matted roots with a metal comb, causing immediate hair strand breakage. You want to move your fingers gently around the base of each loc, feeling for natural separation points. A plastic rat-tail comb with a thin, smooth handle then helps you define each section cleanly. Your goal remains to untangle the soft, new growth from older, denser loc material without tearing. You should never force a stubborn section apart with strong, pulling motions. Instead, reposition your fingers, using a circular motion to loosen the intertwined hairs at the scalp. This careful method preserves the scalp’s delicate skin and the hair’s natural strength. Rough handling during root separation can weaken the hair shaft, leading to thinning locs over time. You ensure the long-term health of your coiled strands by respecting their fragile connection to the scalp. Gentle work keeps your hairline full and your individual locs robust for many years.
Evaluating Product Rheology: Optimizing Slip Coefficient for Efficient Inter-Strand Cohesion
Bonus: Your retwist product’s thickness directly impacts your results.
A thin, water-like gel moves too quickly. Thick, heavy pastes create sticky residue along the dark brown loc itself. You need a medium-bodied styling gel for proper hold. This product consistency allows fingers to slide easily along each new growth section. Slip coefficient describes the product’s ability to reduce friction between hair strands. Low-slip products cause unnecessary pulling on delicate hair roots. Your scalp experiences uncomfortable tension from high-friction gels. A product with good slip creates a smooth, clean retwist. Conversely, overly sticky formulations clump individual hair fibers together. These clumps make clean sectioning nearly impossible. Excess product also leaves a visible white film on your midnight black locs. Choosing a gel with balanced rheology ensures a strong, lasting hold. The right product prevents premature unraveling of your carefully crafted locs. You want something that offers gentle control without stiffness.
Which Idea Will You Try First?
That’s 12 different takes on how to retwist locs. The best ideas above are usually the smallest moves — one material, one layout shift, one piece of furniture in the right place. Pick whichever room feels closest to your space and start there before tackling the rest.
Found an idea worth keeping? Save this post to your Pinterest board so it’s waiting for you when you’re ready to start your own project.
Leave a Reply