Hands work hard on hair. A fresh set of twists feels amazing, but sometimes neat coils unravel too fast. Nobody wants loose hair or frizzy patches after hours of careful effort. Common twist mistakes often sabotage your style. Hands might know the routine, but small errors create big problems. Thin hair might need more product, while thick strands absorb less. Many guides skip real talk about what goes wrong during the styling process. Six common pitfalls help keep twists tight and shiny. Let’s get into it.
1. Uneven Sectioning Slip
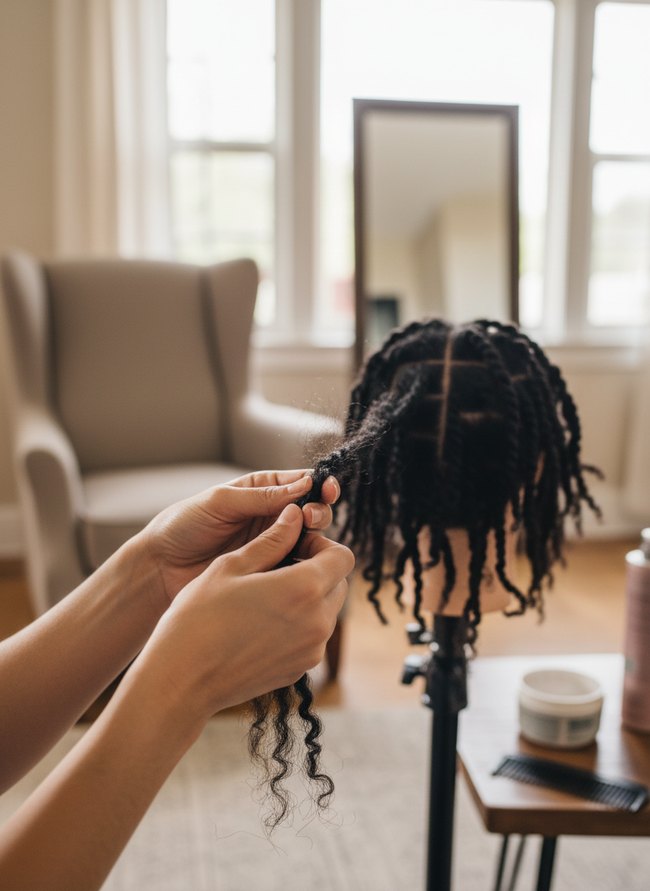
Small, uneven sections of dark hair lead to frizzy, loose twists. Hair should always be divided into equally sized parts for a clean, long-lasting style. A fine-tooth comb should always be used to create neat, consistent square sections.
2. Product Overload Frizz

Many dark brown curls show frizz and product residue. The white bottle on the porcelain sink has thick brown product dripping down its side and pooling on the counter. Too much product weighs hair down and makes twists look messy.
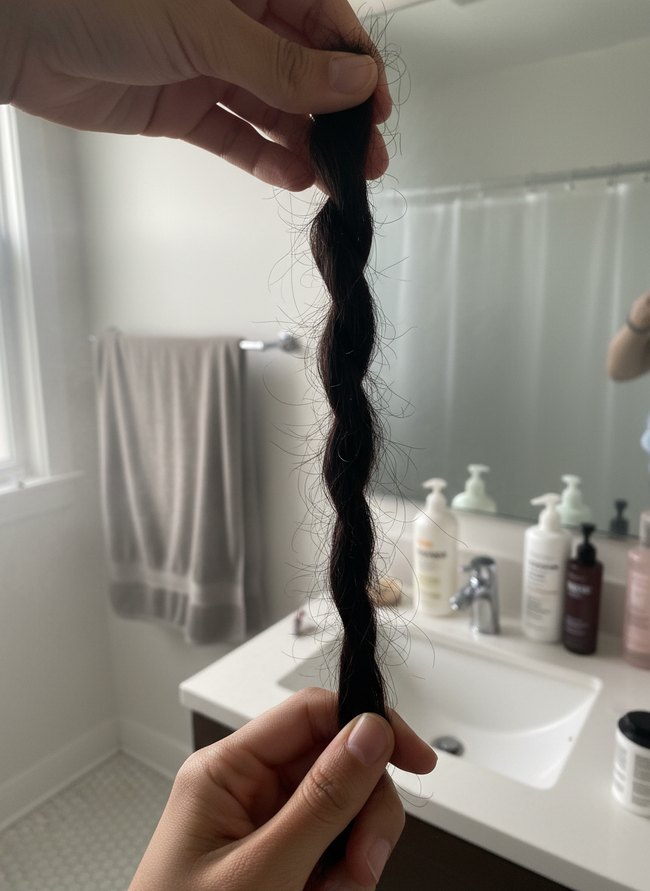
3. Loose Base Tension
Loose dark hair strands show a weak twist that unravels at the base. Hair stylists avoid this common twist mistake by twisting hair firmly from the root down. Hair stylists pull the hair taut as they start each new twist.
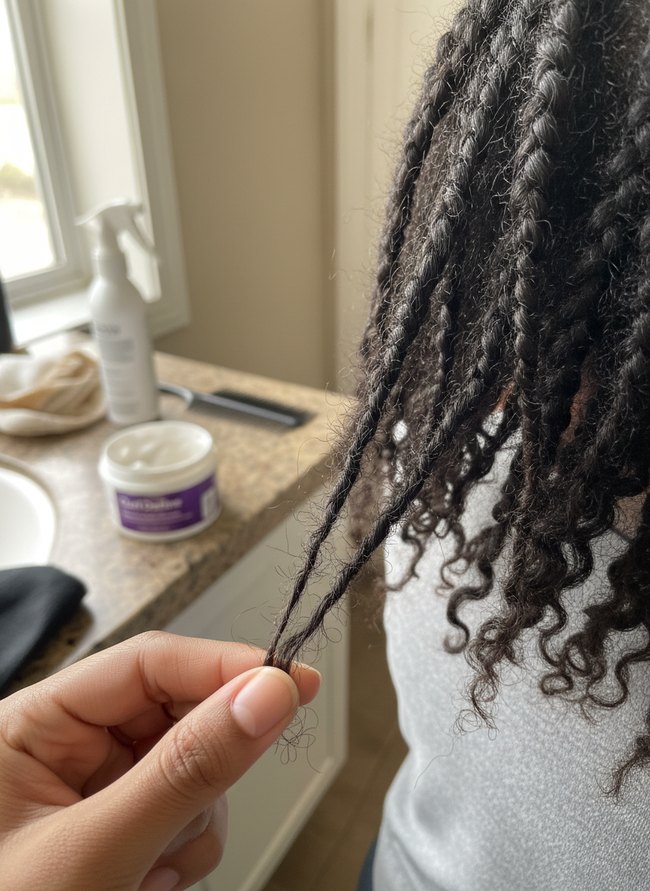
4. Improper Directional Pull
Loose, dark hair strands stick out from the main twist, creating a fuzzy texture. Many small hairs escape the dark twist. Avoid pulling hair in different directions when creating the style.
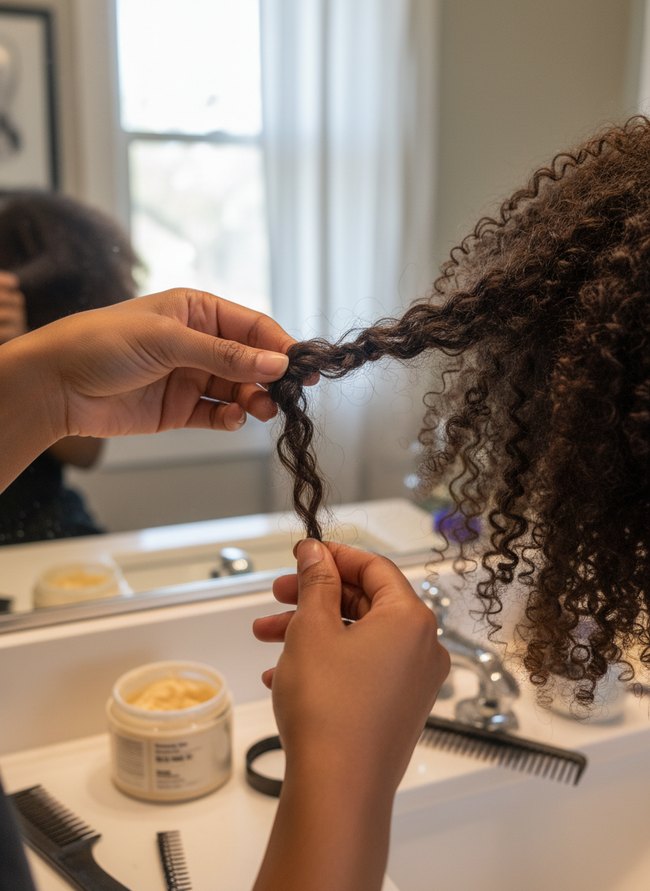
5. Inconsistent Twist Size
One dark hair twist is notably thinner than the other dark twists. Many small hairs around the twist show frizz and flyaways. Uniform twist sizes create a neat, lasting style.
6. Skipped Edge Blending

Skipped edge blending creates frizz around the hairline. The woman in the mirror has a loose, unblended hairline, showing a common twist mistake. Smooth down edges with a gentle gel before twisting to prevent this issue.
Why Your Perfectly Twisted Curtain Rods Keep Sagging (Even With “Heavy Duty” Brackets)
Many homeowners believe thick metal rods and sturdy wall anchors prevent curtain rod sag. Those heavy-duty brackets sometimes still allow a long metal rod to droop, especially over wide windows. The real problem often lies in how you twist the curtain rod into its supports. Most people twist a rod into the bracket, applying force straight down. This common action puts all the weight on the bracket’s bottom edge, twisting the bracket itself over time. A better method involves twisting the rod into the top of the bracket first. Then you gently lower the rod into the bracket’s bottom groove. This two-step process distributes the weight across the bracket’s full height. Your curtain rod will remain level, holding even heavy, lined linen curtains without a downward curve. This small change makes a big difference for your window treatments.
The ‘Tight is Right’ Myth: How Overtightening Your Twist-and-Lock Shelf Units Leads to Instability
Many people believe a firm twist makes a shelving unit stronger. You might think twisting a white plastic connector until your hand aches secures a tall gray shelf. However, over-tightening threaded components often strips the internal grooves. A brass screw, forced too hard, can chew through soft particle board. This damage weakens the connection, making the entire structure wobbly, not solid. Most homeowners crank down on dark metal bolts, hoping for extra stability. A better method involves tightening each connection point until you feel slight resistance. After the initial snugness, apply a small quarter-turn with a flat hand. This gentle action prevents thread damage on the light wood shelves. Instead of brute force, use finesse for a truly sturdy setup. You want connections to be secure, not strained. A properly assembled black metal shelf unit stands firm and steady. Too much force causes future wobble and collapse.
Which Idea Will You Try First?
That’s 6 different takes on twist mistakes. The best ideas above are usually the smallest moves — one material, one layout shift, one piece of furniture in the right place. Pick whichever room feels closest to your space and start there before tackling the rest.
Found an idea worth keeping? Save this post to your Pinterest board so it’s waiting for you when you’re ready to start your own project.
Leave a Reply