The new lace front wig sits on the beige foam head, looking a bit stiff. Many people struggle with creating a smooth, undetectable hairline. A seamless blend between the wig’s fine mesh and your own skin is desired. Achieving a truly natural finish takes a little know-how and some careful work. A few simple tools make a big difference in the final look. We will help you achieve that smooth, undetectable edge. Each step builds on the last, giving the lace a soft, realistic appearance. The quick guide makes styling the lace front wig simple.
1. Defined Baby Hairline
A person’s hands gently shape dark brown hair into a defined wave with a fine-tooth comb. The hair shows a clear part down the middle of the scalp, with soft curls sculpted on either side to create a natural hairline. The styling demonstrates how to style a lace front wig, specifically focusing on a defined baby hairline.
2. Natural Plucked Hairline
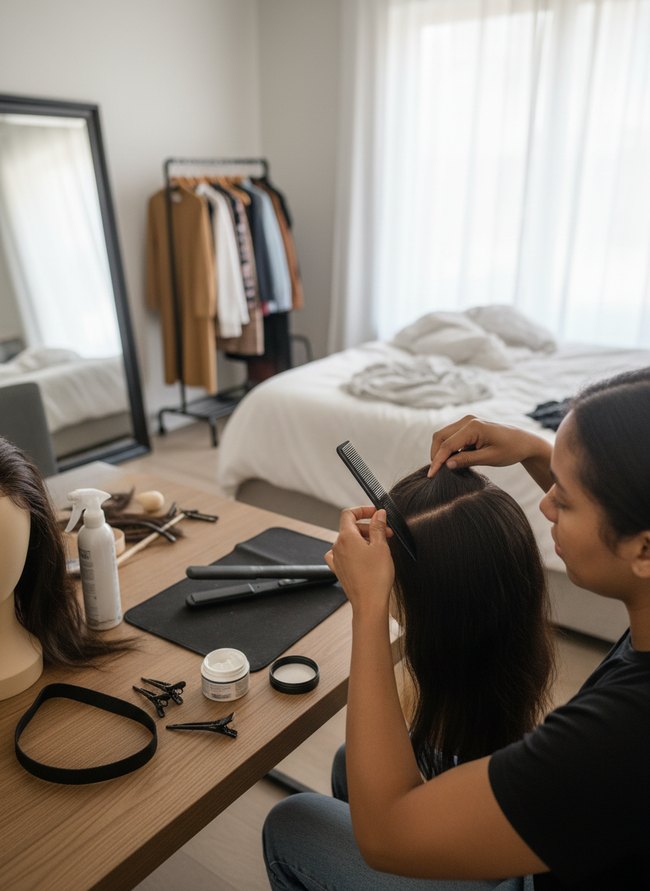
A person carefully sections a dark brown lace front wig on a light wooden table. Various styling tools, including a black flat iron and white spray bottle, are arranged neatly around the wig head. The setup shows the careful work involved in styling a lace front wig for a realistic hairline.
3. Invisible Lace Blend
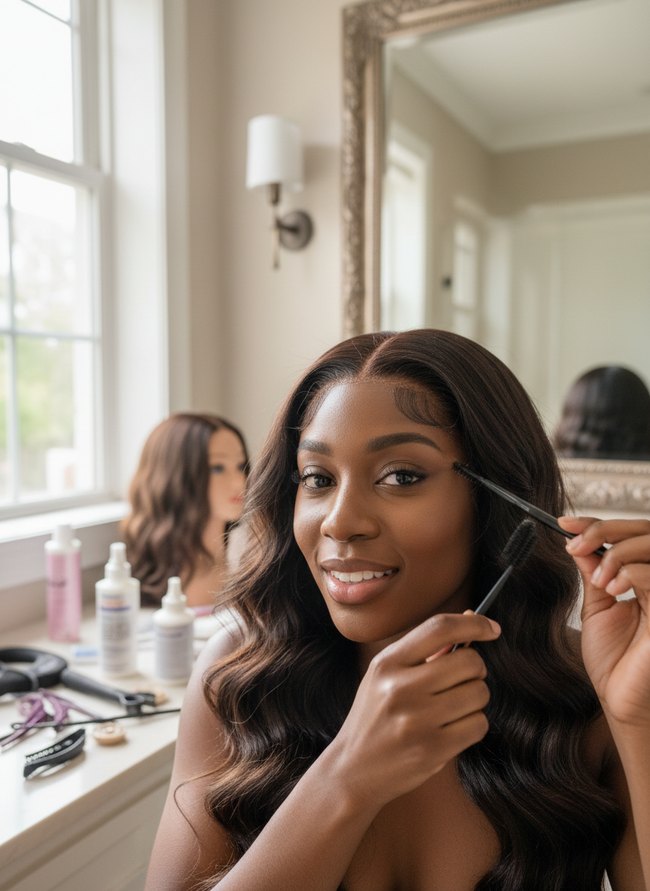
The model smiles, holding two two black mascara wands near her dark wavy lace front wig, showing a natural hairline. Small, soft baby hairs frame her face, blending seamlessly with her skin tone. You can achieve this smooth transition with careful styling to how to style a lace front wig for an invisible lace blend.
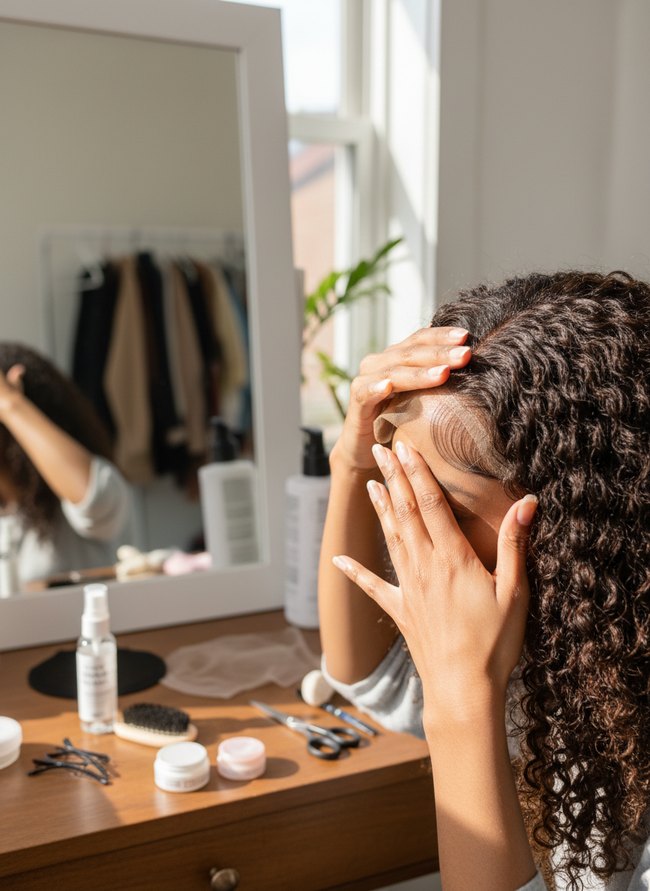
4. Melted Edge Perfection
A woman with dark, wavy hair gently touches the hairline of a wig, ensuring the piece sits flat against her skin. Her hands smooth down the dark hair, blending the lace front into her forehead. You can achieve this sleek, natural look by carefully pressing the lace and hair down at the edges.
5. Seamless Front Customization

A stylist parts dark brown hair on a white foam wig head with a black plastic comb. She carefully combs the hair, showing how to style a lace front wig for a natural-looking part. The hairline is easily customized with careful parting.
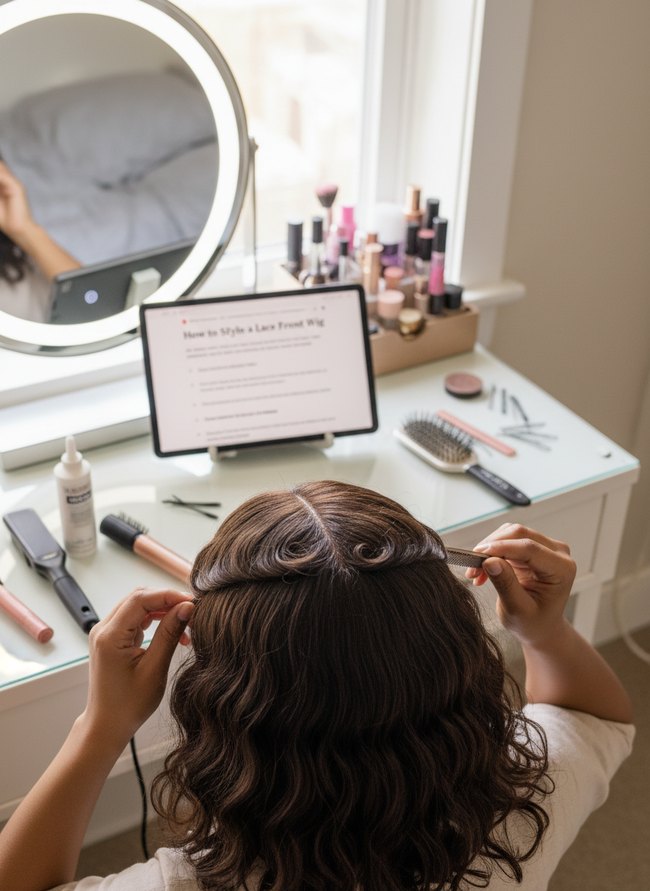
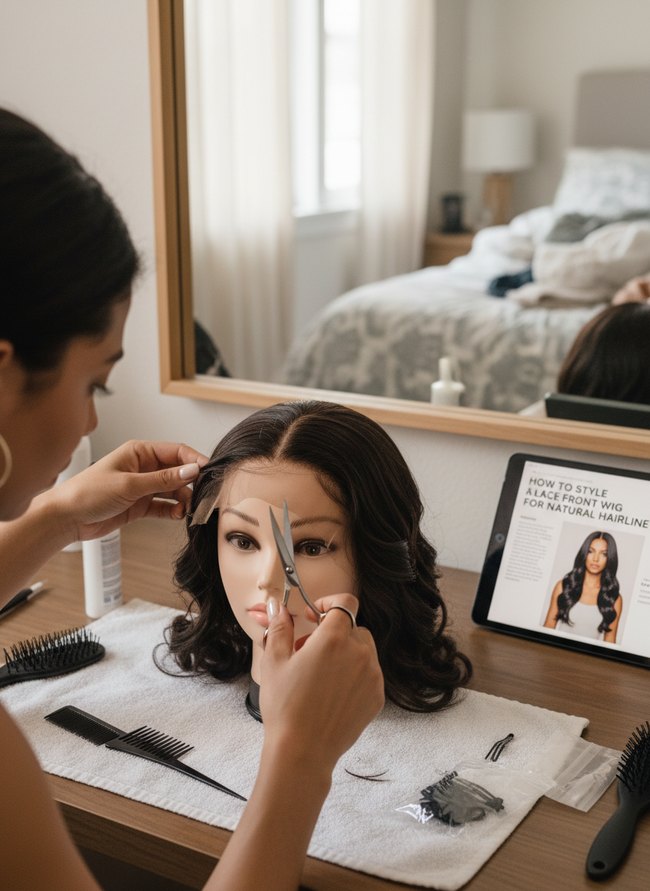
6. Undetectable Knot Bleaching
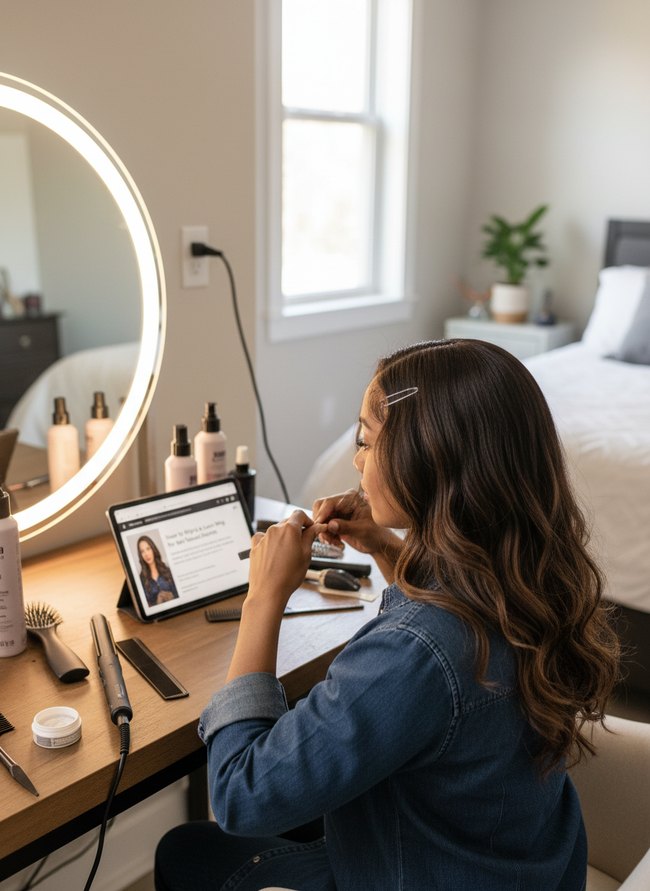
A woman with long, dark brown hair sits at a light brown wooden desk, carefully working on the front hairline of a lace front wig. Her black tablet displays instructions on how to style a lace front wig for a natural hairline. Small hair clips hold back some dark hair, showing the detailed work needed for an undetectable finish.
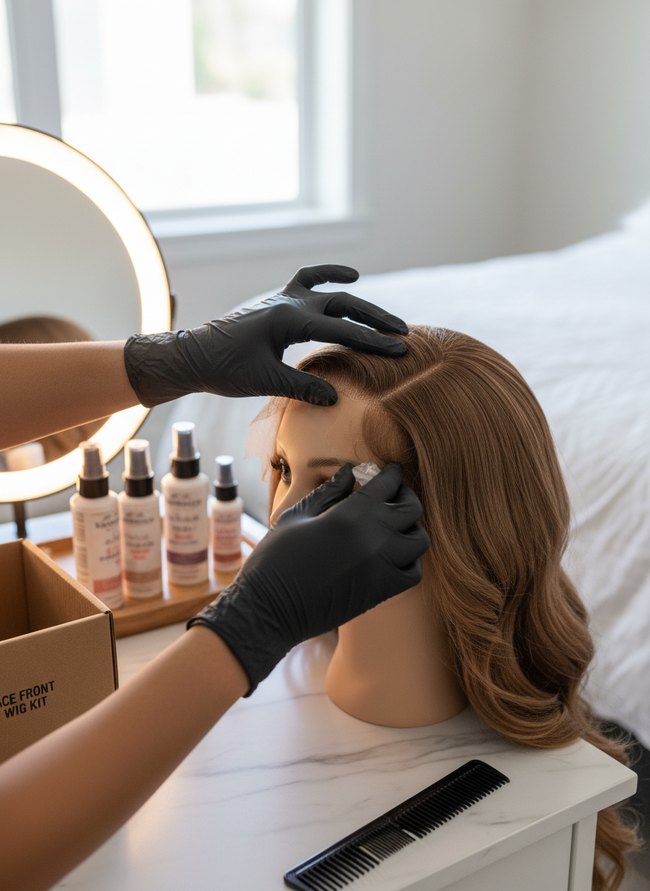
7. Sculpted Sideburn Integration
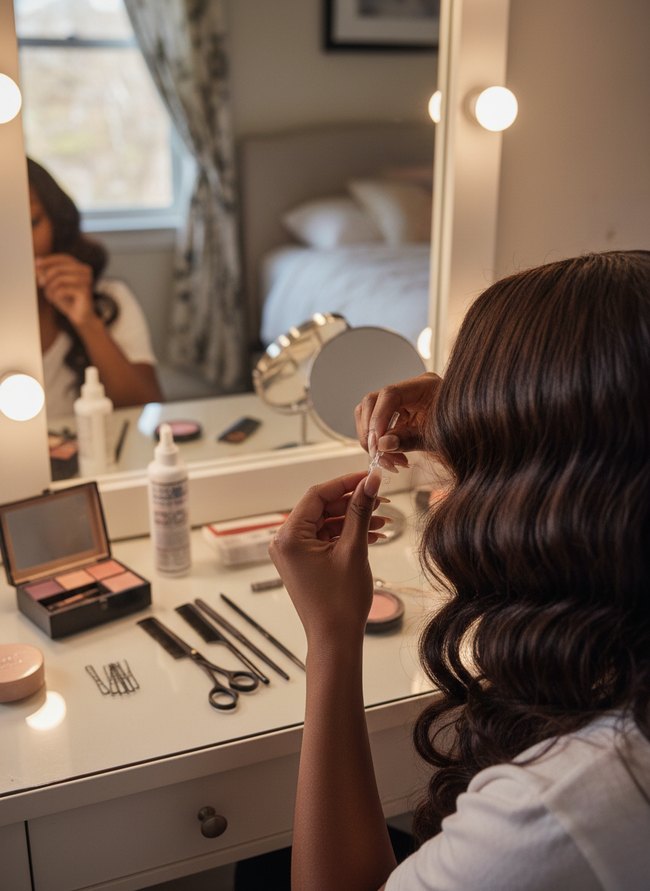
A person with long, dark brown wavy hair sits at a white vanity with a lighted mirror. The individual holds a small clear adhesive strip, preparing to apply the strip near the temple of their lace front wig. Various black combs, scissors, and hairpins are neatly arranged on the white tabletop, demonstrating how to style a lace front wig for a smooth finish. Always use a strong, clear adhesive for an invisible sideburn integration.
8. Softened Perimeter Styling
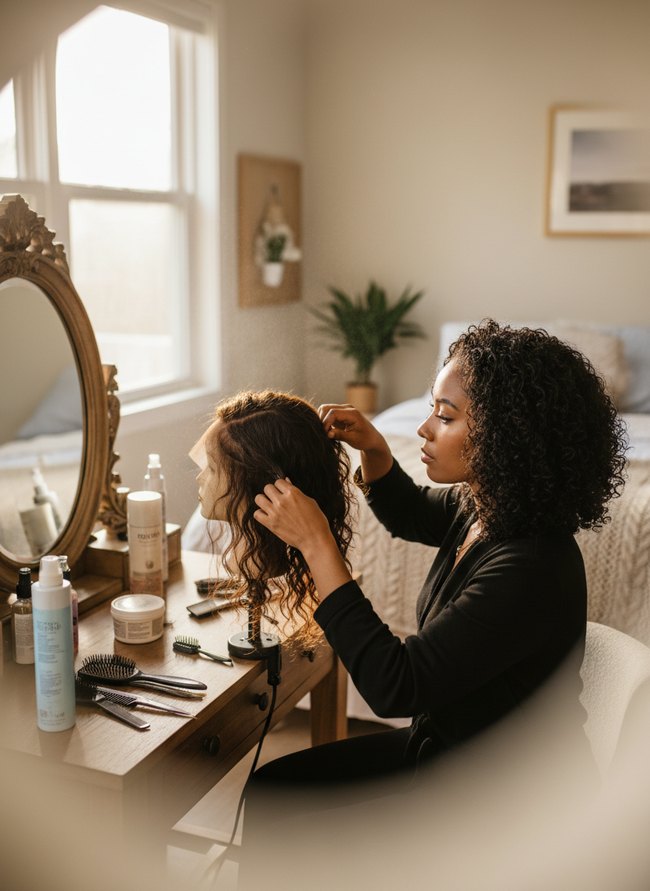
A woman with dark, curly hair gently adjusts a lace front wig on a mannequin head. She carefully works around the hairline to create a natural, soft look, demonstrating how to style the wig. A realistic finish is achieved by paying close attention to the wig’s perimeter.
9. Flat Lay Application

A light brown wig with soft waves rests on a pink silicone mat, ready for a flat lay application. A hand gently presses the lace front against the mat, showing a crucial step in styling a lace front wig. All styling tools, like scissors and styling cream, can be laid out beforehand to make the process easier.
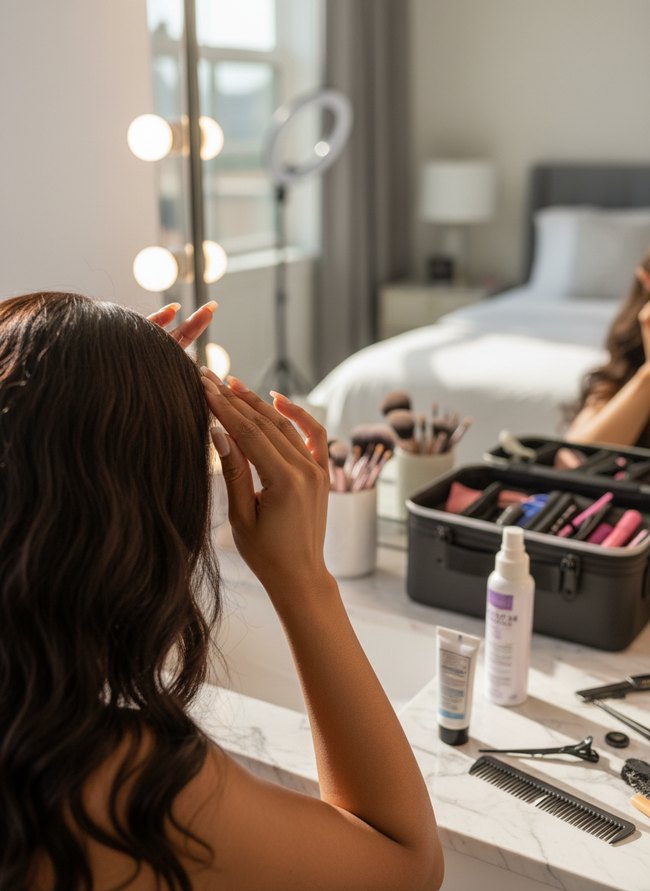
10. Secured Glueless Install
A woman gently presses down the lace front wig with both hands at her temple, securing its position. The dark curly wig hair blends seamlessly with her natural hairline, demonstrating how to style the wig for a natural look. Various hair styling tools like a small black brush, silver scissors, and hair clips rest on the wooden vanity.
11. Refined Hairline Trimming
A person trims a tan lace front wig with small, sharp silver scissors, carefully shaping the hairline on a mannequin head. Dark wig hair falls in soft waves over the mannequin’s shoulders while a black tablet sits nearby, displaying instructions on how to style the wig. Precise cutting tools achieve a natural hairline.
12. Custom Tinted Lace
Black gloved hands carefully press a clear lace front wig onto a tan mannequin head. The light brown wig hair features soft, cascading waves that frame the mannequin’s face. A realistic hairline is achieved by custom tinting the lace to match your skin tone.
Troubleshooting Common Lace Front Styling Challenges
A light layer of foundation powder, matched to your skin tone, blends the sheer lace into your forehead. You can use a small makeup brush to tap the powder onto the wig’s front edge. Sometimes a transparent lace front wig still shows a fine mesh. A brow pencil, one shade darker than your scalp, draws tiny hair-like strokes along the front edge, mimicking new growth. This simple trick adds depth. Lifting edges, a common frustration, often happen because of oily skin. Clean your skin thoroughly before applying any adhesive. A skin prep solution, containing witch hazel, removes excess oil and creates a grippier surface for the wig glue. Secure the wig with a thin, even coat of skin-safe adhesive. Press the lace down firmly for a full minute. An unnatural parting line on a lace front wig can look stiff and artificial. Pluck a few strands of hair, one by one, along the wig’s part with fine-tipped tweezers. This careful plucking creates a softer, more scattered hair growth pattern. Use a rat-tail comb to zigzag the part slightly, disrupting a perfectly straight line. A bit of styling mousse on your fingertips tames any flyaways near the part.
Choosing the Right Wig Density and Lace Type for Your Desired Look
Wig density directly changes how much hair sits on your head. A lower 130% density offers a light, airy movement around your shoulders. Conversely, a 180% density creates a thick, full curtain of hair. You must pick a density that matches your own natural hair volume. Thin hair on your head needs a lighter wig. Dense hair on your scalp looks best with a fuller unit.
Lace type also plays a big role in the final illusion. HD lace, a thin, almost invisible web, blends seamlessly into your skin tone. Transparent lace, a slightly thicker, clear fabric, requires careful makeup application to disappear. Medium brown lace, a darker mesh, works best for deeper skin tones without extra color correction. A light, delicate hairline on a lace front wig depends on the quality of this sheer material. Choose lace that melts into your forehead for a truly undetectable finish.
Which Idea Will You Try First?
That’s 12 different takes on how to style a lace front wig. The best ideas above are usually the smallest moves — one material, one layout shift, one piece of furniture in the right place. Pick whichever room feels closest to your space and start there before tackling the rest.
Found an idea worth keeping? Save this post to your Pinterest board so it’s waiting for you when you’re ready to start your own project.
Leave a Reply